AWS Onboarding Guide
![]() Updated 11 months ago
by
admin
Updated 11 months ago
by
admin
This guide provides the steps you need to follow in order to onboard Amazon Web Service (AWS) accounts onto the Posture Management service.
Video Guide
This video will provide a step-by-step guide on setting up the AWS Connector.
Step-by-Step Guide
This article will guide you through the following steps:
- Prepare the IAM policy that grants Read-Only permissions to Posture Management to access your AWS account for information about resources.
- Create an IAM Role that Posture Management can use to access your environment. This IAM Role should have the IAM permission configured in the previous step. To monitor the Amazon S3 service, the created IAM Role should have the AmazonS3ReadOnlyAccess policy assigned.
You will need to be an Administrator of the AWS account, or have sufficient admin privileges, to perform these steps
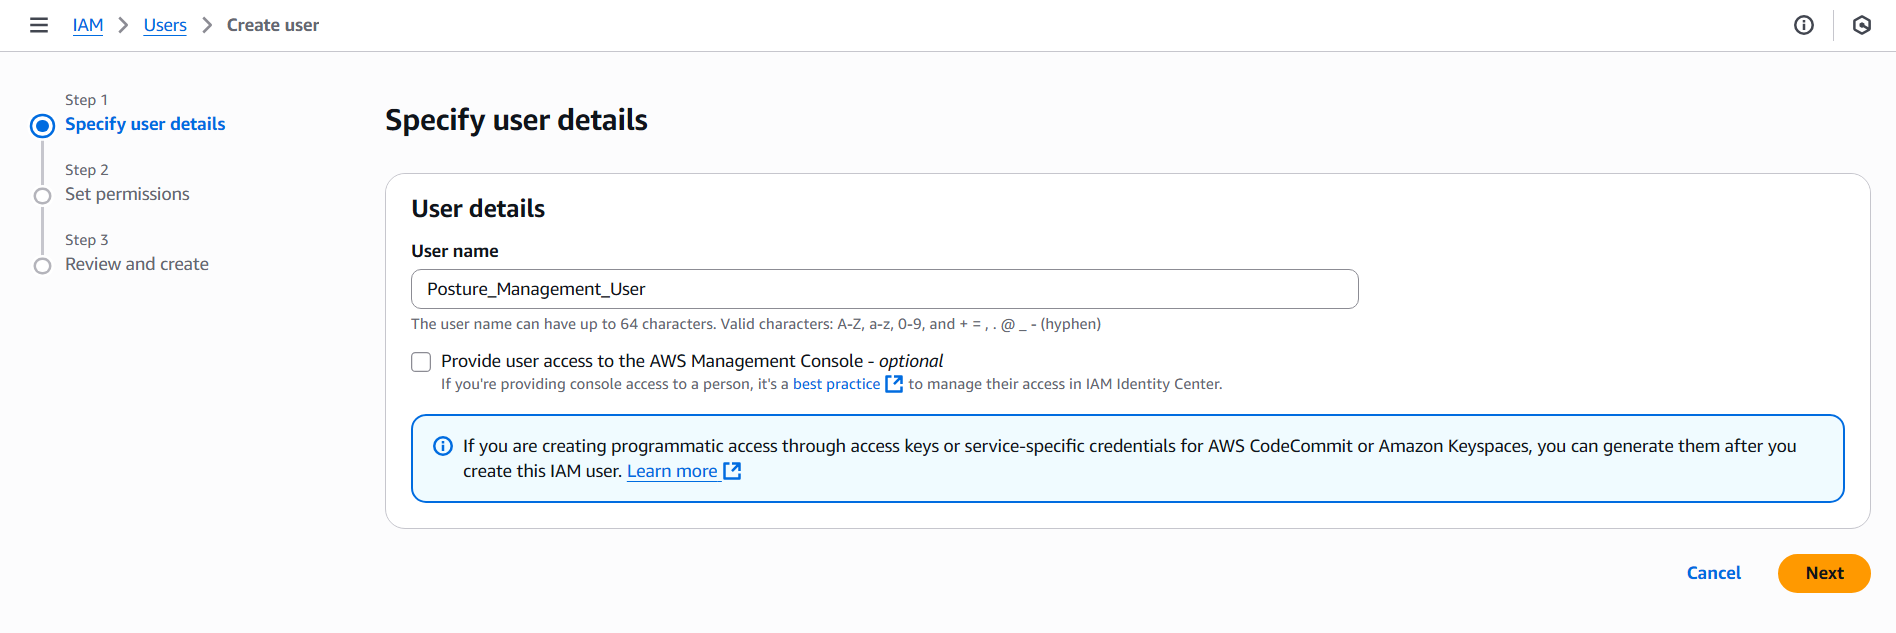
- Navigate to Identity and Access Management (IAM) → Users → Create user.
- On the Specify user details tab, enter a user name, e.g. Posture_Management_User, and click Next.
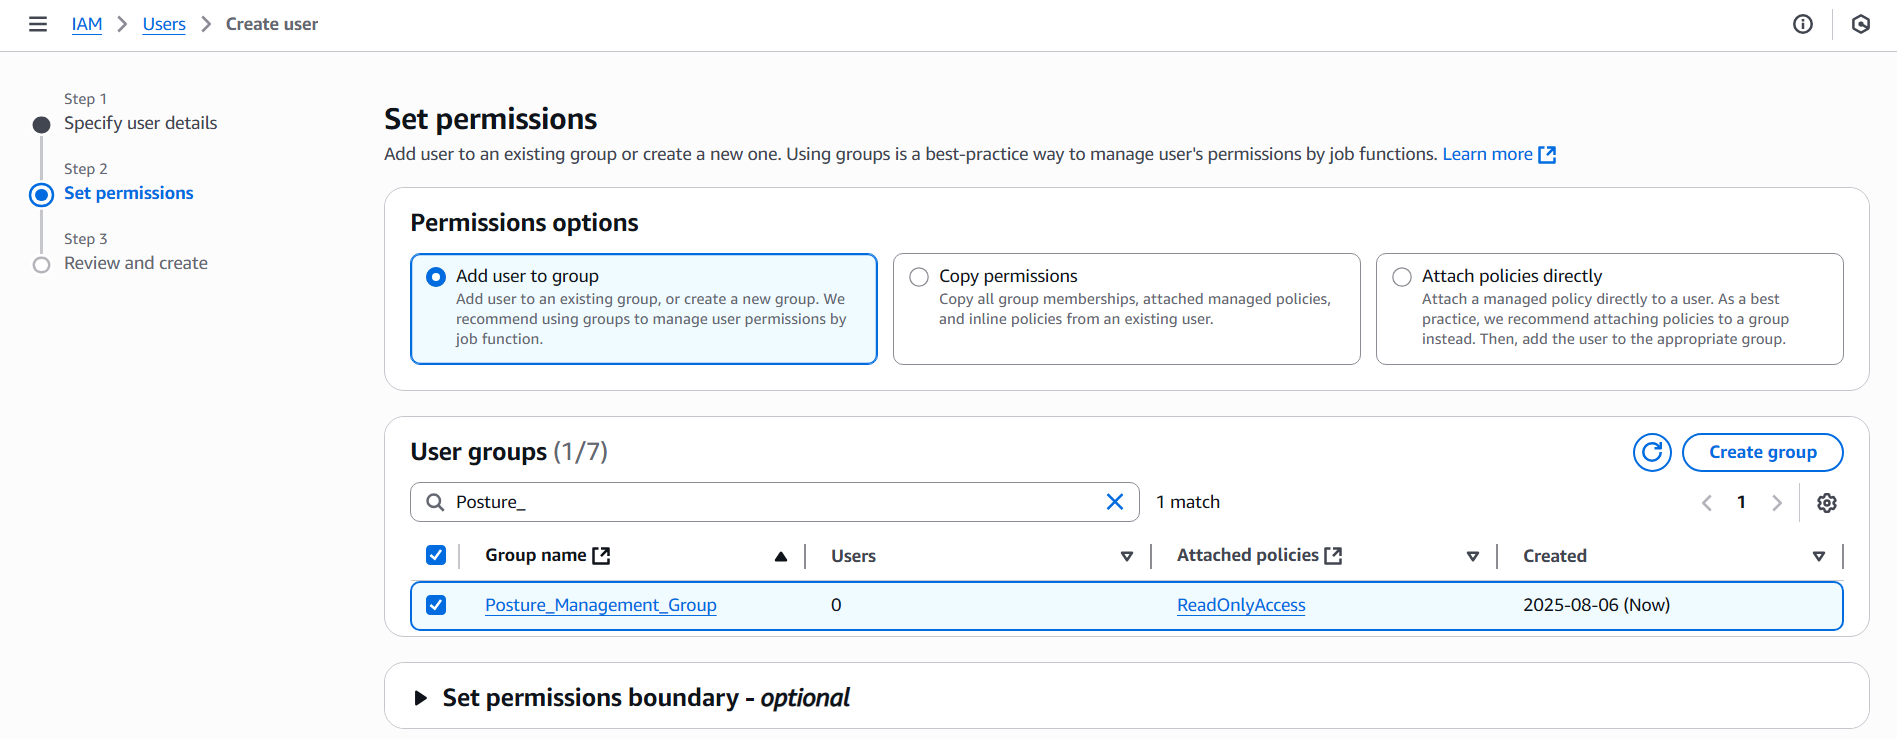
- Click the Create group.
- Enter a new User Group name e.g. PostureManagementGroup.
- In the Filter by Type drop-down list, select AWS managed - job functions.
- In the Search field, enter ReadOnlyAccess, and select this policy.

- Click Create user group.
- On the Set permissions tab, select the PostureManagementGroup and click the Next button.
- On the Review and create tab, click the Create user button.
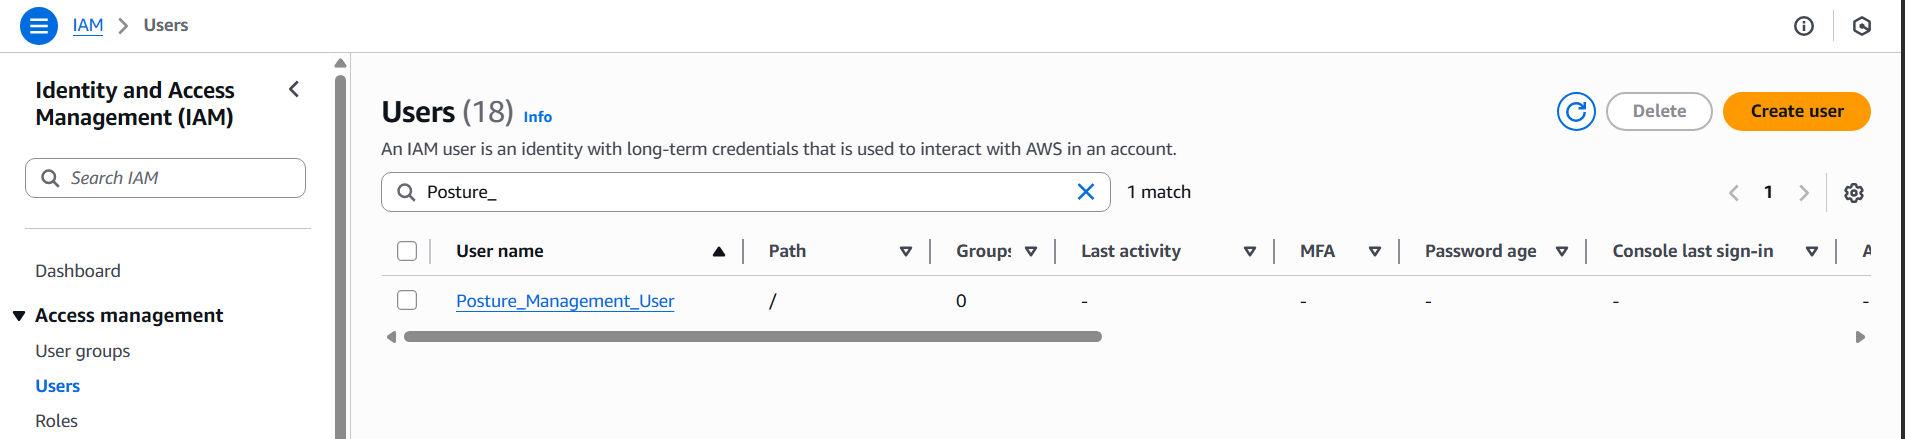
- In the opened Users list, select the Posture Management User.
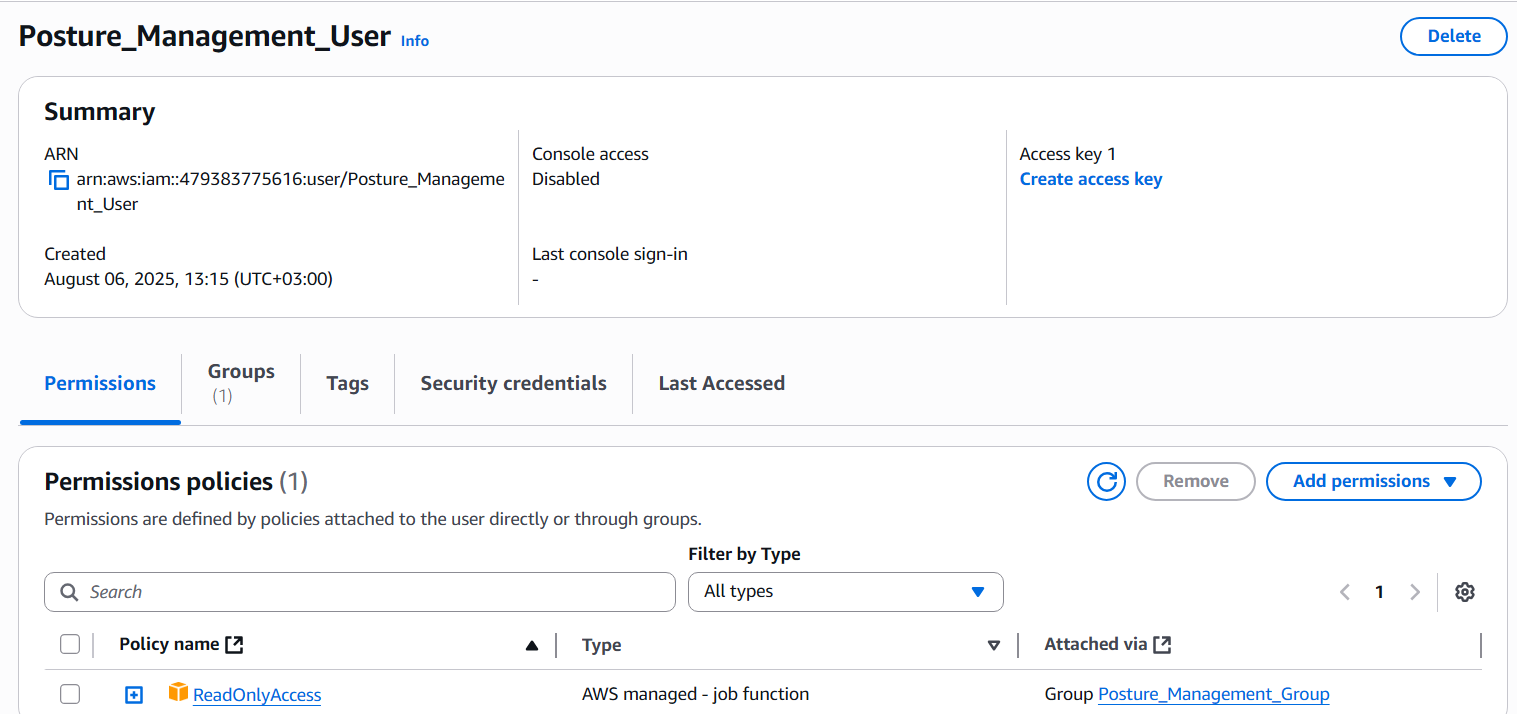
- On the opened Summary page, click the Create access key button.
- Create an Access key for the Posture Management User. On the Access key best practices & alternatives tab, select the Command Line Interface (CLI) option and click the Next button.
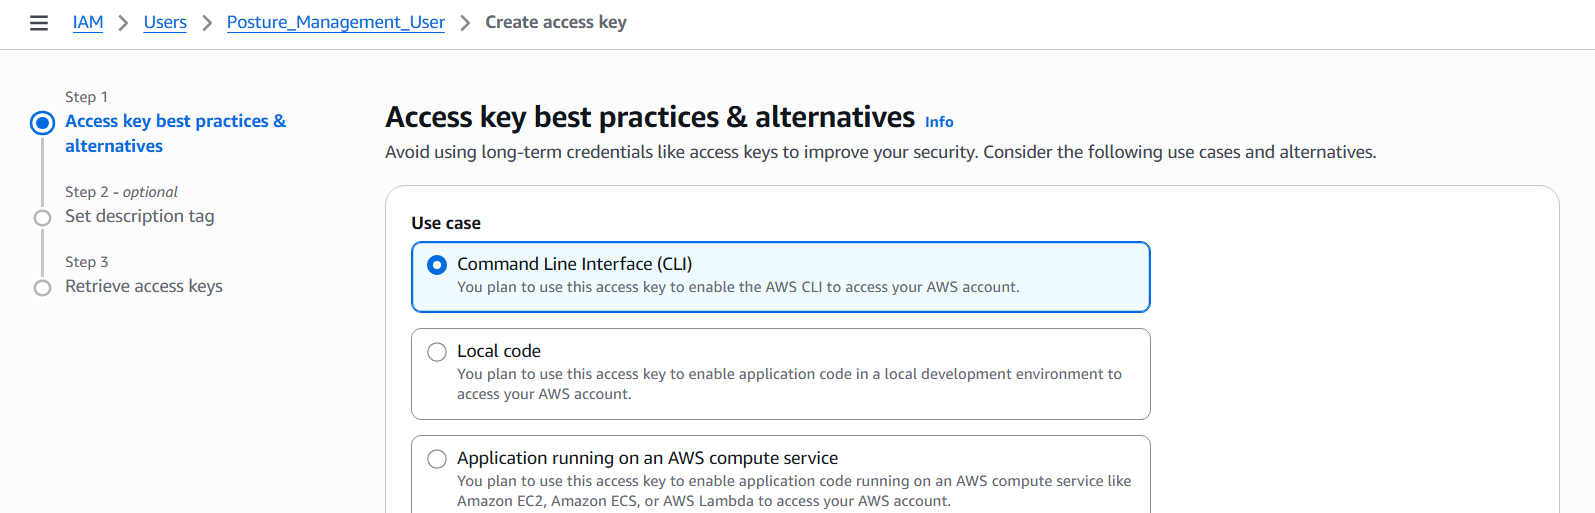
- Add a description for the access key (optional) and click the Create access key button.
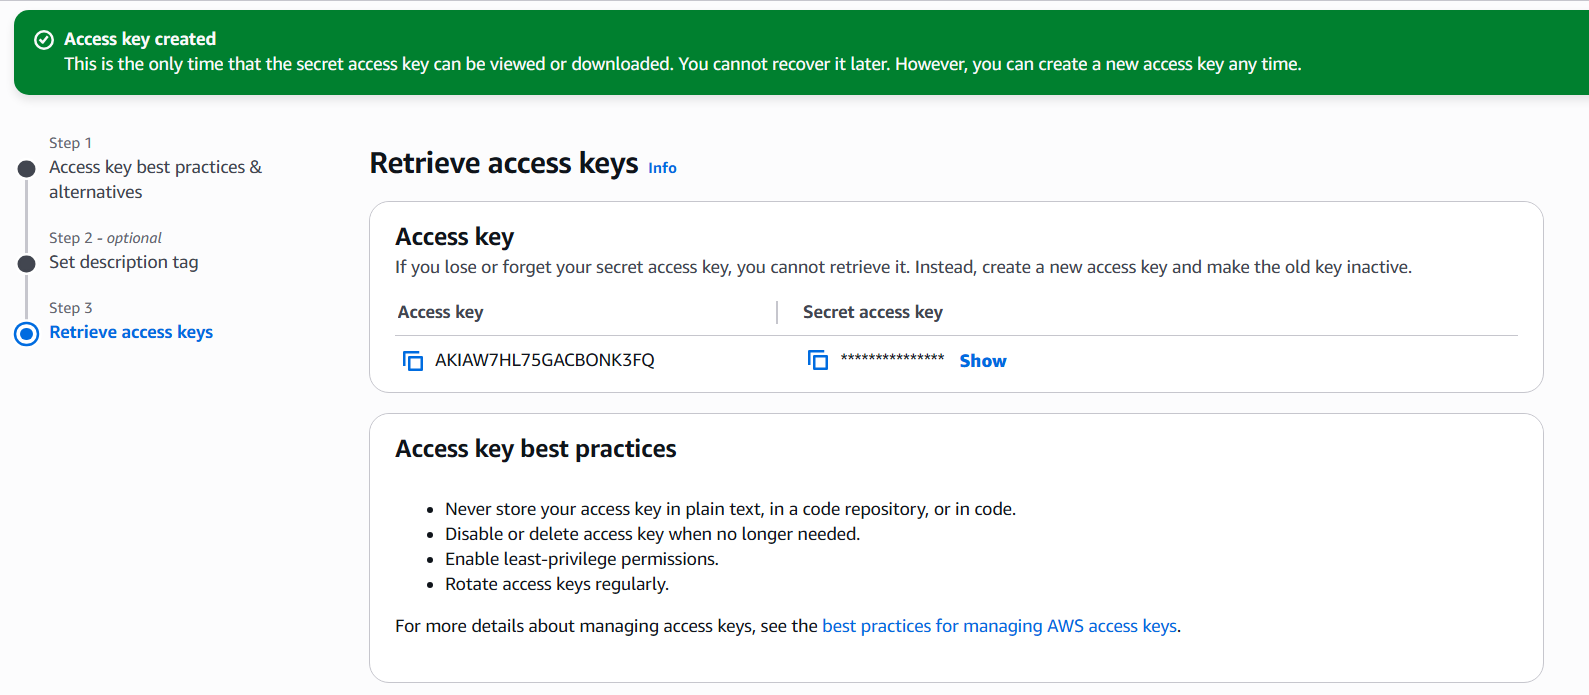
- On the Retrieve access keys tab, copy the Access key and the Secret access key values (or download them into a CSV file).
- Log in to the USS Dashboard and navigate to Products -> Posture Management.
- The Posture Management dashboard will open in a new tab. From the top ribbon, select Service Integration and then +
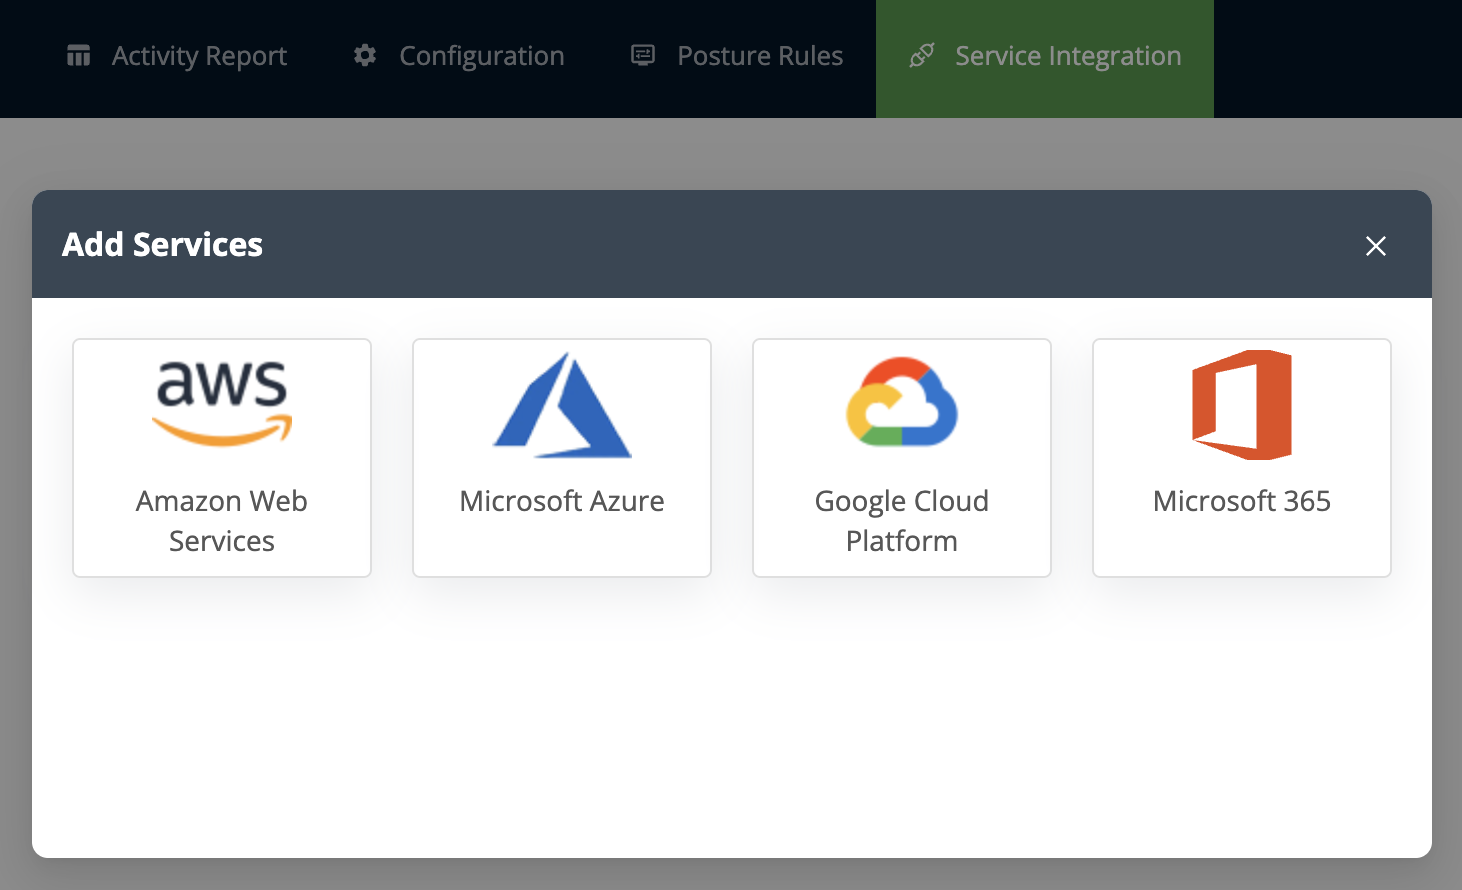
- From the existing service providers list, select Amazon Web Services.
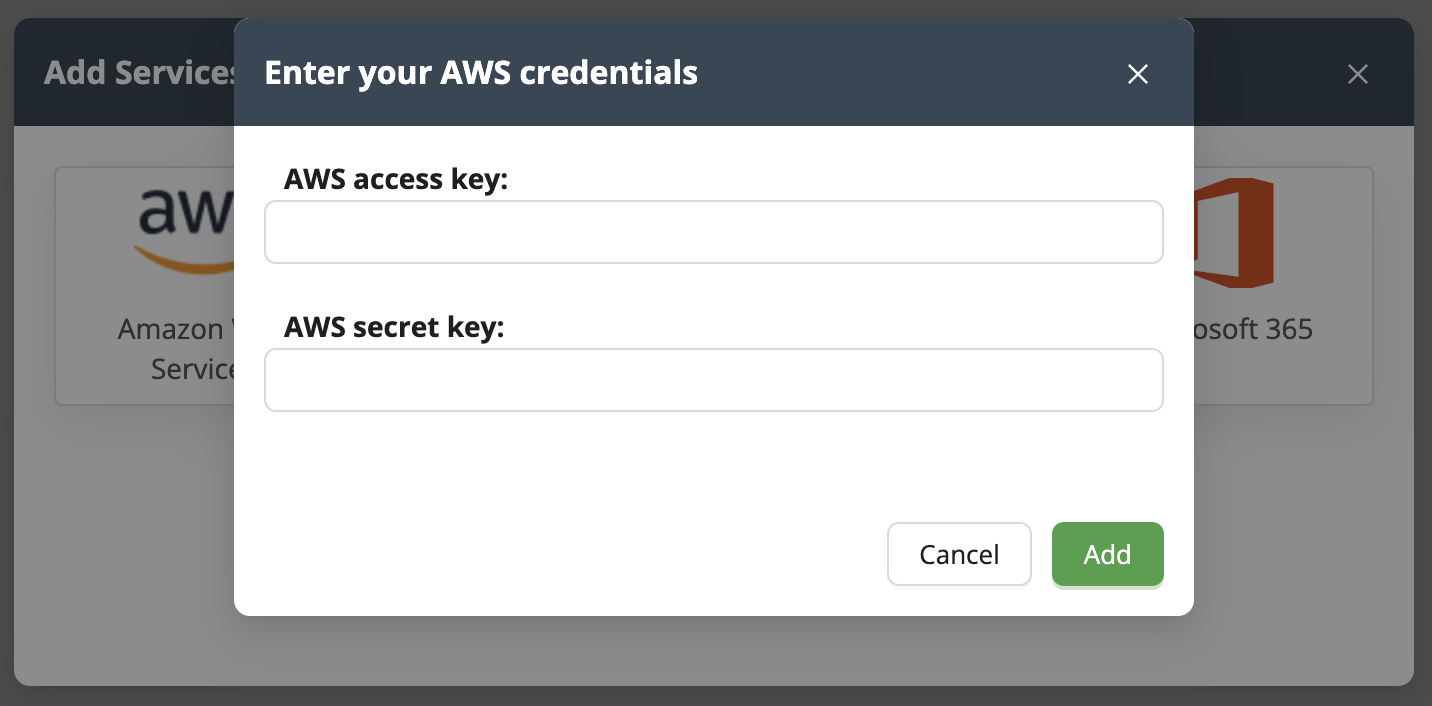
- In the opened window, enter the Access Key and Secret Key from Step 14.
- Click Add.
- Click Scan Now to begin scanning the application immediately, or wait for it to automatically scan on a daily basis.
- Once the first scan has finished, you will be able to view the results in the Charts and Activity report tabs.