Quick Start
Provisioning MFA
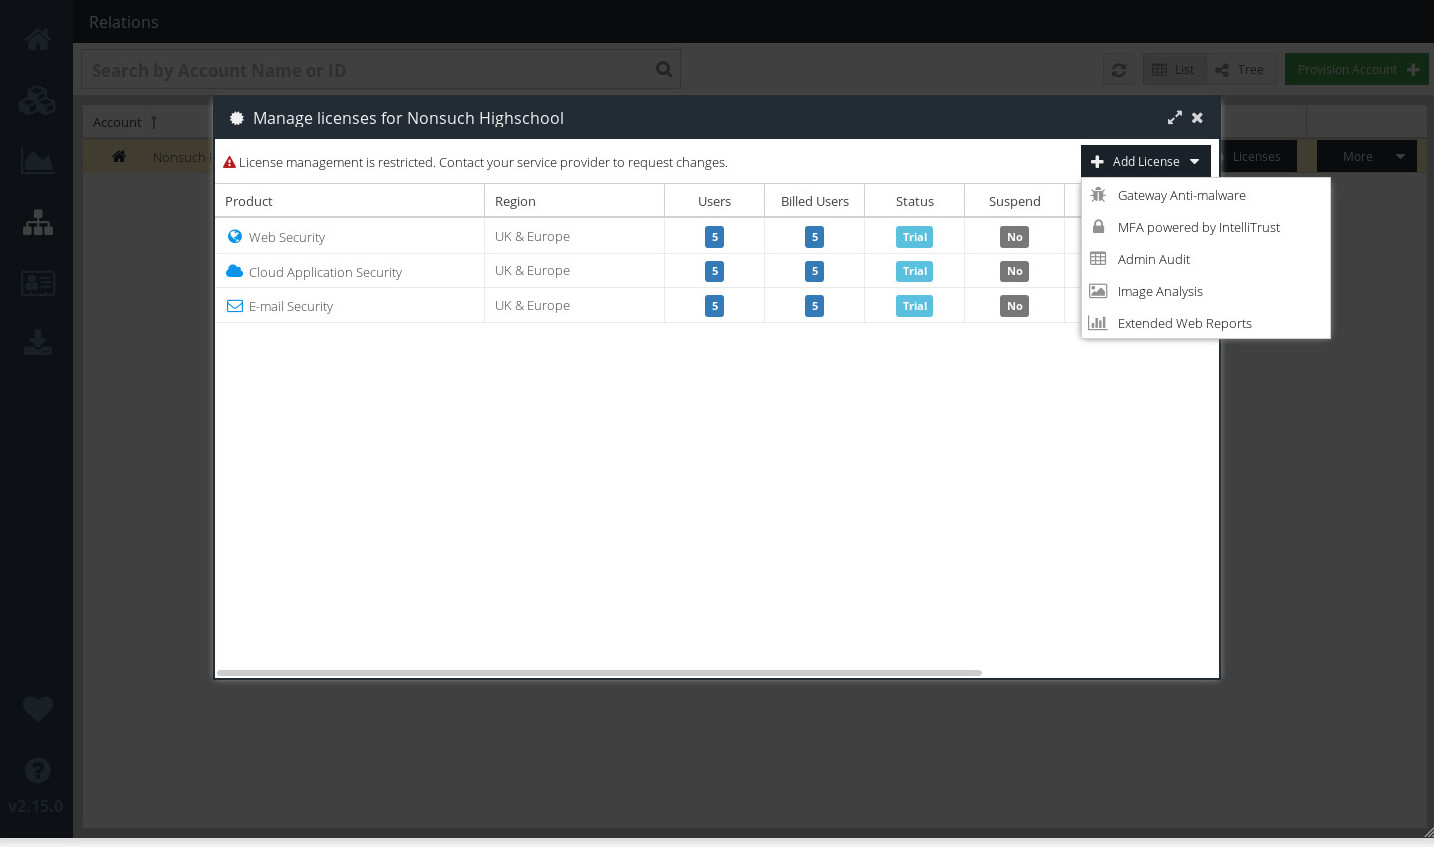
To provision MFA powered by IntelliTrust™for an account you control, visit your USS Dashboard and click Account Management. Choose the account to which Cloud MFA should be added, and click  .
.
From the  drop-down menu, choose MFA Powered by IntelliTrust.
The users that Cloud MFA can protect are taken from your Active Directory lists. Cloud MFA authentication is based on username (not IP address or MAC address).
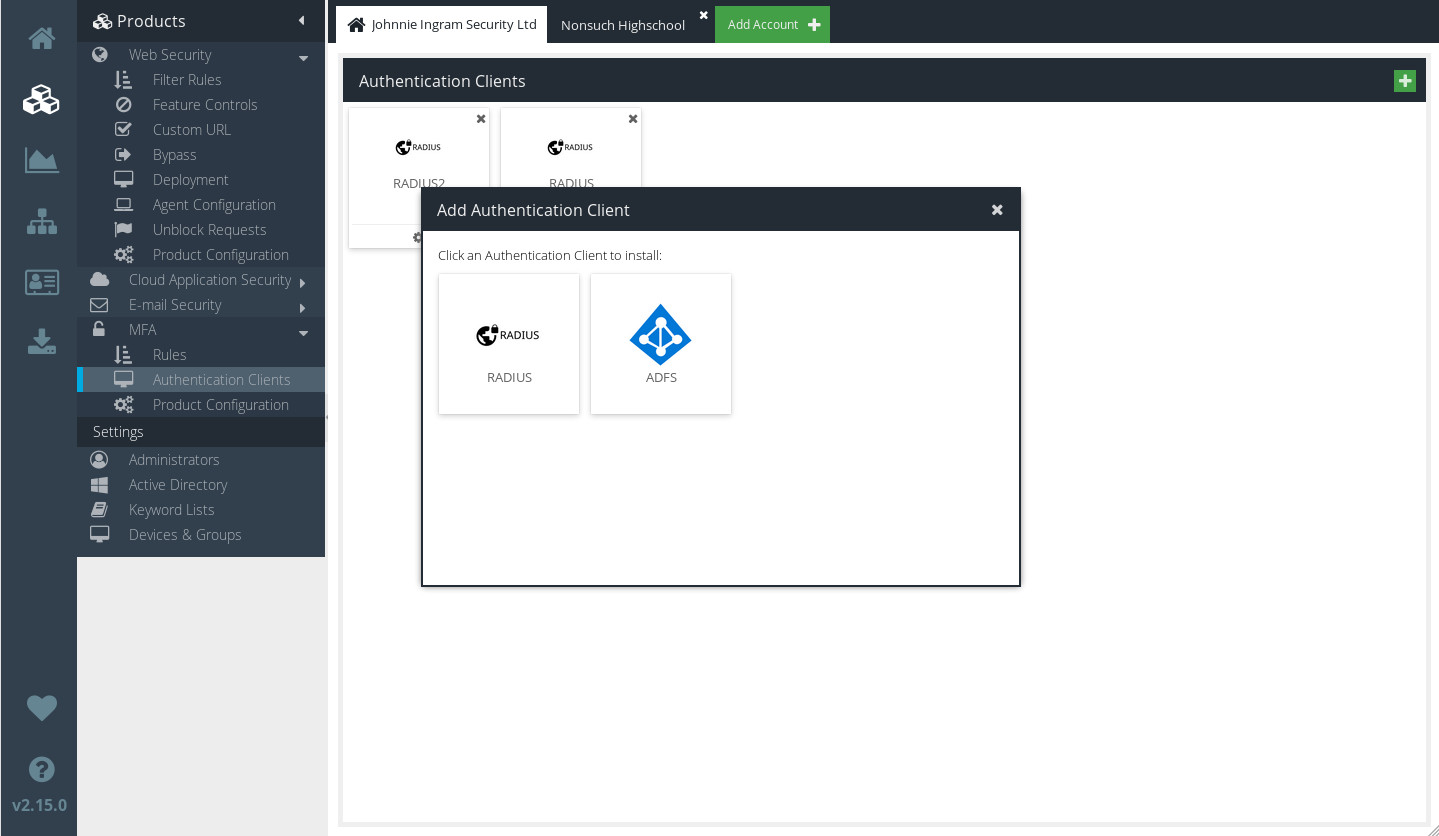
Adding Authentication clients
In order to allow your users to authenticate with Cloud MFA, you'll need to add at least one Authentication Client.
Visit your USS Dashboard and click Products ⟶ MFA ⟶ Authentication Clients.
Click  to add a new Client.
Choose the type of Client you wish to add.
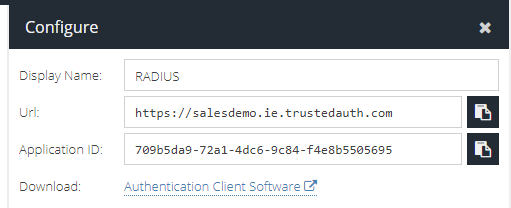
Click  to check or edit the settings for your new Authentication Client which are needed to configure the Authentication Client (server) software.
Deleting an Authentication Client
You can easily delete an Authentication Client, by simply clicking the  icon at the top right of the client.
Configuring MFA Rules
Cloud MFA uses a powerful and intuitive Rules engine (just like other Cloud USS products).
When a new Authentication Client is added, Cloud MFA will automatically create a set of sensible default Rules. You can see the Rules currently in place for your account by visiting your USS Dashboard and clicking Products ⟶ MFA ⟶ Rules.
The default Rules
A new Cloud MFA installation will contain two Rules for each Authentication Client: an MFA Rule and a Bypass Rule.
Click  to edit a Rule.
The MFA Default Rule
The MFA Rule is the crucial Rule for the MFA product, and dictates how your users are allowed to authenticate. Like other Rules, the MFA Rule is made up of Conditions, First Factor Actions and Second Factor Actions. The MFA Rule is a pre-defined Rule with a sensible set of default Conditions and Actions.
For the majority of users, the default MFA Rule will be sufficient on its own and will not need to be changed. If you do wish to change the Rule, follow the instructions for adding your own Rule.
The Bypass Default Rule
The Bypass Rule is set to Inactive initially. Only enable it if you want to maintain a list of users who are allowed to bypass 2nd-factor Cloud MFA authentication.
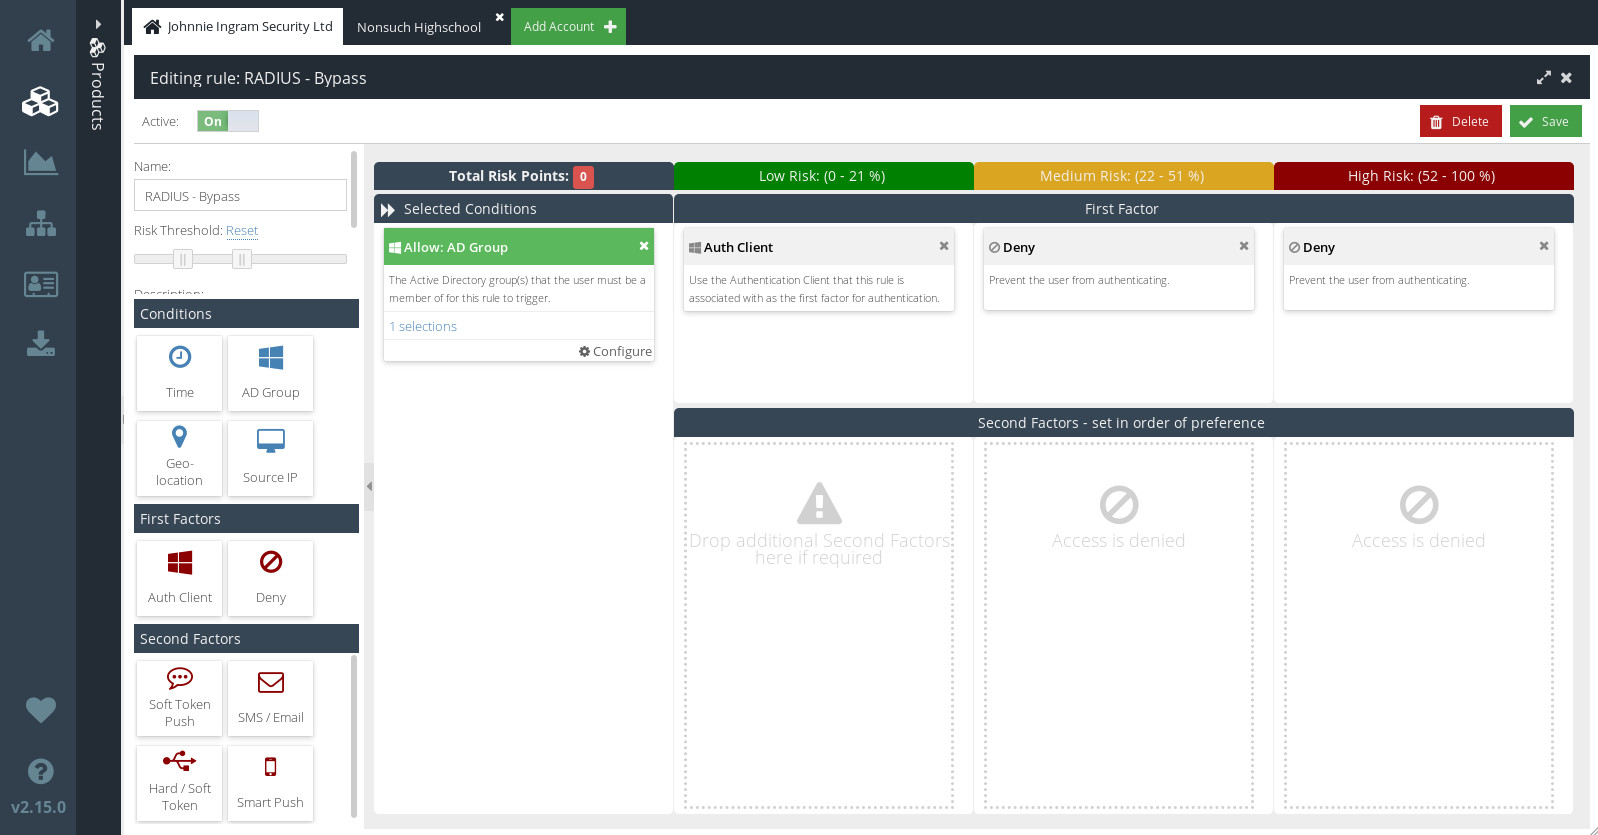
Like other Rules, the Bypass Rule is made up of Conditions and First Factor Actions. Unlike other Rules, though, the Bypass Rule has no Second Factor Actions. That means that, for users who meet the conditions of this Rule, no further challenge will be issued after initial login. It is therefore strongly recommended that you add an AD Group Condition, and strictly limit access to the AD group you select.