Using the CEA Outlook Add-in
![]() Updated 2 years ago
by
admin
Updated 2 years ago
by
admin
Introduction to the CEA Outlook Add-in
Within this guide, we'll go through an introduction to the Compliant Email Archive (CEA) Outlook add-in and how to use it.
Interface
The CEA Outlook add-in has an intuitive interface, but we'll run the options and what they do below and the corresponding icon (in emoji form).
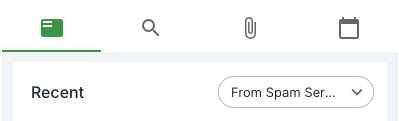
📨 Recents
This is the default option you will land on when opening the CEA add-in. It will display a list of recent emails from the currently selected email's recipient for the past 30 days. You can change if you'd like to see recent emails "From" or "To" this person by clicking the dropdown within the top right.
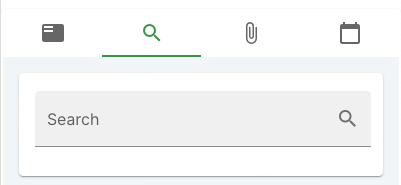
🔎 Search
The search option allows you to search across your entire archive directly from within the CEA Outlook add-in. It's a very handy tool if you're looking for something quickly.
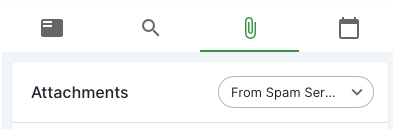
📎 Attachment
View all your recent attachments to/from the currently selected email recipient. Never forget or lose attachments again.
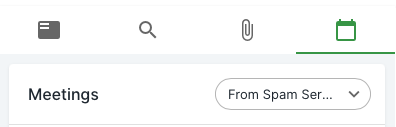
📅 Calendar
The calendar options allows you to see all previous and upcoming meetings with the current recipient.
The CEA Outlook add-in is a handy tool to have pinned on your sidebar. You can also Search your CEA directly from within the add-in.
Searching via the CEA Outlook Add-in
You can search your entire archive using the CEA Outlook add-in without ever leaving Outlook. If you need to, you can also take your CEA Outlook add-in search into the full archive interface.
We're going to run the following example search story:
"I know I had an email that I wanted to read from the company Zeplin. It had something to do with how to build bots."
So, let's do that search within the Outlook Add-in.
- Search the CEA for emails from
blog@send.zapier.com - Search should include keyword "bots"
Open the CEA Outlook Add-in
Click the Outlook add-in from within your Outlook ribbon bar or from within the more menu if you're using the newer Outlook interface.
Click the "Search" Icon
Click the search icon from within the CEA Outlook add-in to bring up the search interface.
blog@zapier... You can be selected on any email you'd like.Type our first keyword into the Search Field
We know the email contained something to do with "bots" so let's type that into the search field on the CEA Outlook add-in.

Click the "From" Button
Automatically, the Outlook add-in sets the email address from the email you've selected in Outlook as the "from" address. For our search query, we'll need to change that to blog@send.zapier.com
Enter the "From" Address
In this case, we want to change it to blog@send.zapier.com so let's add that and remove the one set by add-in automatically.
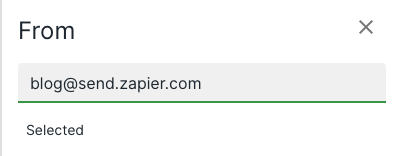
Find Results
We should have some archive results visible if we close the "From" box. To close the from box you can either click the "X" icon in the corner or click within the dark overlay at the top.View the Email
Let's read the email, just click on the result from the list. The archived email should now be opened inside the add-in.

This is just a small sample of what the Outlook add-in can do.
Pinning the CEA Outlook Add-in
Pin the CEA Outlook Add-in to keep it open while browsing.
Pinning your CEA Outlook add-in means that the add-in stays open when you browse emails, instead of closing and re-opening the add-in each time. Pinning can be toggled on and off at the click of a button.
Pin Add-in
To pin your add-in to the side, firstly open the add-in's side panel. At the top right of this panel in the title section you will notice a small "Pin" icon. Clicking this pin will toggle on and off the pinning of your add-in window.

Unpin Add-in
To unpin your add-in, simply click the pin again, so that it is faded in color.
Continuing your CEA Add-in Search on the CEA Web Interface
How to continue your CEA Outlook Add-in search on the full CEA interface.
In this guide, we'll go through how to continue your CEA Outlook add-in search on the full CEA interface. The CEA Outlook add-in allows you to continue your current search directly on the full CEA interface in just one-click.
1. Start a search in the CEA Outlook add-in
Once you have started a search within the CEA Outlook add-in you should be presented with a page similar to the one below.
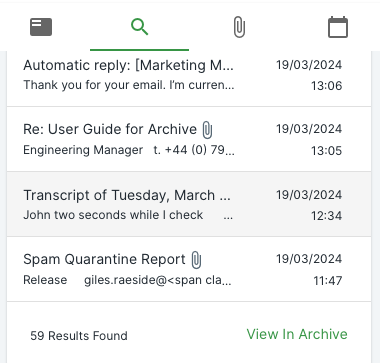
2. Click "View in Archive"
To continue your search in the full CEA interface, all you have to do is click "View In Archive" at the bottom of your results window. Clicking this button will open the archive in a new browser window, with your search already setup.