This guide provides the steps you need to follow in order to onboard Microsoft 365 accounts onto the Posture Management service.
This article will guide you through the following steps:
Create and configure a Microsoft App Registration for Posture Management
Assign read-only permissions to the new App Registration for Posture Management
Add the Microsoft 365 application to the Posture Management service
We recommend using the PowerShell script for a quick onboarding process as it will automate most actions, reducing the time and effort required. If you encounter specific issues, you can refer to our manual onboarding guide.
Automatic Onboarding
You will need to be a Global Administrator of the Microsoft 365 account or have sufficient admin privileges to perform these steps.
Log in to the Azure Portal.
Click Cloud Shell.
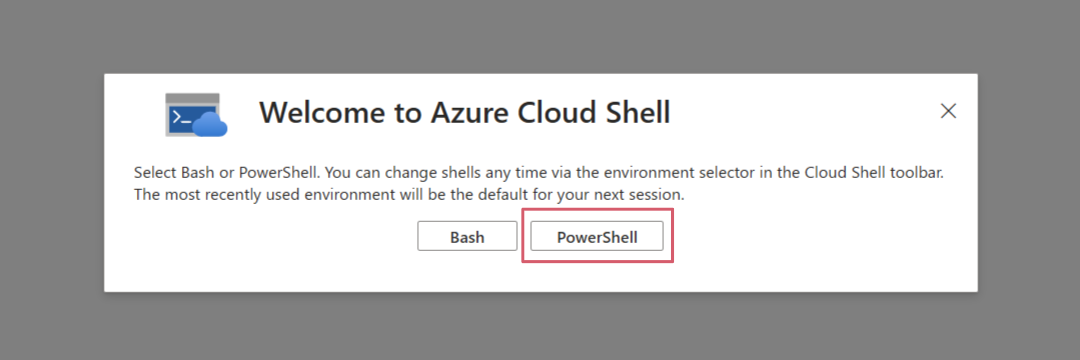
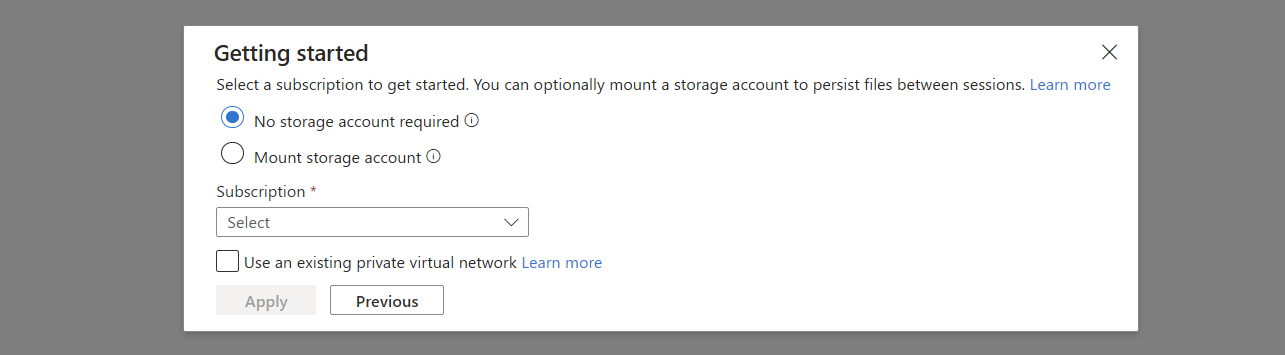
If you haven’t used Azure Cloud Shell, select PowerShell.Select No storage account required and your current subscription. Keep the Use an existing private virtual network checkbox unselected.If you have already used Azure Cloud Shell with Bash selected, you can always switch to PowerShell.
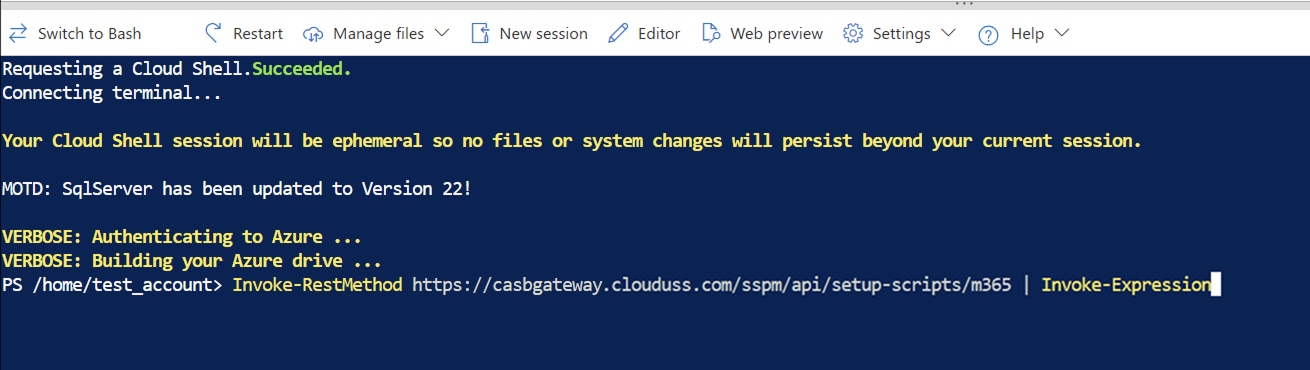
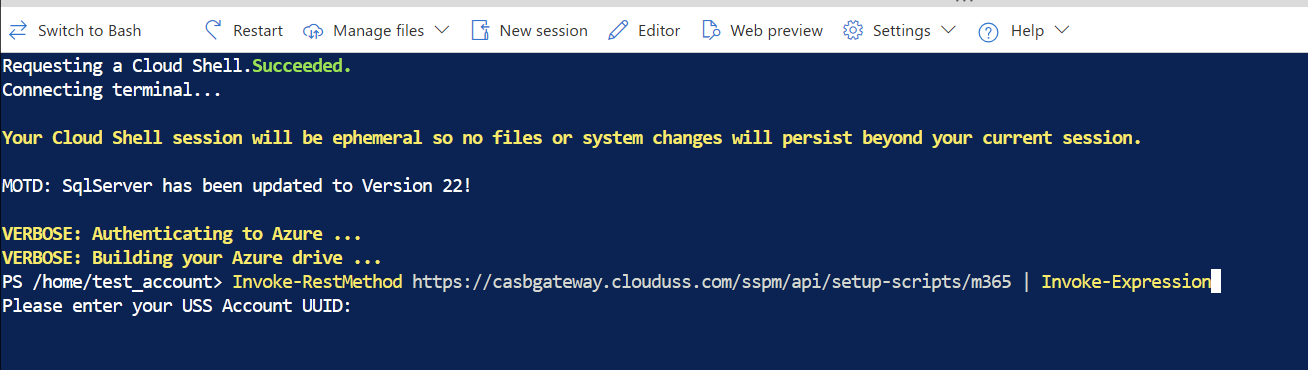
Input the following command into the command line interface and press the Enter key.
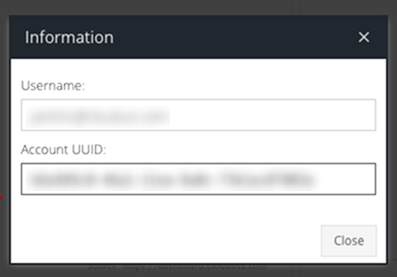
You can copy the Account UUID from the USS dashboard by right-clicking your Home tab in the Security Modules section.
After verifying your UUID, we will automatically perform the following actions:
Register a new application with the Posture Management name.
Create a new client secret with the PostureManagementSecret name and 2-year expiry time.
Create a new service principal for the Posture Management application.
If the Microsoft Graph PowerShell SDK has not already been added, we will install it so we can add the required permissions later. Please be aware that installation may take approximately 60 seconds, and warning messages may be shown. You can ignore those messages.
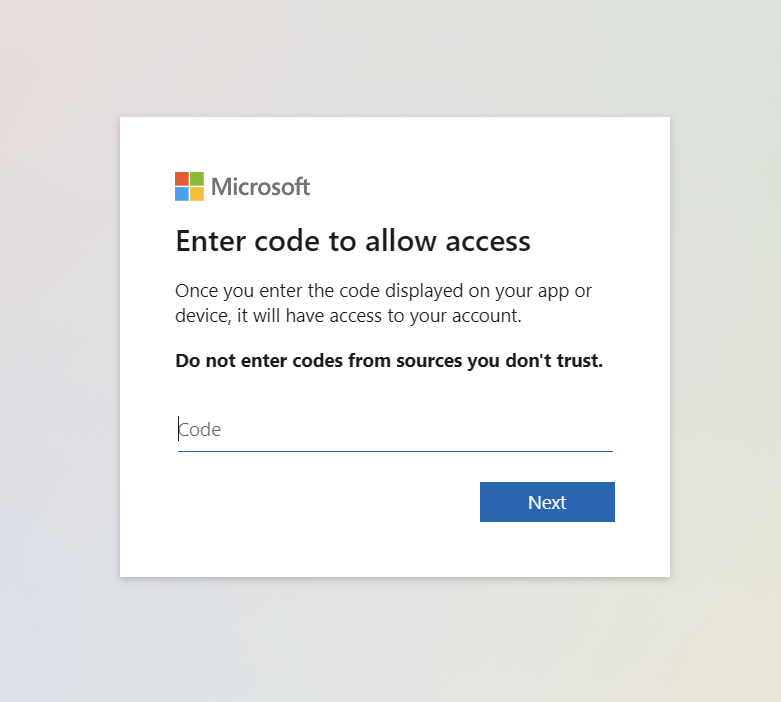
After those steps are completed, you will see the following message:Open the page displayed in a message in a new tab and enter the copied code.
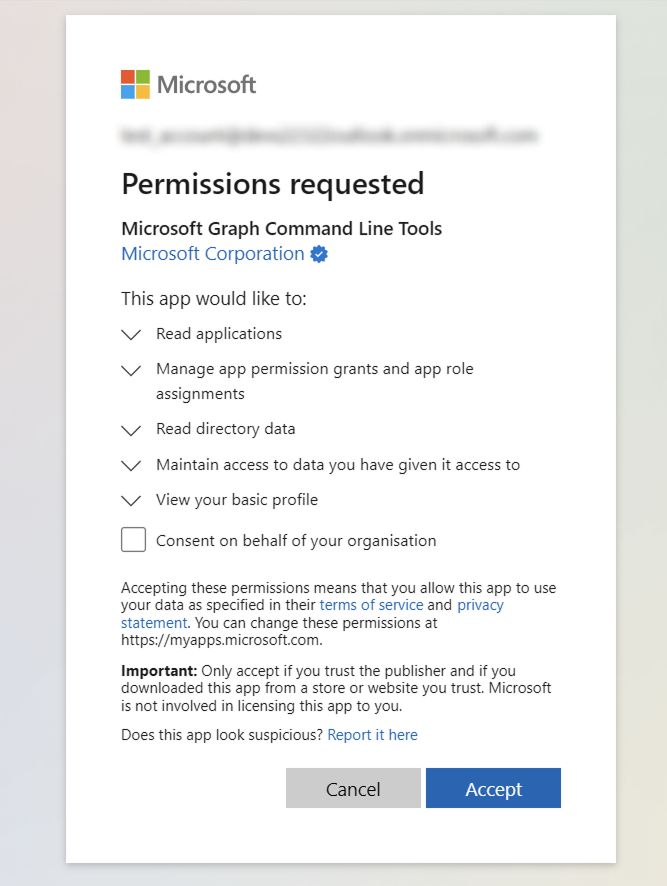
Give the script permissions to be executed and return to the Azure Portal.
We will automatically add the following permissions to the Posture Management service principal:
Application.Read.All
AuditLog.Read.All
Policy.Read.All
Reports.Read.All
RoleManagement.Read.All
User.Read.All
UserAuthenticationMethod.Read.All
Directory.Read.All
Group.Read.All
SecurityEvents.Read.All
SharePointTenantSettings.Read.All
OnPremDirectorySynchronization.Read.All
Alert.Read.All
Machine.Read.All
Vulnerability.Read.All
After everything is completed, you will see the corresponding messages. Copy the Tenant ID, Client ID, and Client Secret and keep them safe. Once you leave this page, the Client Secret will not be visible again. You will need all three in the last step.
To activate checks using PowerShell (recommended), the Exchange Administrator role should be assigned to the Posture Management app created in Step 6.
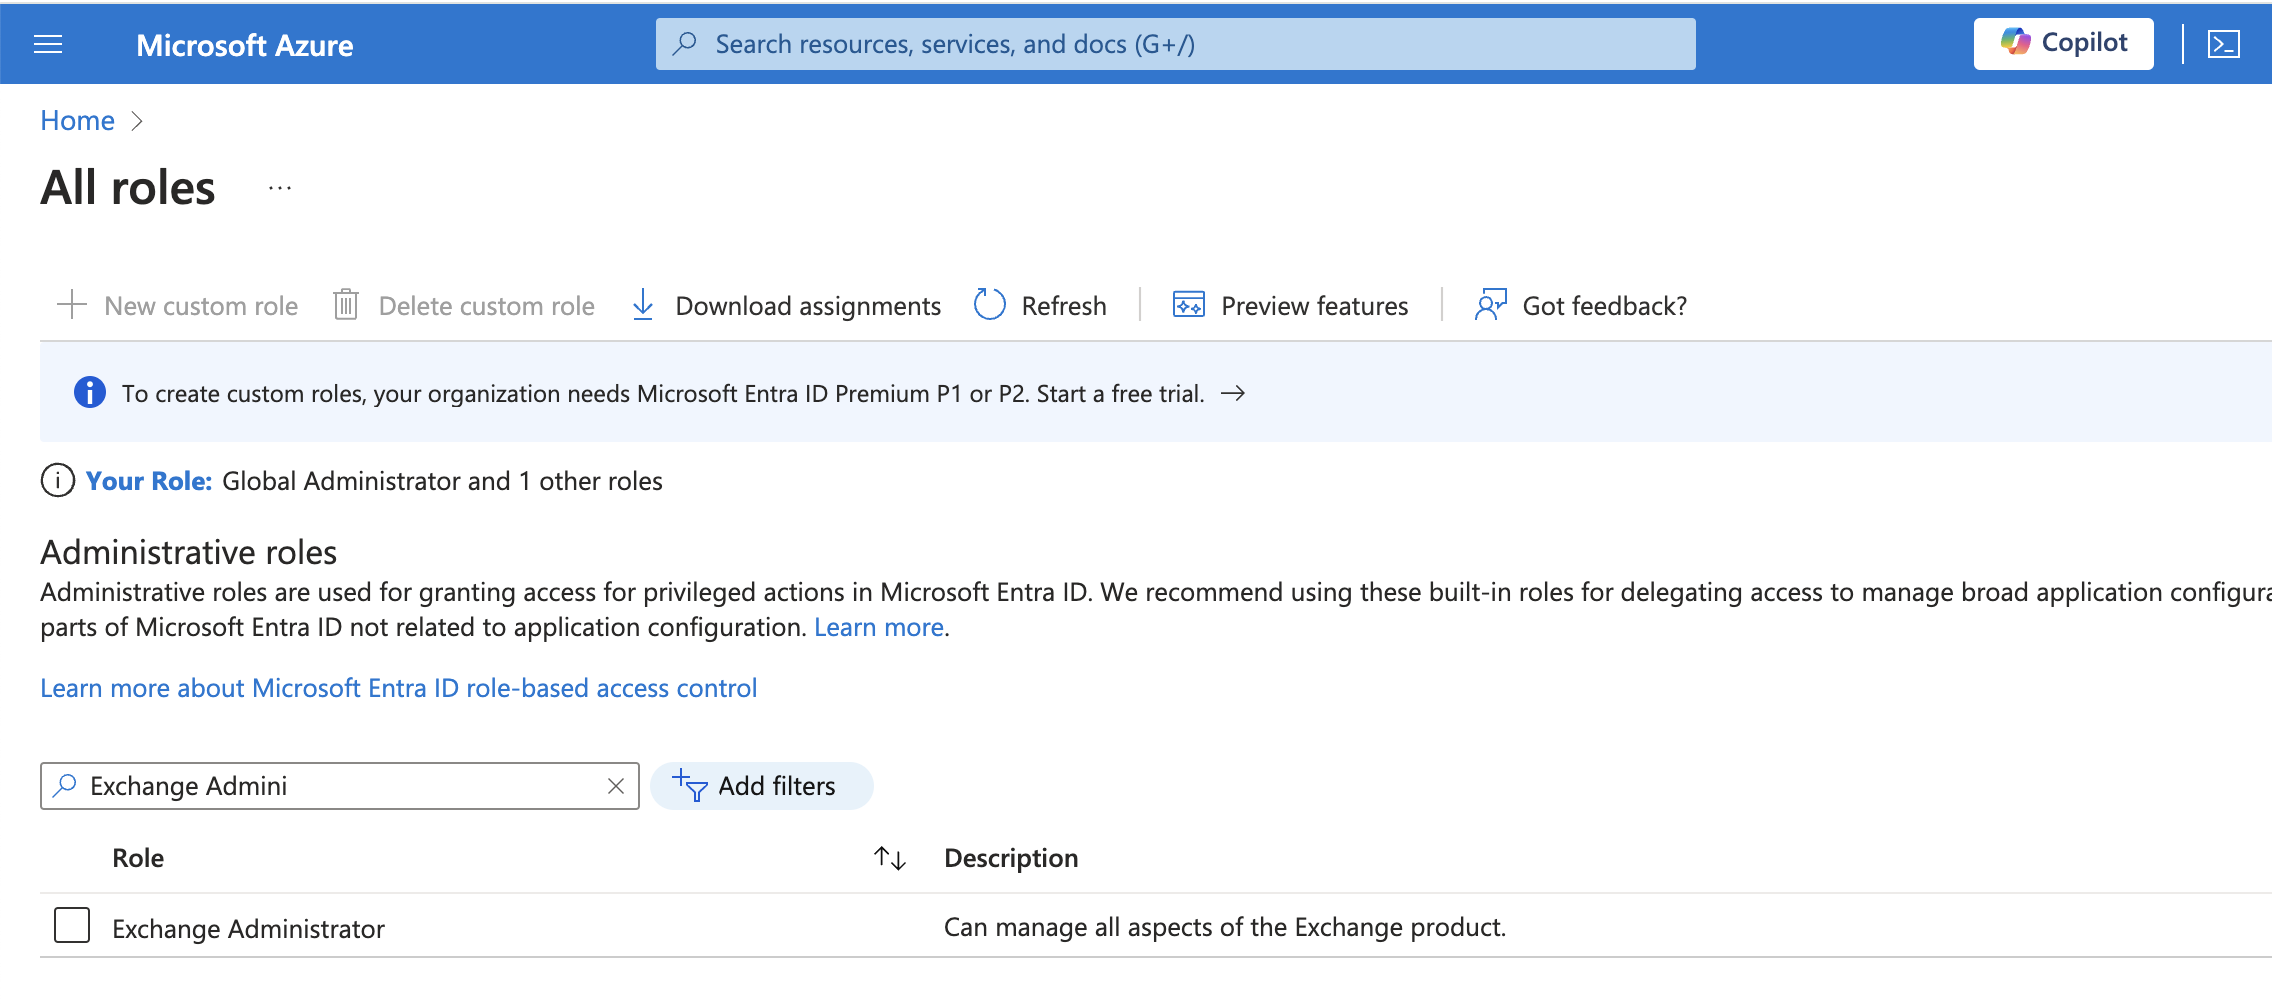
Open the Microsoft Entraroles and administrators section and in the Search field enter Exchange Administrator.
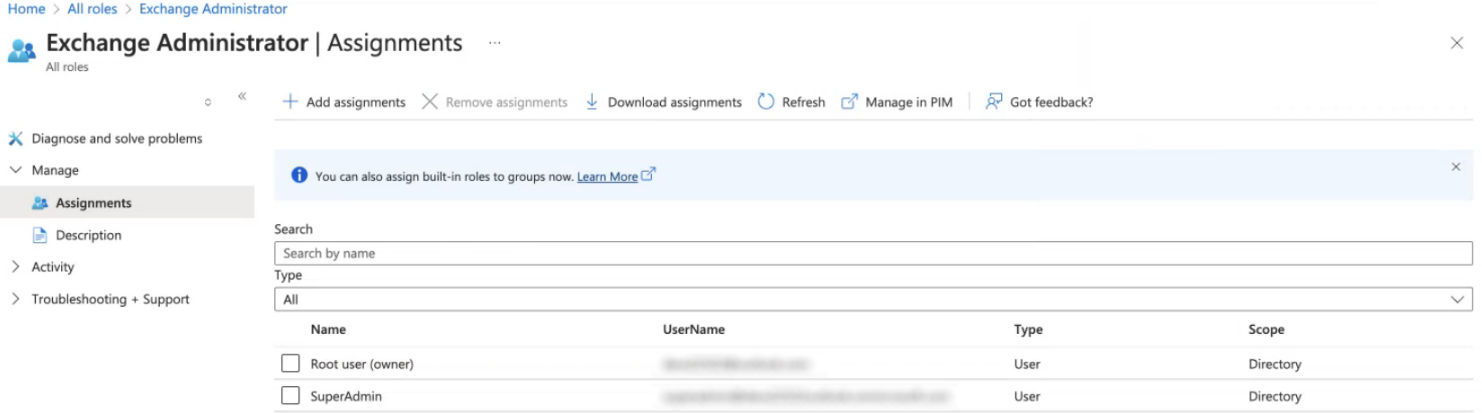
Click on Exchange Administrator to open the Exchange Administrator Assignments page.
Click the + Add Assignments button.
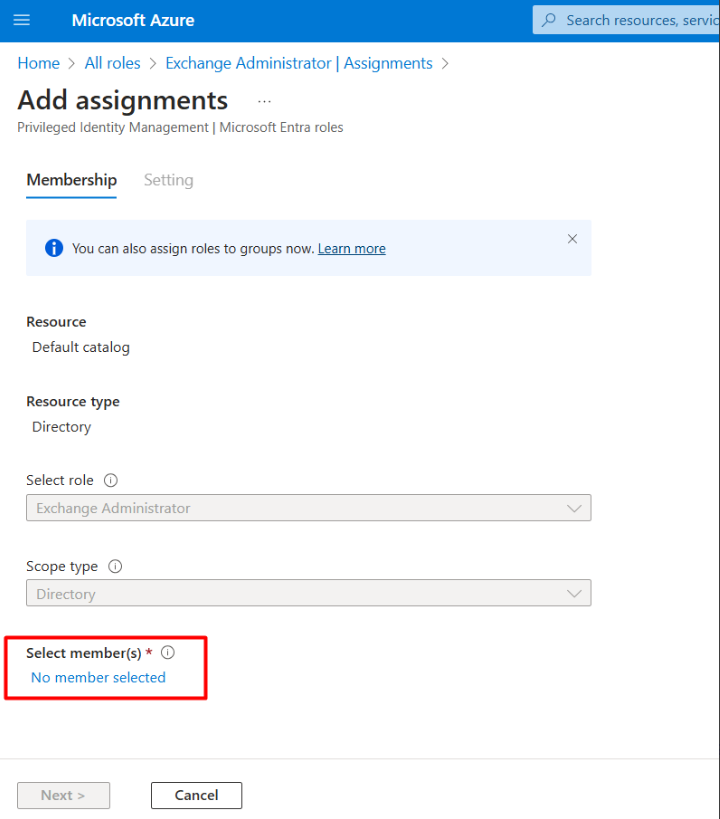
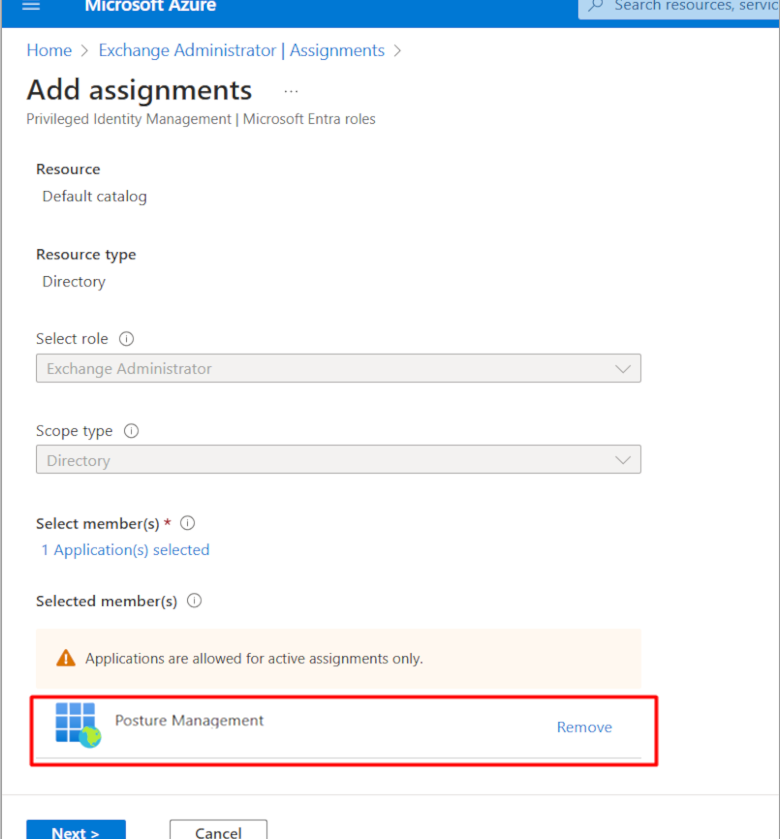
On the opened Add Assignments page, scroll down and click the No member selected button.
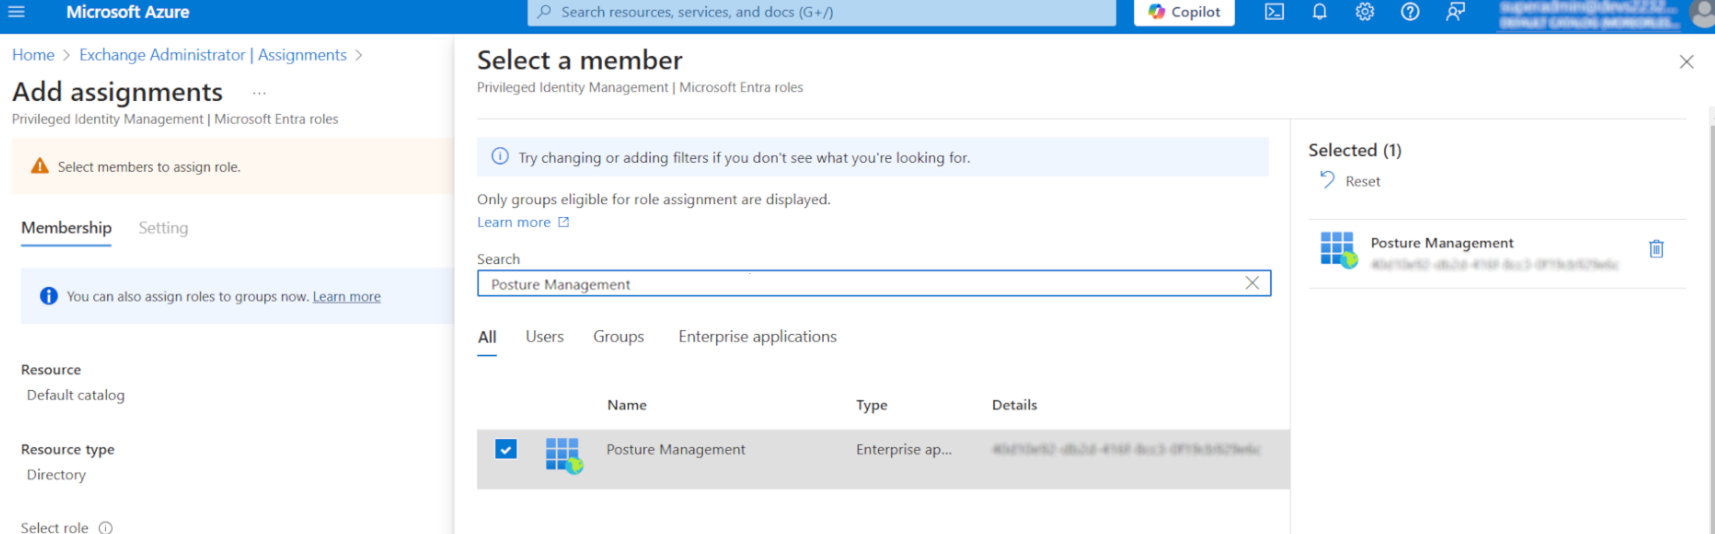
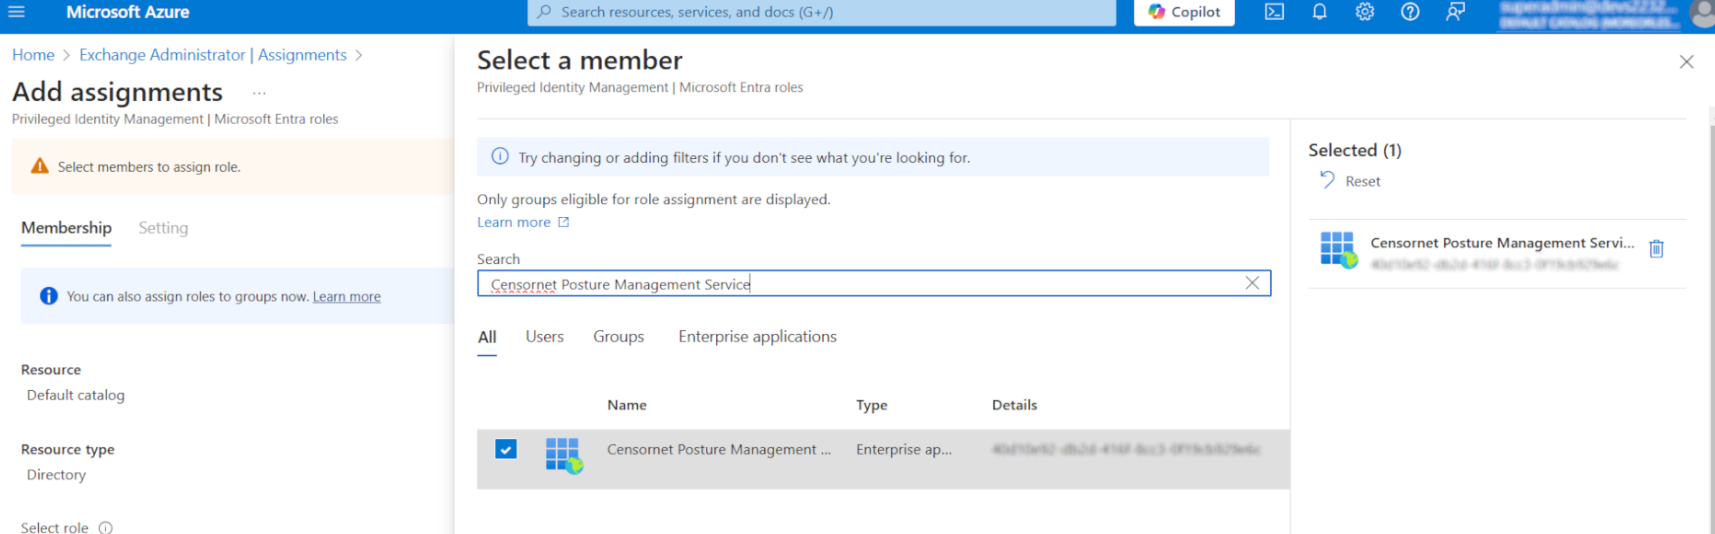
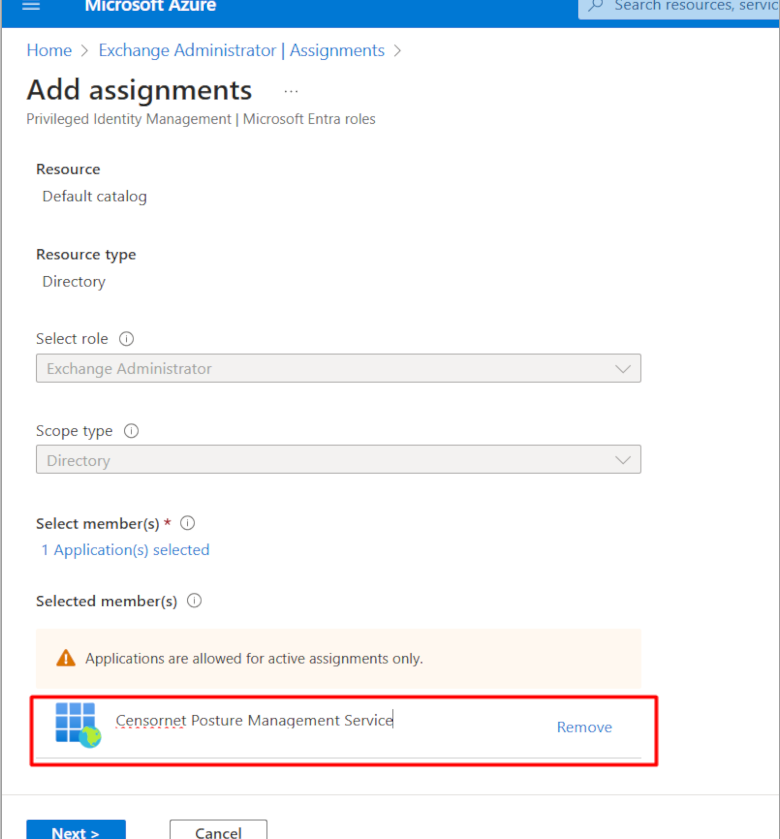
On the Select a member page, in the Search field search for the Posture Management app created in Step 6, select it, and click the Select button. Your new Posture Management app should appear in the Assignments list.
On the Add assignments page, scroll up and open the Setting tab.
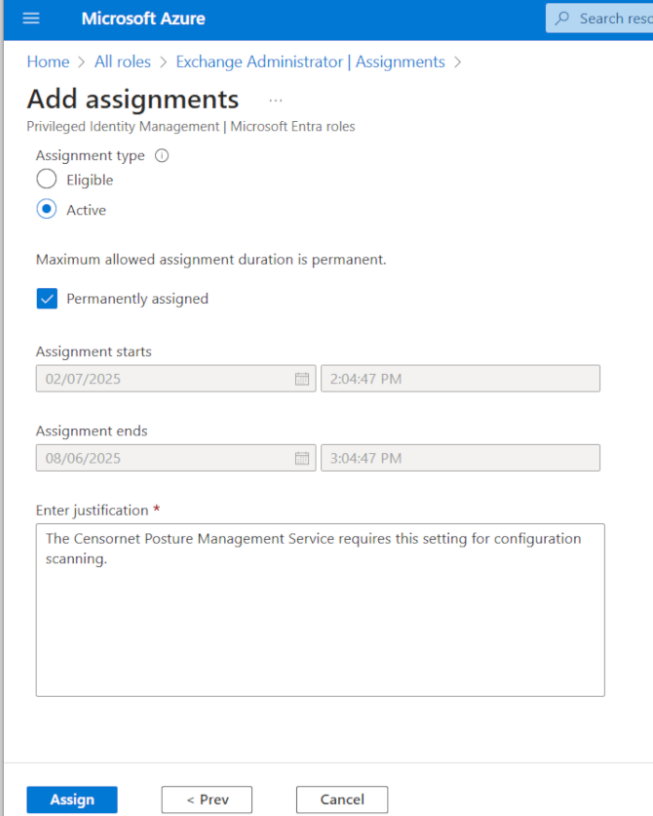
On the Setting tab, select Assignment type: Active. Keep the Permanently assigned checkbox selected.
Then enter justification, e.g., The Posture Managementrequires this setting for configuration scanning.
Click the Assign button.
Now we can configure the Posture Management service with your new Microsoft 365 application. Log in to the USS Dashboard and navigate to Products -> Posture Management.
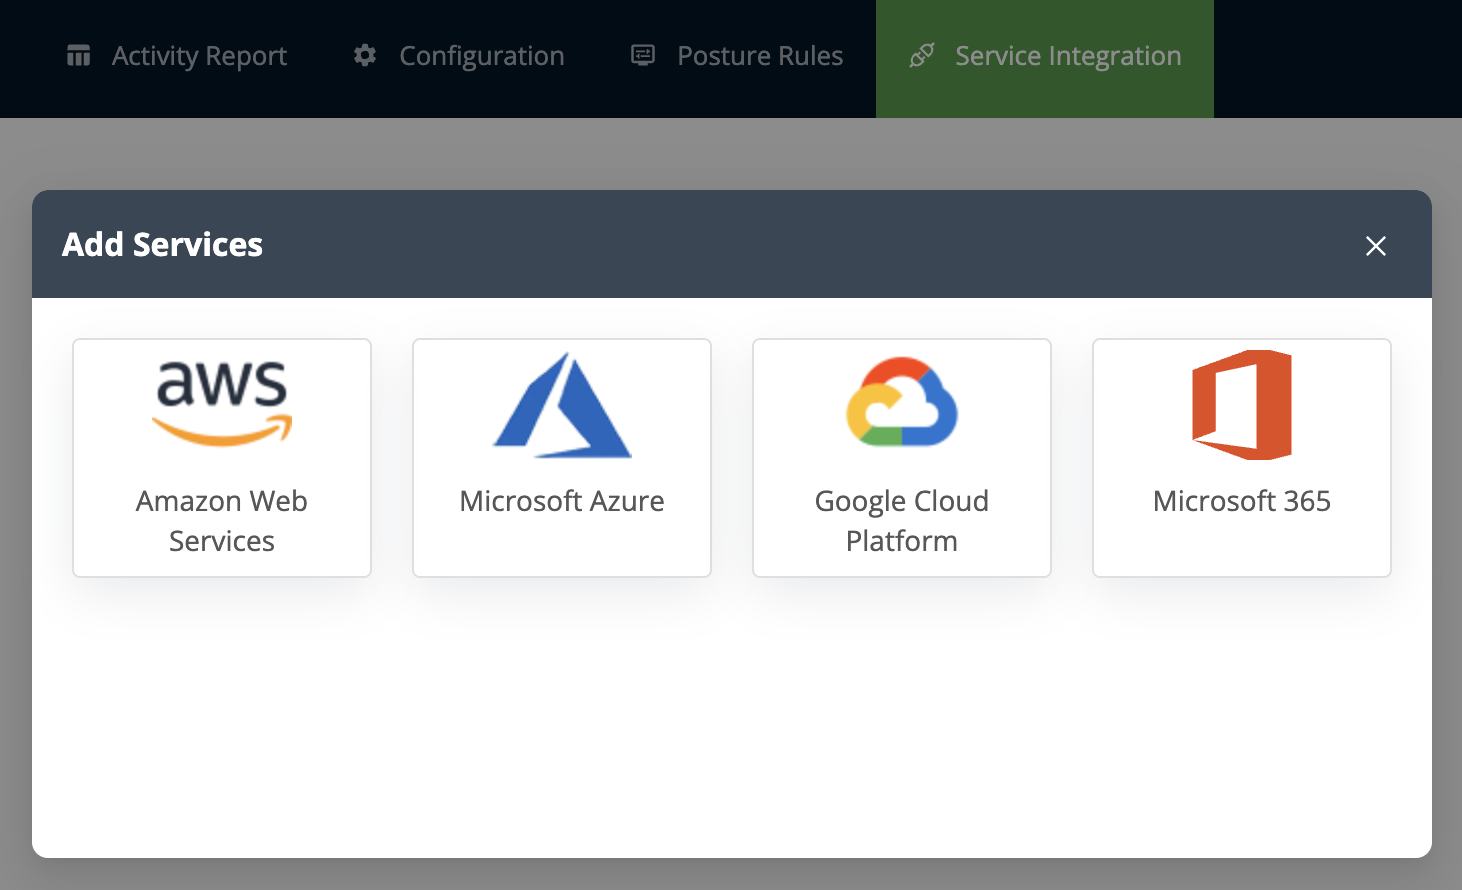
The Posture Management dashboard will open in a new tab. From the top ribbon, select Service Integration and then +
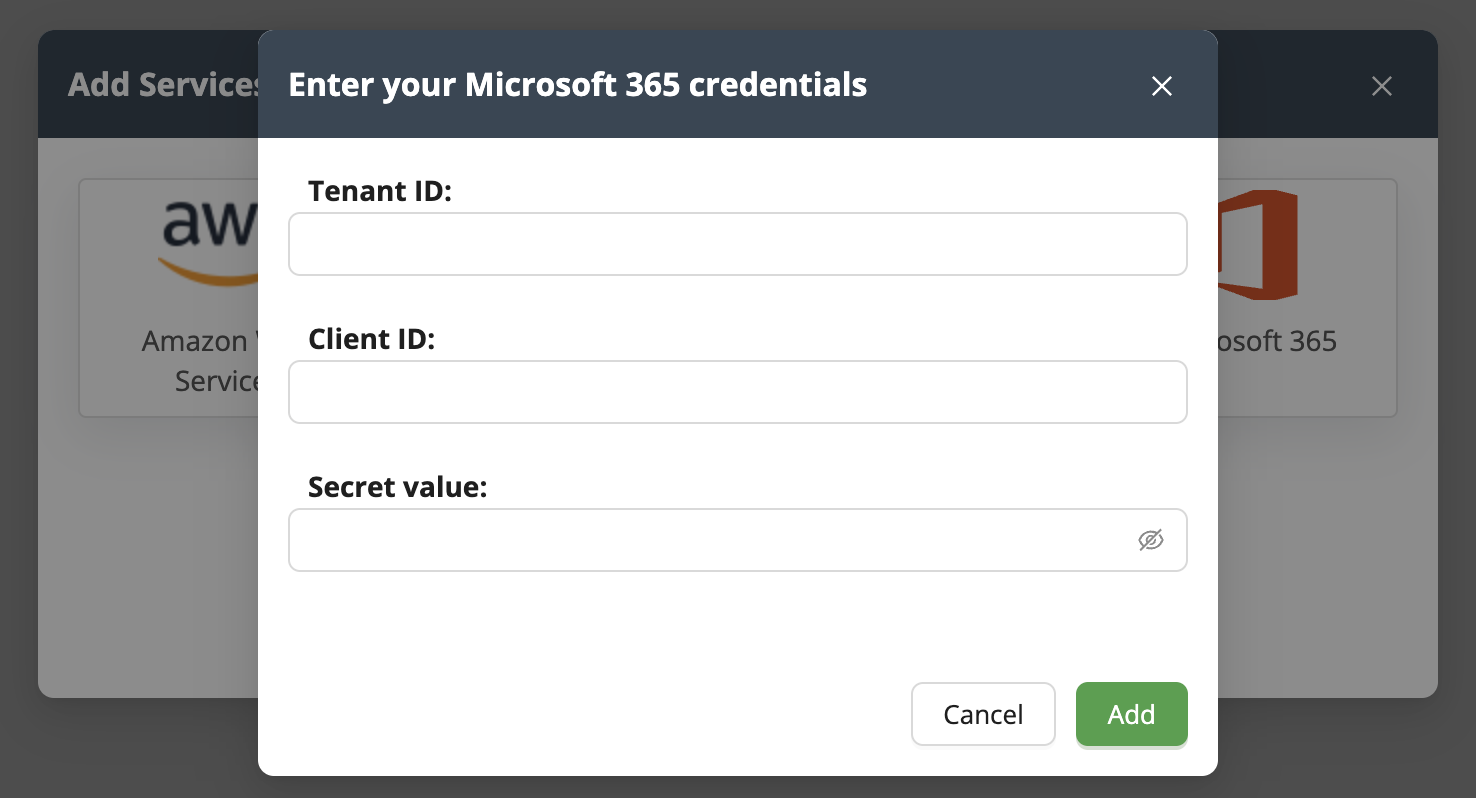
Click Microsoft 365.
Paste the values from Step 10 and click Add.
Click Scan Now to begin scanning the application immediately, or wait for it to automatically scan on a daily basis.
Once the first scan has finished, you will be able to view the results in the Charts and Activity report tabs.
Manual Onboarding
You will need to be an Administrator of the Microsoft 365 account, or have sufficient admin privileges, to perform these steps
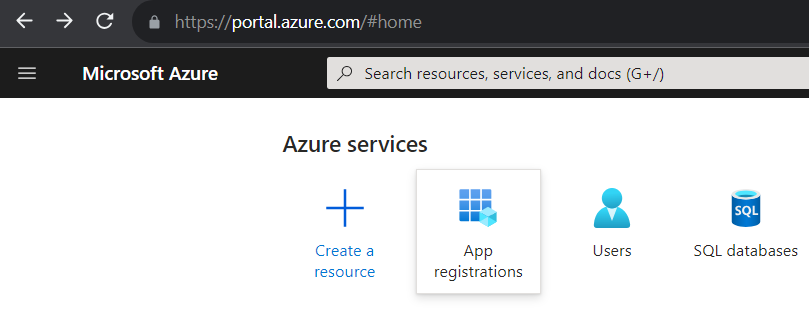
Log in to the Azure Portal.
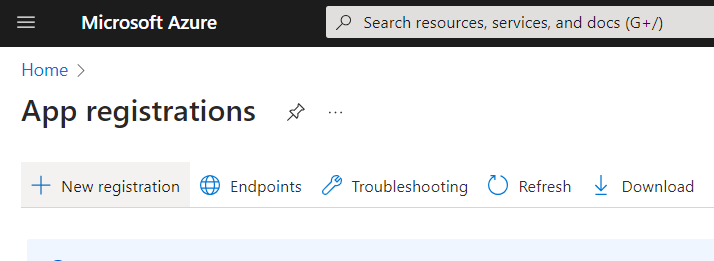
Search for App Registrations and open the panel.
Click New Registration.
In the Name field, enter something to identify the new application, such as "Posture Management".
In the Supported account types section select Accounts in this organizational directory only (Single tenant).
Click Register.
From the new app Overview page, make a note of the Application (client) ID and Directory (tenant) ID. These are required in the last step.
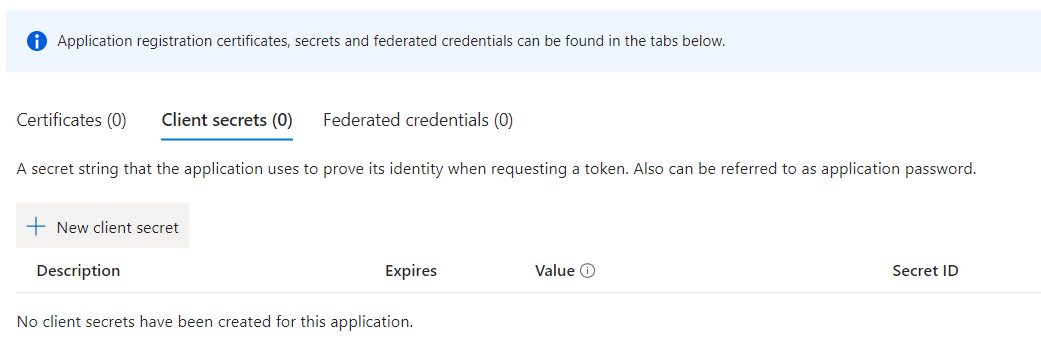
From the left navigation menu, select Certificates & Secrets.
Click New Client Secret.
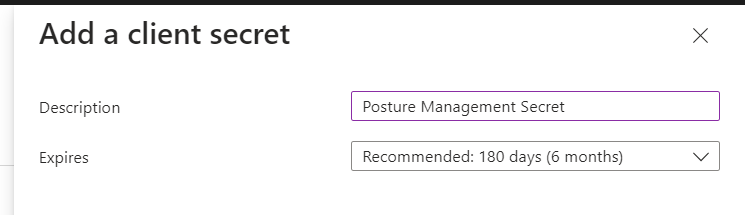
Enter a name for the secret and select the expiry time to suit your company policy.
Click Add.
Copy the Value of the new secret from the table and keep it safe. Once you leave this section the secret will not be visible again. You will need the secret in the last step.
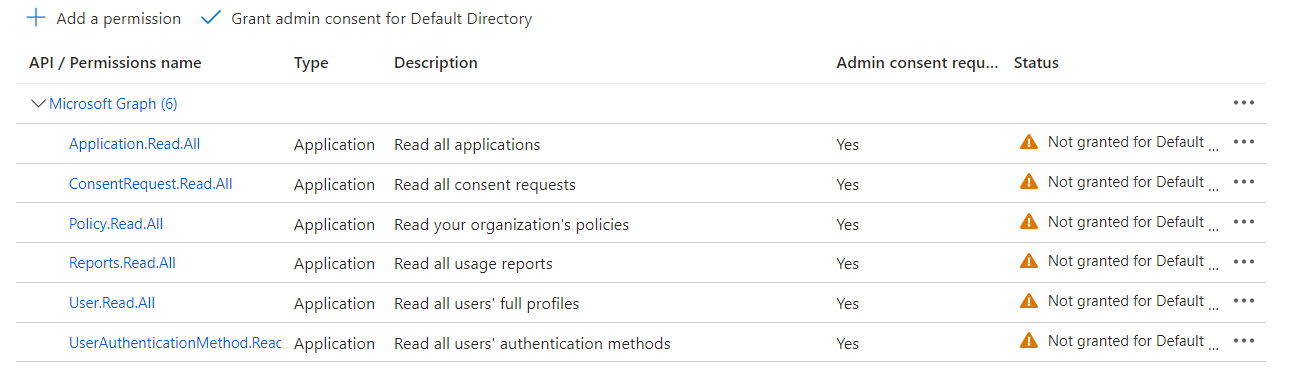
Click API Permissions on the left.
Remove the default User.Read permission and then click Add a permission and then Microsoft Graph and Application Permissions. Add the following one-by-one to the selector:
Application.Read.All
AuditLog.Read.All
Policy.Read.All
Reports.Read.All
RoleManagement.Read.All
User.Read.All
UserAuthenticationMethod.Read.All
Directory.Read.All
Group.Read.All
SecurityEvents.Read.All
SharePointTenantSettings.Read.All
OnPremDirectorySynchronization.Read.All
Alert.Read.All
Machine.Read.All
Vulnerability.Read.All
Click Add Permissions.
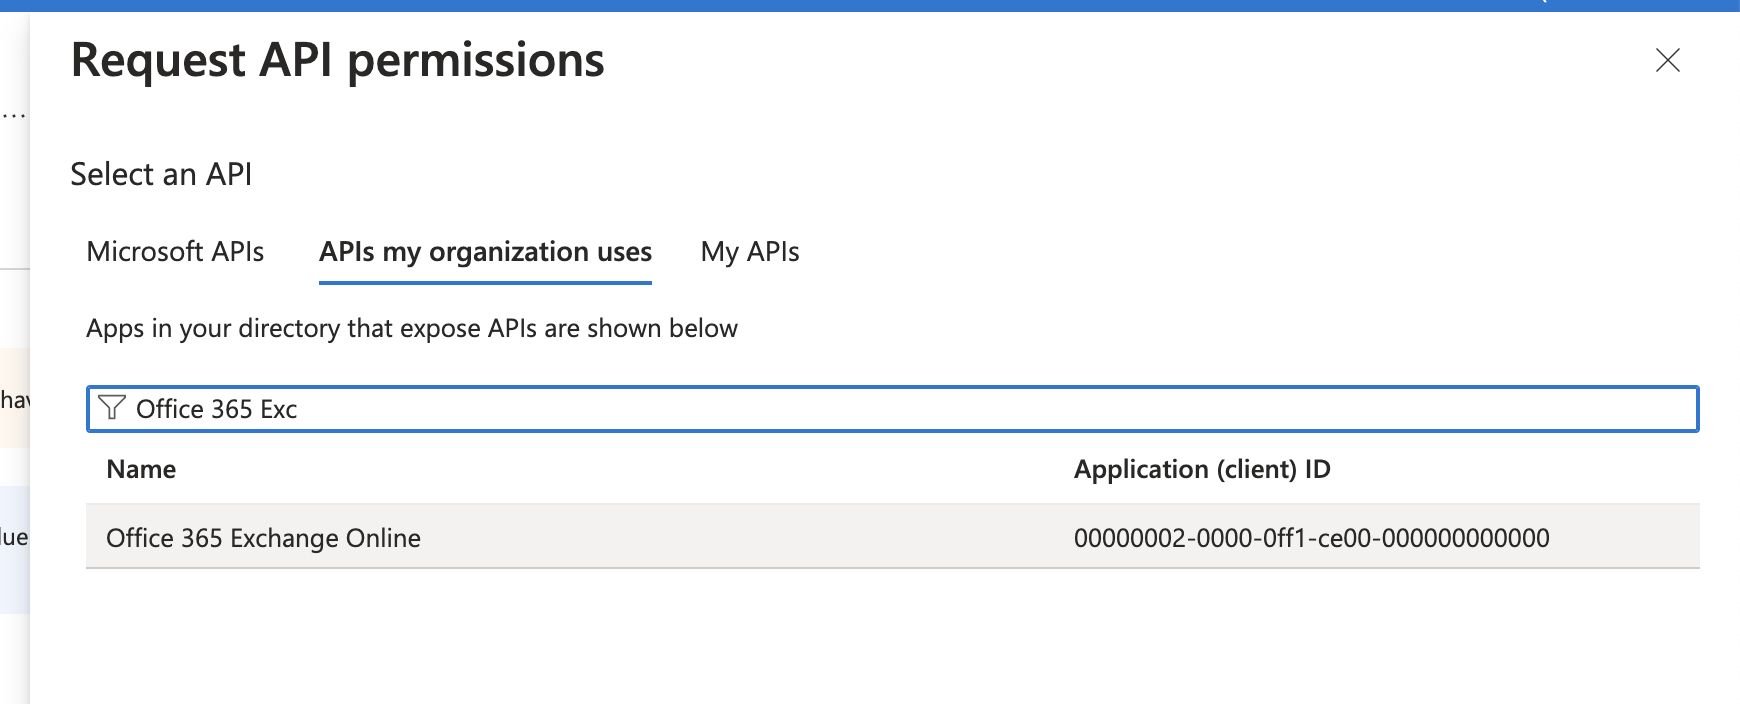
To allow the use of PowerShell snippets to perform checks, click Add a Permission and then click the APIs my organization uses tab and select the Office 365 Exchange Online option:
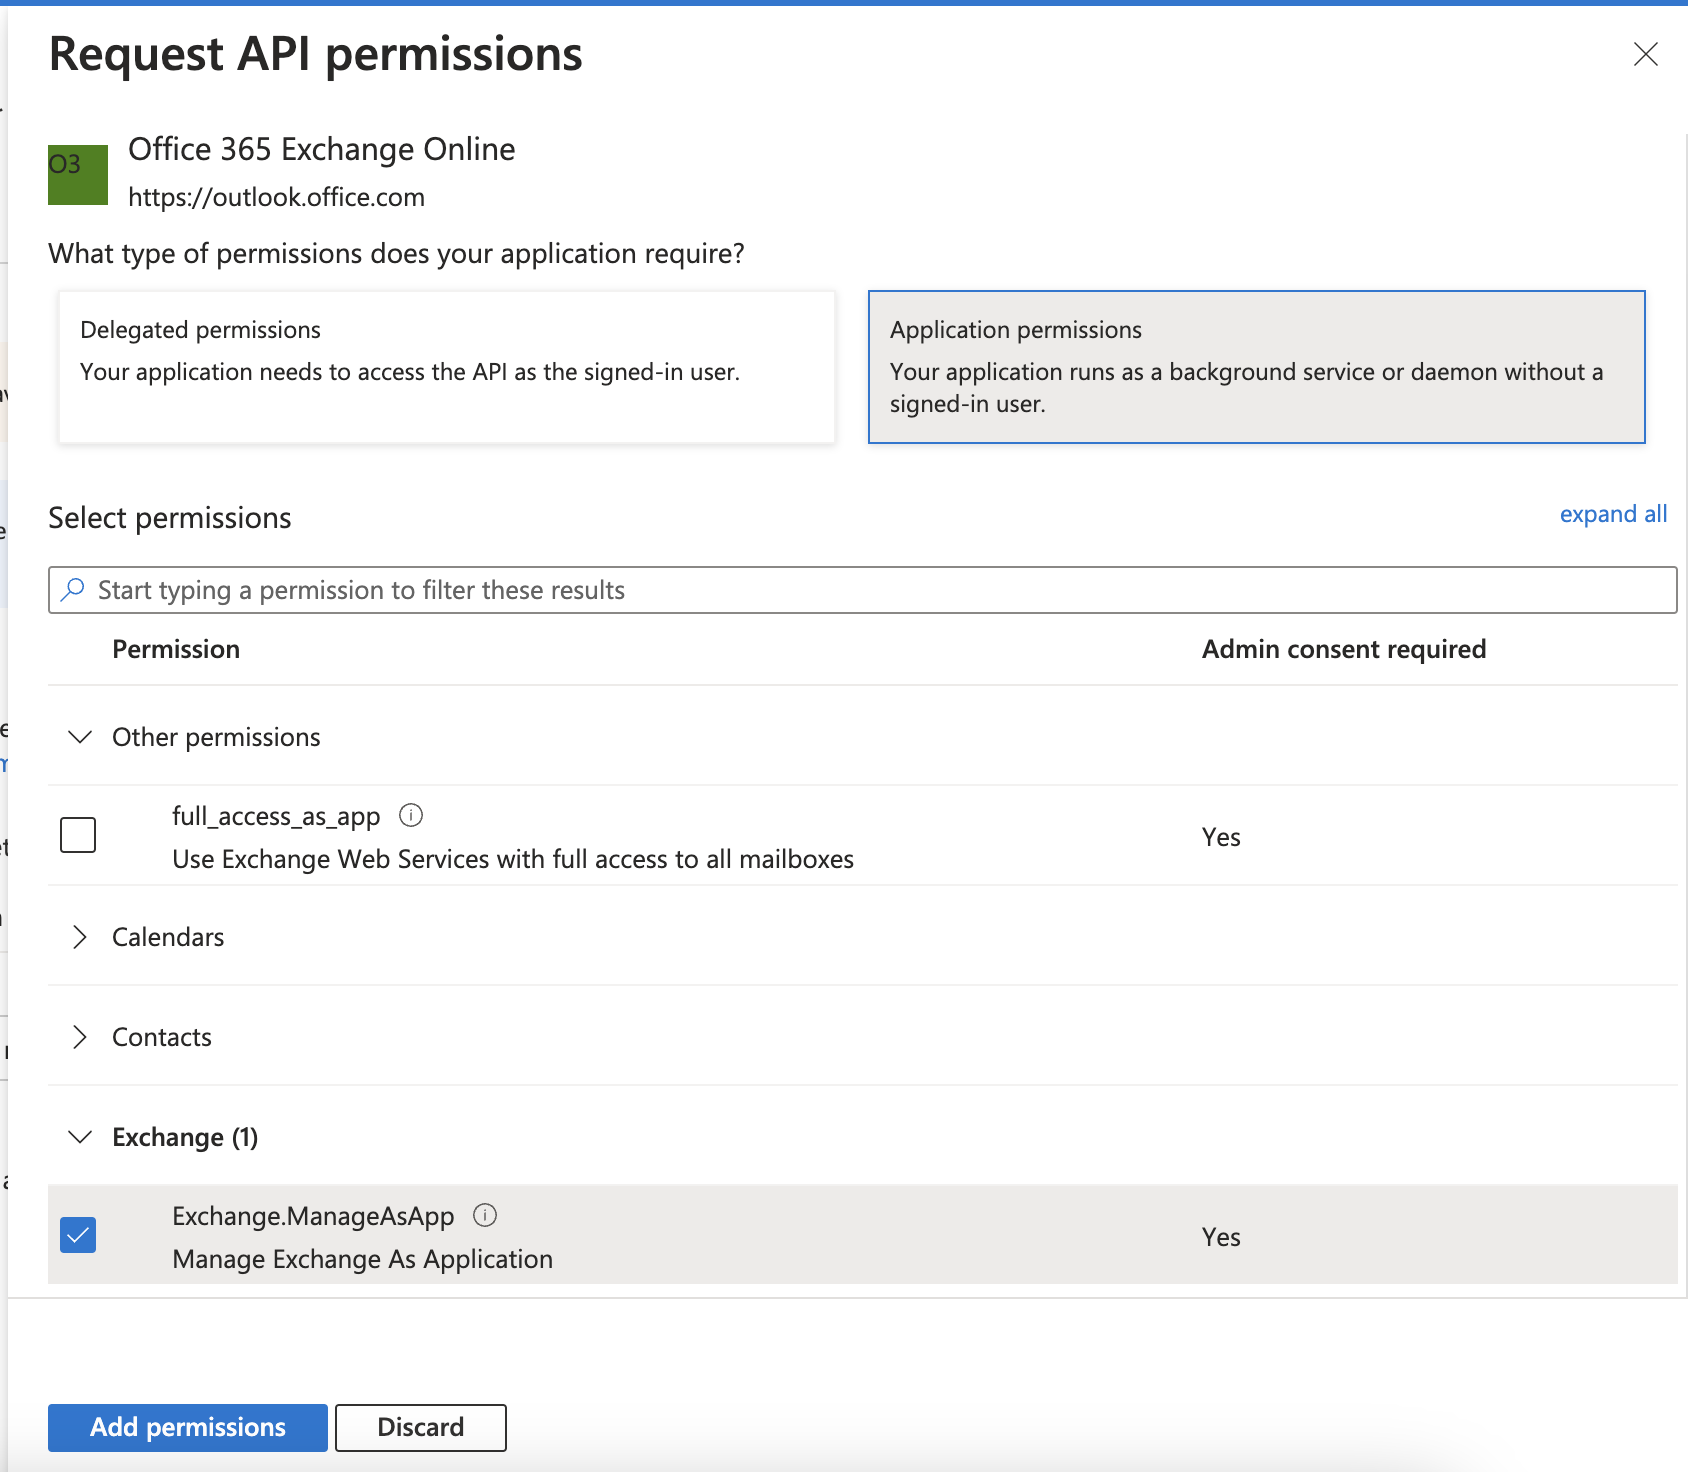
Next click Application Permissions and then Add Permissions. Scroll down to the Exchange folder, expand it and make sure Exchange.ManageAsApp is checked.
Click Add Permissions.
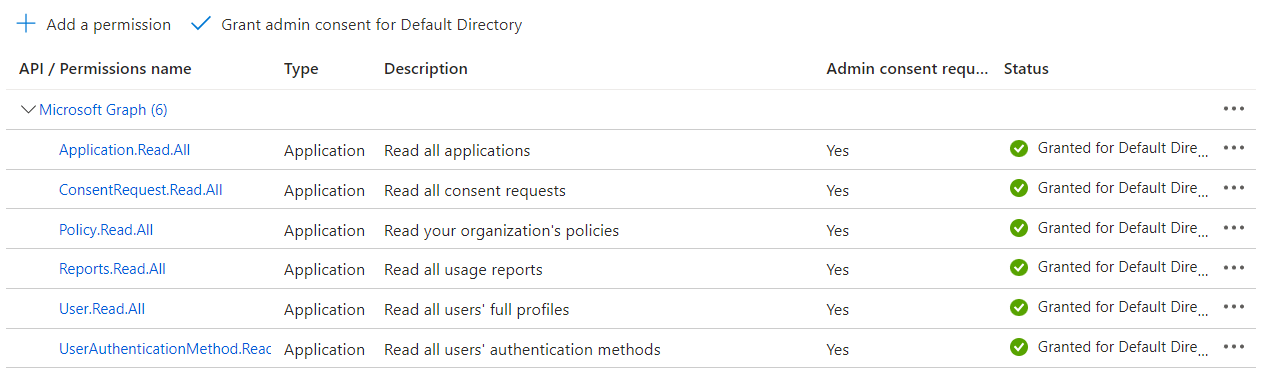
Now click Grant admin consent for XXX Directory.
To activate checks using PowerShell (recommended), the Exchange Administrator role should be assigned to the newly created Posture Management app created in Step 4.
Open the Microsoft Entra roles and administrators section and in the Search field enter Exchange Administrator.
Click on Exchange Administrator to open the Exchange Administrator Assignments page.
Click the + Add Assignments button.
On the opened Add Assignments page, scroll down and click the No member selected button.
On the Select a member page, in the Search field search for the "Posture Management" app created in Step 4, select it, and click the Select button. Your new "Posture Management" app should appear in the Assignments list.
On the Add assignments page, scroll up and open the Setting tab.
On the Setting tab, select Assignment type: Active. Keep the Permanently assigned checkbox selected.
Then enter justification, e.g., The Censornet Posture Management Service requires this setting for configuration scanning.
Click the Assign button.
Now we can configure the Posture Management service with your new Microsoft 365 application. Log in to the USS Dashboard and navigate to Products -> Posture Management.
The Posture Management dashboard will open in a new tab. From the top ribbon, select Service Integration and then +.
Click Microsoft 365.
In the Tenant ID field paste in the Directory ID from step 7. In the Client ID field paste in the Application ID from step 7. In the Secret value field paste in the value from step 12.
Click Add.
Click Scan Now to begin scanning the application immediately, or wait for it to automatically scan on a daily basis.
Once the first scan has finished, you will be able to view the results in the Charts and Activity report tabs.

 You can copy the Account UUID from the USS dashboard by right-clicking your Home tab in the Security Modules section.