AD Connect software
AD Connect is a service that can be installed on a Windows server in your local network in order to synchronise selected AD objects (users, groups and OUs) to the CensorNet USS Cloud Service.
System Requirements
The following operating systems are supported:
- Windows Server 2016 (x64)
- Windows Server 2019 or above
Known Issues
The following issues are known in version 2.60 of USS AD Connect:
- “Primary group” memberships are not synchronised to the USS account
Download Software
Version 2.60.134 - USS AD Connect (6 Mb)
Upgrading
Version 2.60 and above supports an automated update system. A notification will be displayed when an upgrade is available, and this can be installed using the Upgrade option in the tray icon.
For older versions, you can simply run the latest MSI installer, and it will upgrade the existing version.
Installation
- Log on to the Windows server using a user account with local administrator rights.
- Copy the USS AD Connect installer (
AdConnect-xxx.exe) to a local path on the server. - Start the installation by double-clicking the executable setup file.
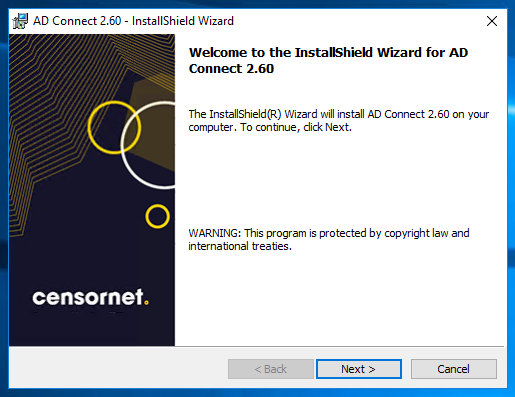
- A Welcome dialogue appears. Click the Next button.
- A dialogue with Terms and Conditions of Use appears. Please read the terms carefully. If you accept them:
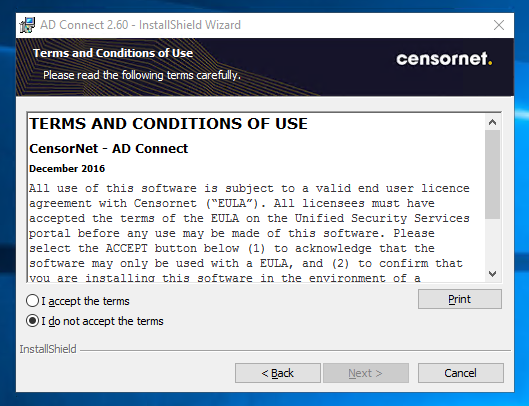
- Select I accept the terms.
- Click the Next button.
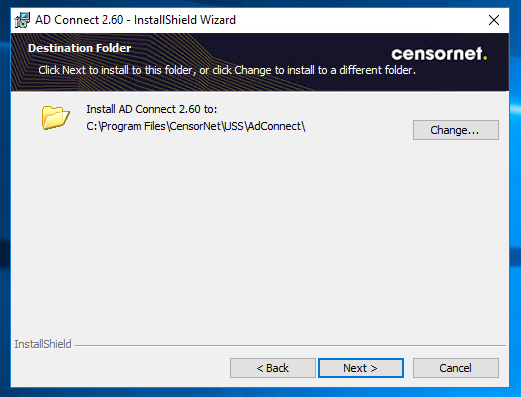
- A dialogue appears for selecting the installation folder. It is recommended to use the proposed default installation folder. In case you want to change the path, click the Change button and select a new path. Click the Next button.
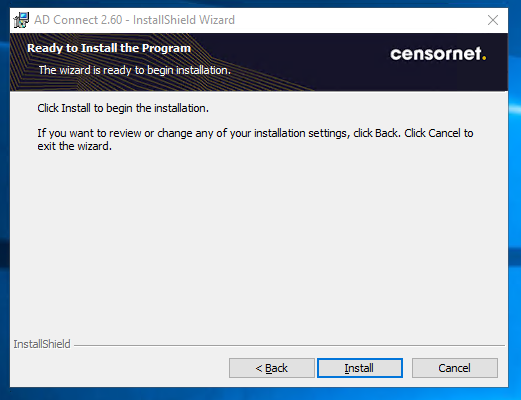
You are now ready to perform the installation per the choices you have made.
- Click the Install button.
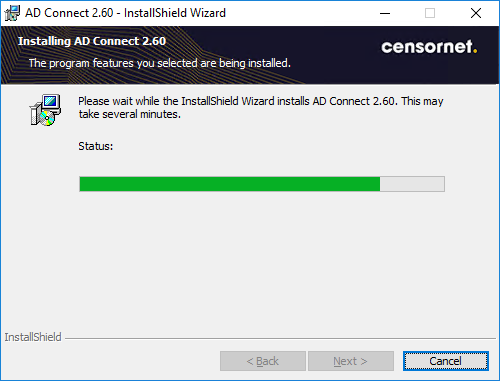
A dialogue appears showing the progress of the installation.
The dialogue below appears when the installation has completed. Click the Finish button.
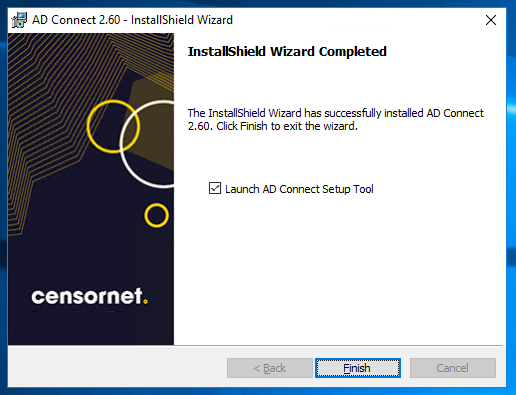
If you leave the checkbox Launch AD Connect Setup Tool selected, the USS AD Connect Setup Tool will start automatically after the installer is closed.
Configuration
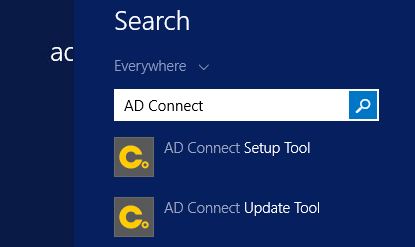
The USS AD Connect Setup Tool is automatically installed as part of the USS AD Connect installation. By default, it will automatically start after the installation has completed. Additionally, you can always relaunch the tool later, in case you need to do any reconfiguration. The tool is located in the Windows Start menu as USS AD Connect Setup Tool:
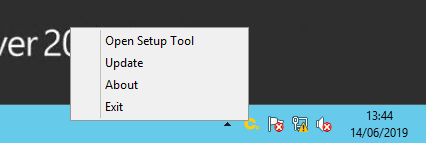
There is also a convenient tray icon available for opening the USS AD Connect Setup Tool or for applying Updates.
The first time the tool is started, it will show an empty list of USS accounts:
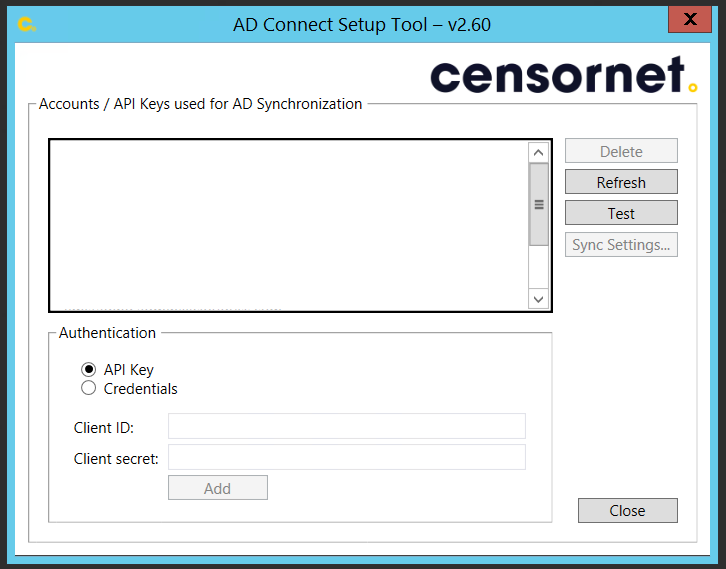
In order to initiate synchronisations from your local Active Directory to your USS account(s), you need to enter valid credentials for each USS account(s) you wish to sync with. To do so, follow the procedure below:
- In the Add new account group box, enter the API Key Client ID and Client Secret obtained when you added the Active Directory domain connection. Alternatively, enter a valid Username and Password for your USS account, then click the Add button.
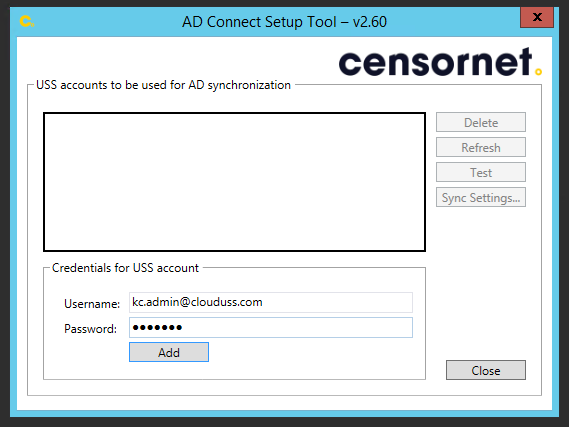
The credentials entered will be validated and then appear as an entry in the list:

The AD Connect background service will download the available Local Sync configuration(s) associated with the API or credential and immediately start synchronising AD objects.
- If you want to synchronise AD objects for several USS accounts, please repeat the process above to add credentials for additional USS accounts.
REG ADD "HKLM\SOFTWARE\CENSORNET\USS\AdConnect" /v "UsersSyncInterval" /t REG_DWORD /d 60 (Change 60 to any unit of seconds for the interval you require). You must restart the "CensorNet USS AD Connect" service after adding the registry key.Troubleshooting
The Connector Setup Tool provides two options to assist with troubleshooting:
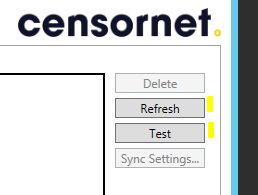
Refresh
By default, the USS AD Connect Service will check for new or updated Domain Settings in USS every 30 minutes. Click this button to force an immediate refresh of the USS Domain Settings
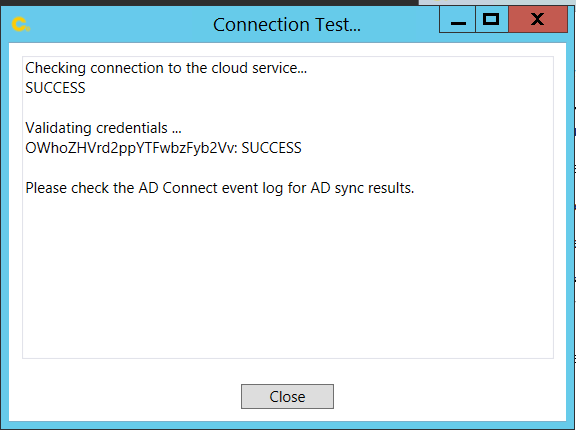
Test
Click this button to verify the connection to the USS Cloud Service and validate (all) credentials entered in the Setup Tool. Useful for troubleshooting.
If neither of these options helps to resolve the problem, you should check that the AD Connect service is running and look for any entries in the Event View for further information, by following the steps below.
The AD Connect service runs as a Windows background service. To verify whether it is executing successfully, you can make use of the Services management console and the Event Viewer management console.
When opening the Services management console (services.msc), the USS AD Connect will appear as CensorNet AD Connect Service:
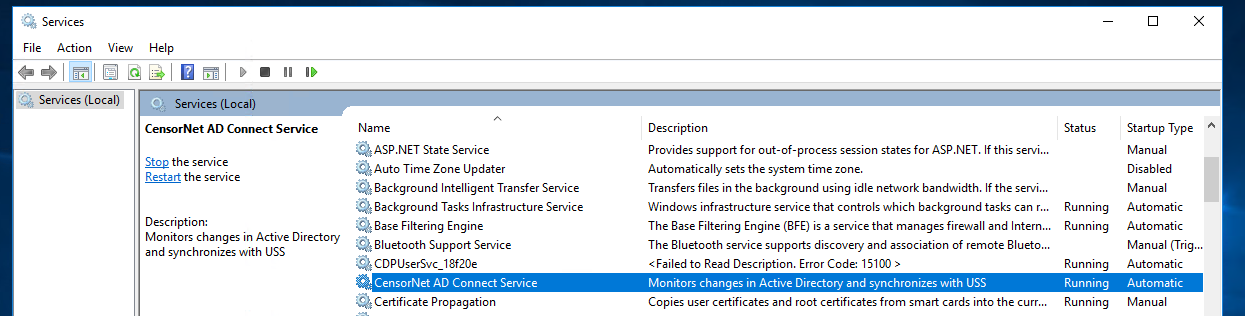
As with any other background service, you can start and stop the service, and inspect its current state in the Status column.
When opening the Event Viewer management console (eventvwr.msc), please look for the AD Connect event container below the Applications and Services Logs node:
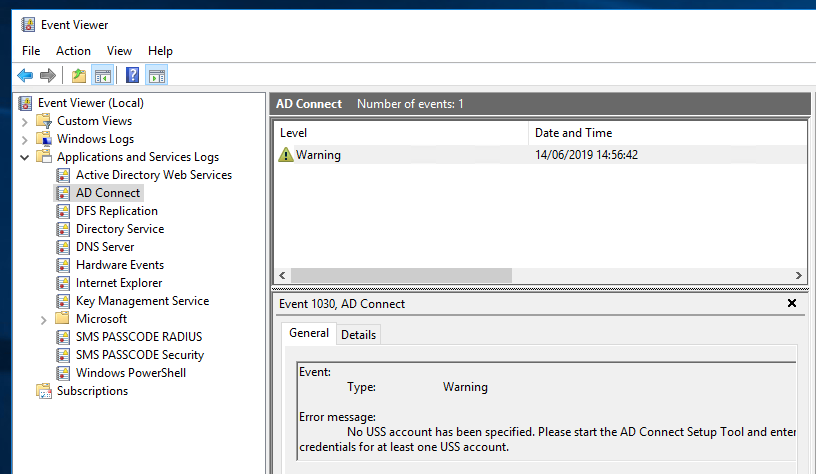
This event container contains entries with relevant information for troubleshooting the AD Connect service. You can inspect these event entries to verify whether AD synchronisations are completing successfully or failing. In case of failures, please inspect the information in the event entries for further details.
For further assistance, please contact your Service Provider.