Email Security: Quick Start
Follow this quick start guide to quickly get up and running with Email Security.
- Download the digital PDF edition of the quick start guide
Preparing the environment
You will receive a provisioning email, which outlines the account activation for Email Security. At this point, you can log in to your USS Dashboard and see the EMS product listed alongside your other Cloud USS products.
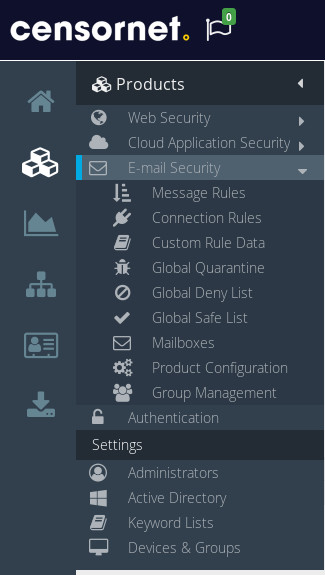
Visit your USS Dashboard, and click Products ⟶ E-mail Security.
Ensure that your organisation's mailboxes are synchronised. You can do this easily using a local installation of the Active Directory Connector.
Ensure that inbound and outbound firewall rules (or mail server connector rules if you're using products such as Office 365) are configured to also allow authorised SMTP servers inbound and outbound.
If your existing mail delivery platform (e.g., Exchange, Office 365, Gmail) is performing any reputational or connection level checks on inbound SMTP servers, ensure that the Cloud USS addresses are whitelisted. This will prevent incorrect spam identification or potential delays when Email Security relays email.
- MX records and IP addresses for EU customers
- MX records and IP addresses for non-EU customers
- Office 365 configuration
Email Security comes with a default Spoofing rule, which ensures that any inbound emails received from internal domains are quarantined as spam. This is usually the correct action, but legitimate scenarios do exists in which third-party external servers would send inbound mail from addresses that purport to be within your internal domain. You should identify whether such scenarios exists within your organisation, and add the originating server IP addresses to your global safe list if so.
Update any External DNS SPF records for mail-relayed domains to include scanscope.net.
To help combat spoofing attacks, ensure that the External DNS DKIM and DMARC records are defined to take advantage of the default rules.
To ensure easy rollback of MX records, reduce the DNS TTL of MX records to a minimum value.
Testing SMTP Connectivity
Perform inbound connectivity tests to ensure that your setup is correct. To do this, please send an email request to support@censornet.com with a subject of "EMAIL CONNECTIVITY TEST REQUEST". Cloud USS Support staff will then run inbound connectivity tests to ensure that your SMTP workflow is correct.
Perform outbound connectivity tests using a telnet client or similar interface.
EU customers | non-EU customers |
telnet smtp1.scanscope.net 25 telnet smtp2.scanscope.net 25 | telnet smtp1.us.scanscope.net 25 telnet smtp2.us.scanscope.net 25 |
Going live
Outbound email
Configure Outbound SMTP (SmartHost) flow to transport via Cloud USS.
Inbound email
Modify your MX records to re-route inbound email through Cloud USS servers.
Verifying email through Cloud USS
Visit your USS Dashboard and click the Analytics tab. From the list of reports, choose E-mail Activity (under the E-mail Security heading).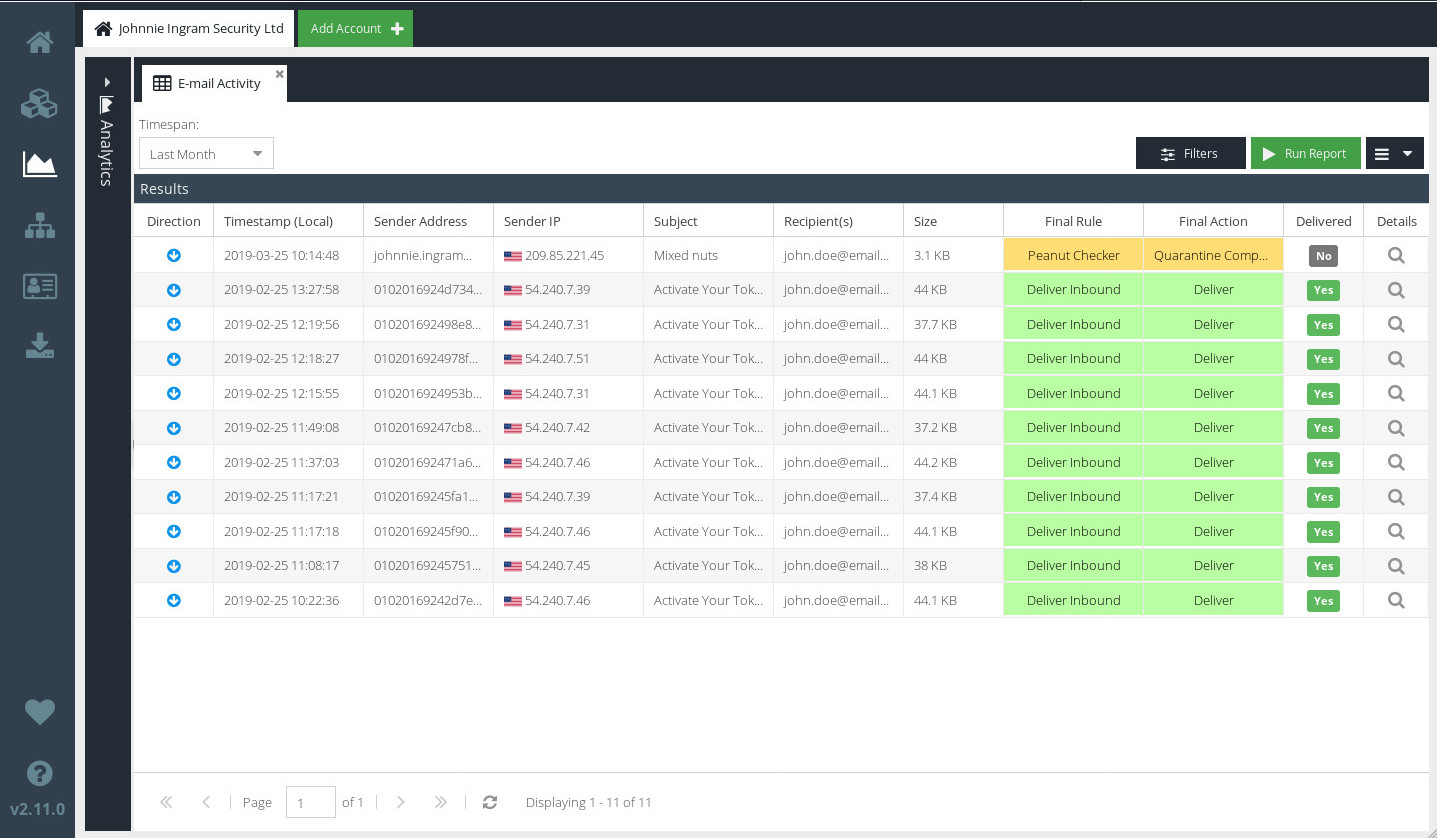
To verify that Email Security has acted on these messages, check the Final Action.
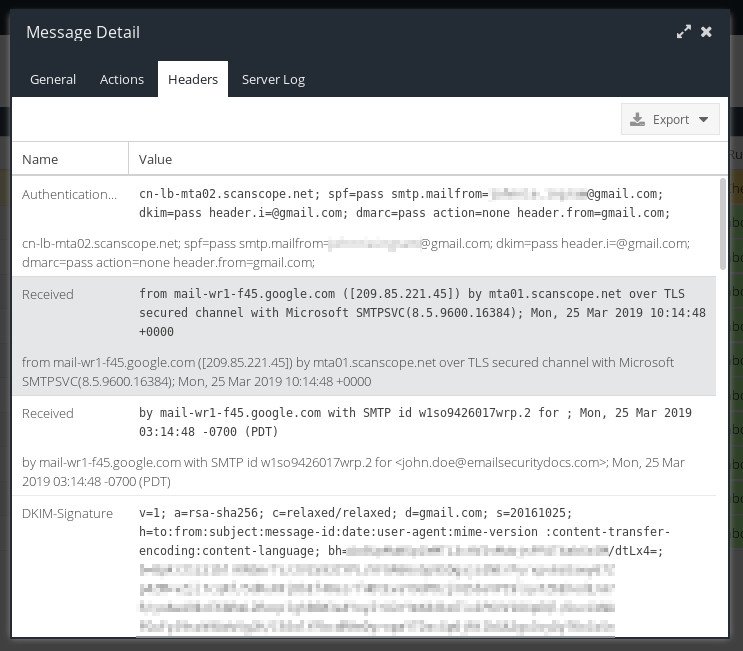
To see a detailed breakdown of the SMTP conversation between Cloud USS servers and your own email server, double-click the subject line of a message, and click Headers or Server Log.
Roll back routing
If at any point you have rolled back inbound or outbound routing, revert your MX records or SmartHost connectors respectively.
Verifying synchronisation of mailboxes
Visit your USS Dashboard and click Products ⟶ E-mail Security ⟶ Mailboxes. If synchronisation has completed successfully, you'll see a list of email addresses that have been exported from Active Directory.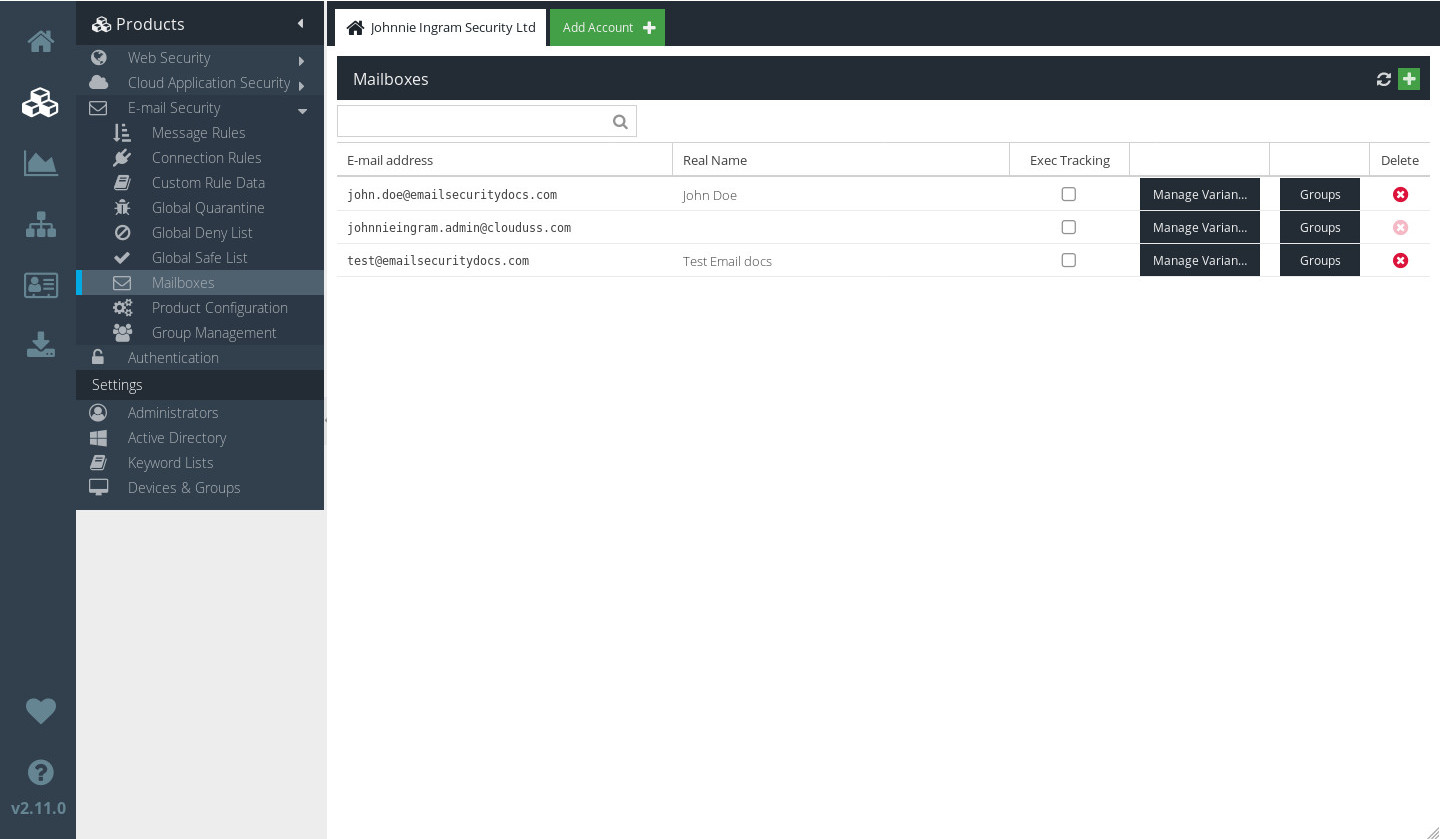
Verify incoming email
Ensure that your firewall is configured to allow email to be delivered from Cloud USS servers after it has been filtered. You should add firewall rule entries to allow Cloud USS IP addresses to connect from the public internet to your mail server on port 25.
Outbound email
Configuration of Email Security for outbound email differs depending on your platform.
Configure outbound email for Exchange 2007/2010
Configure outbound email for Exchange 2016
Configure outbound email for Office 365
Updating MX records
Once you're happy that email users are synchronised and the firewall is correctly updated, you can update the MX records for your domain.
You should remove any other MX records that may have been in place previously.
Final steps
Remove any unwanted SPF records from DNS.
Ensure that inbound and outbound firewall rules (or mail server connector rules for products such as Office 365) are locked down to only allow authorised Cloud USS servers.
For on-premise Exchange environments, configure any internal servers that are intended to send outbound email directory rather than via Exchange. Ensure that your firewall rules continue to allow SMTP traffic outbound from these sources (or ensure that they are relayed via Exchange).