Using the SecureMail dashboard
![]() Updated 1 year ago
by
admin
Updated 1 year ago
by
admin
The SecureMail dashboard is a convenient and responsive web application for viewing secure messages. It is very similar to other web mail based applications, making it familiar and easy for users to use.

Accessing the SecureMail dashboard
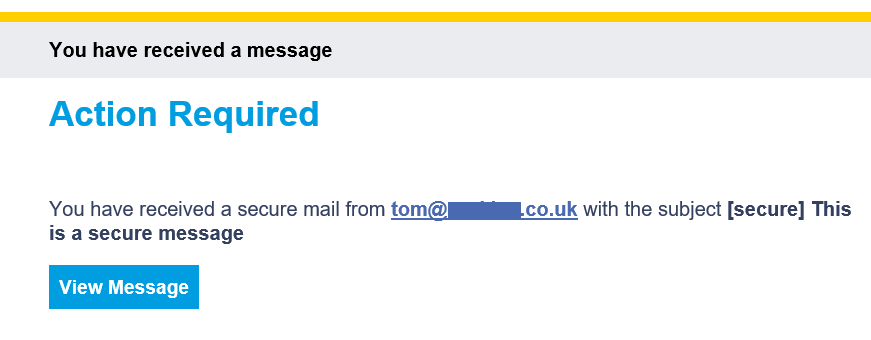
When a recipient receives a new secure message, they will receive an email notification containing a link to View Message. Clicking this button will open the SecureMail dashboard.
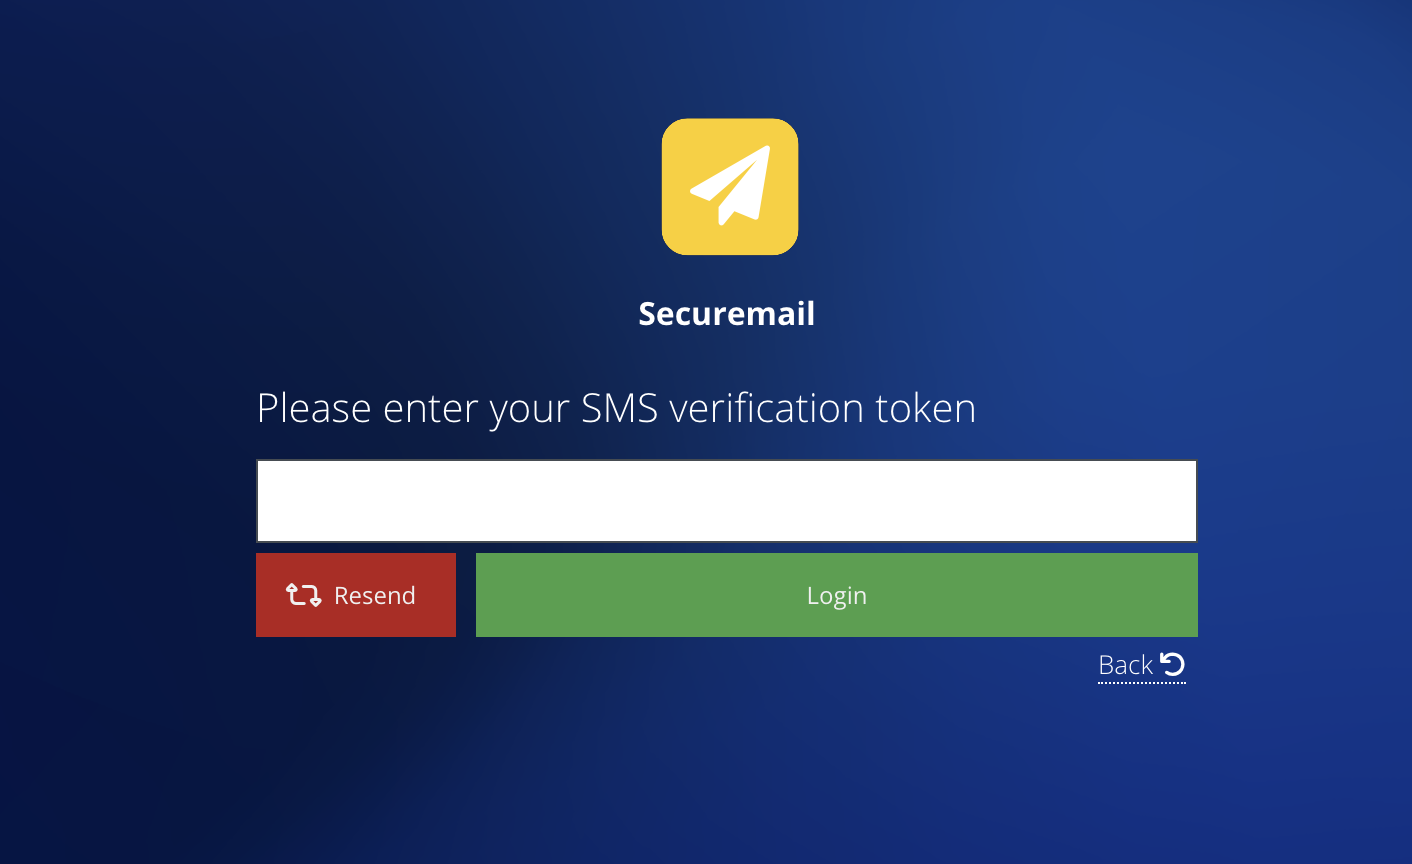
The SecureMail dashboard provides the same functionality whether you are an internal or external user, the only difference is that if you are an internal user you access the interface through your existing End User Portal dashboard login and therefore do not need to register for a SecureMail account. If you are an external user, you will be required to register and the registration process will be handled automatically by the SecureMail system the first time you receive a new secure message.
Once registered or when viewing the message as an external user, you will be prompted to login with your email address and password.
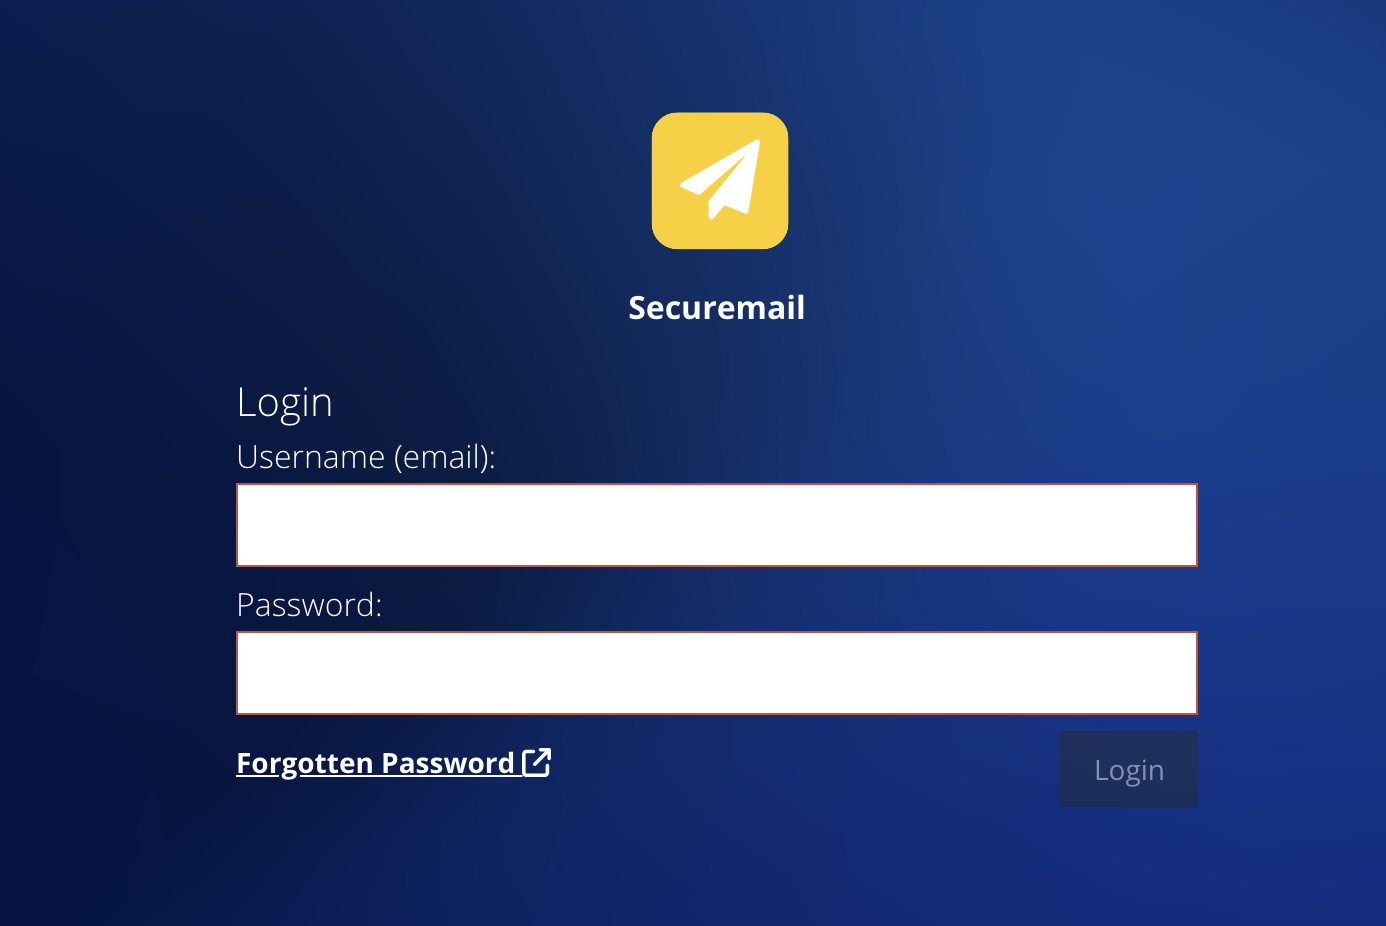
If you have forgotten your SecureMail dashboard password, you can use the Forgotten Password link to generate a reset request.
Using the SecureMail dashboard
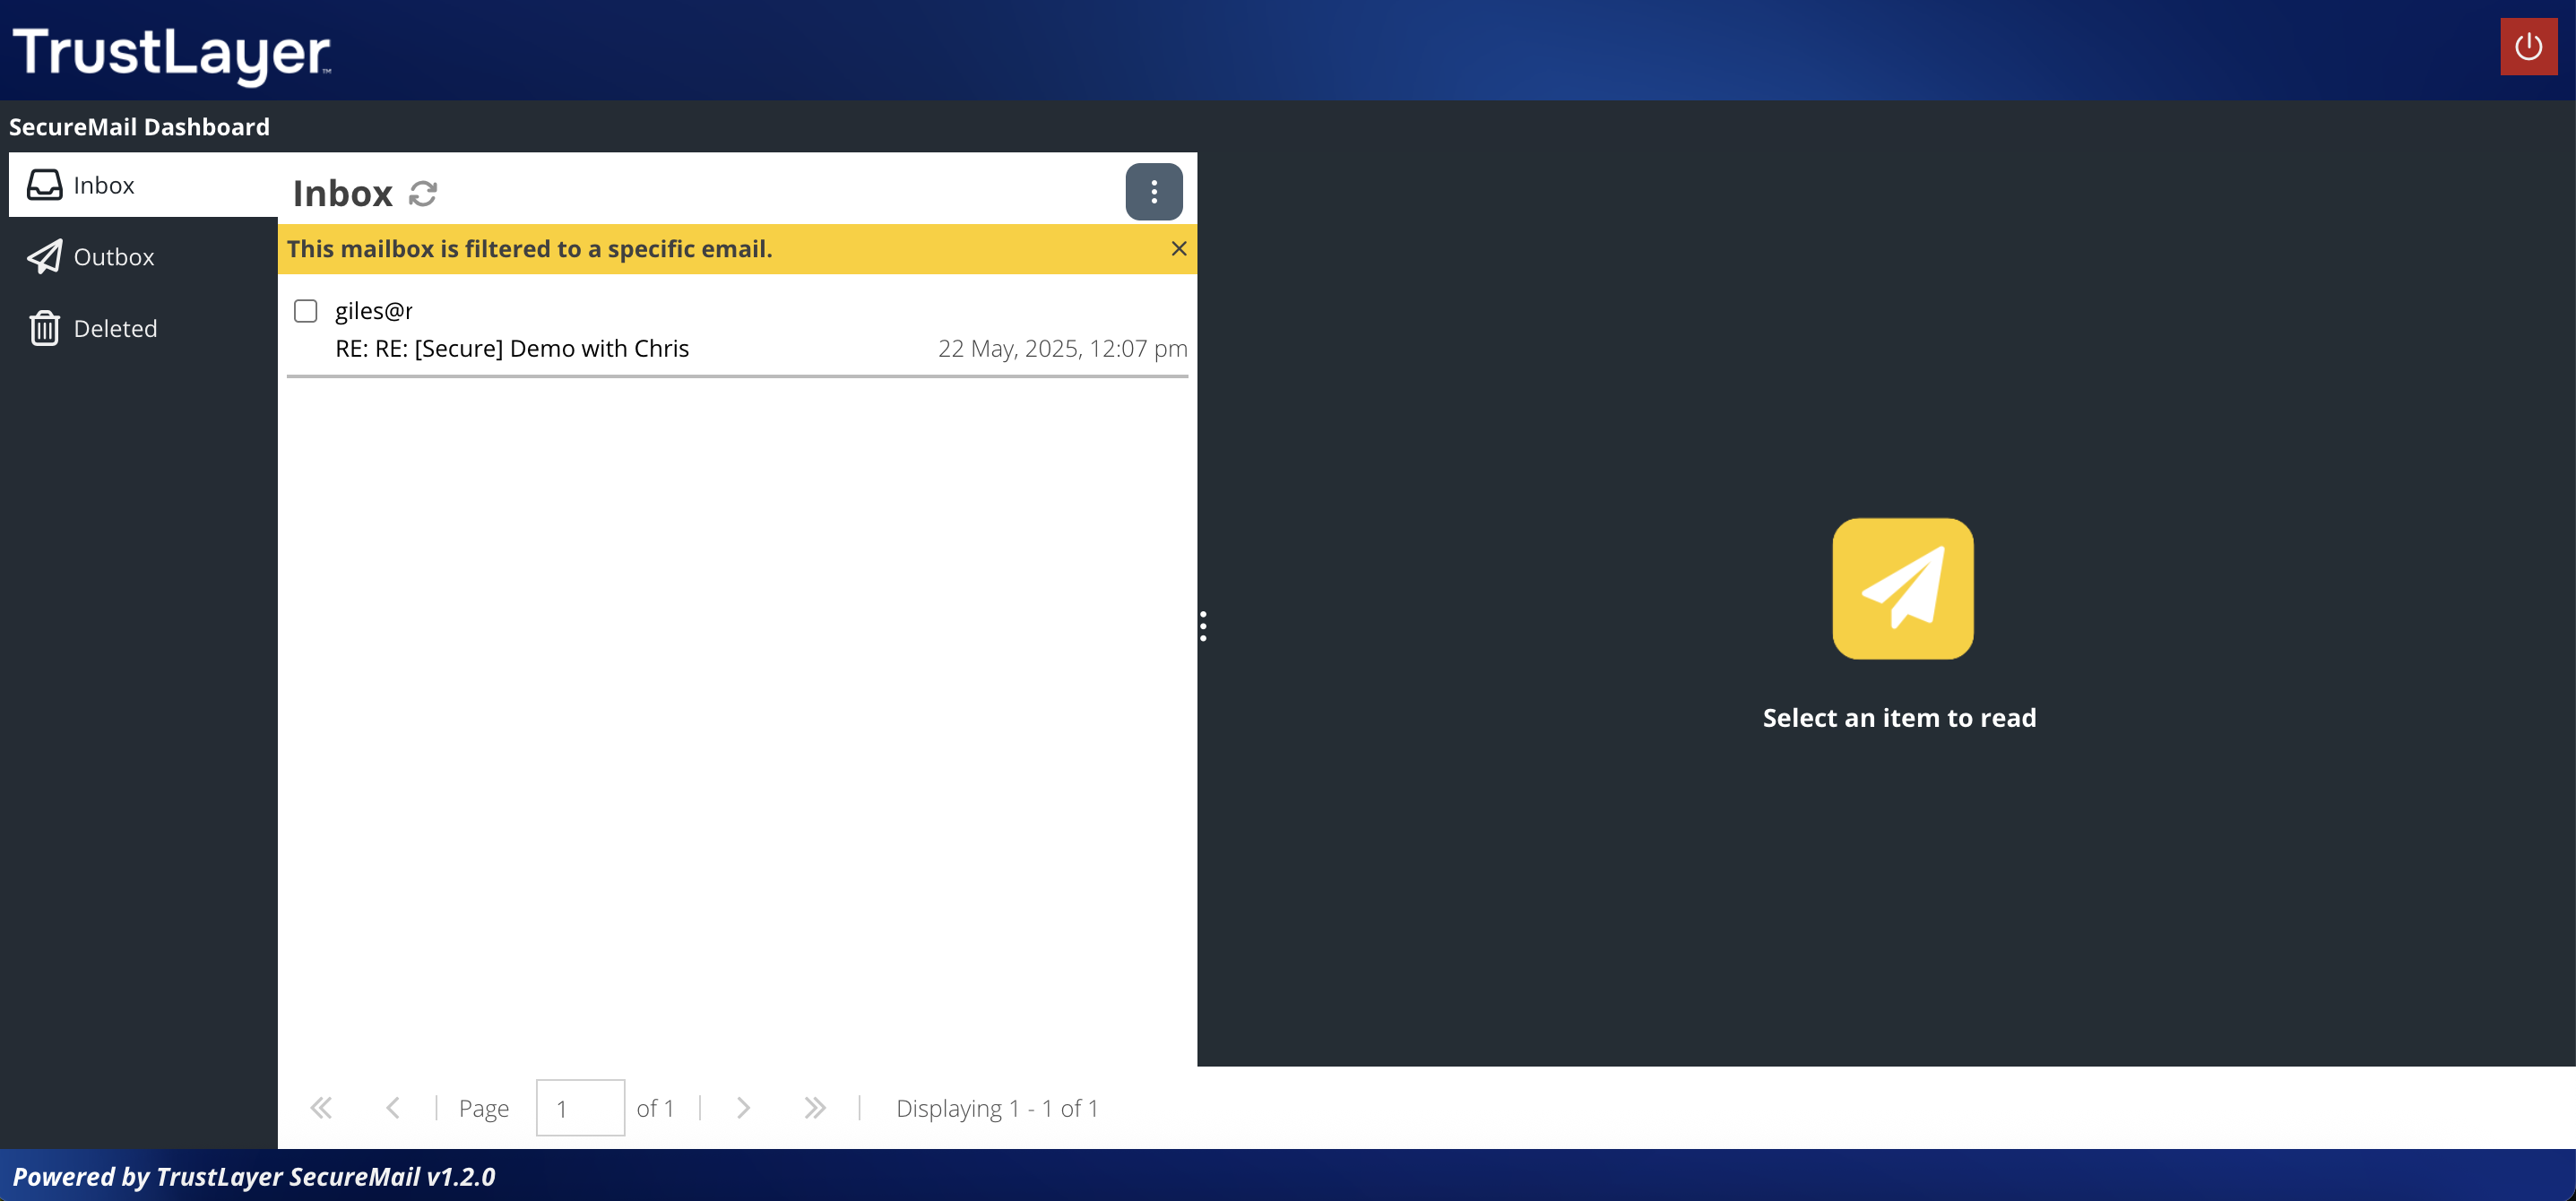
After logging in, the SecureMail dashboard is presented which is essentially a web based email client.
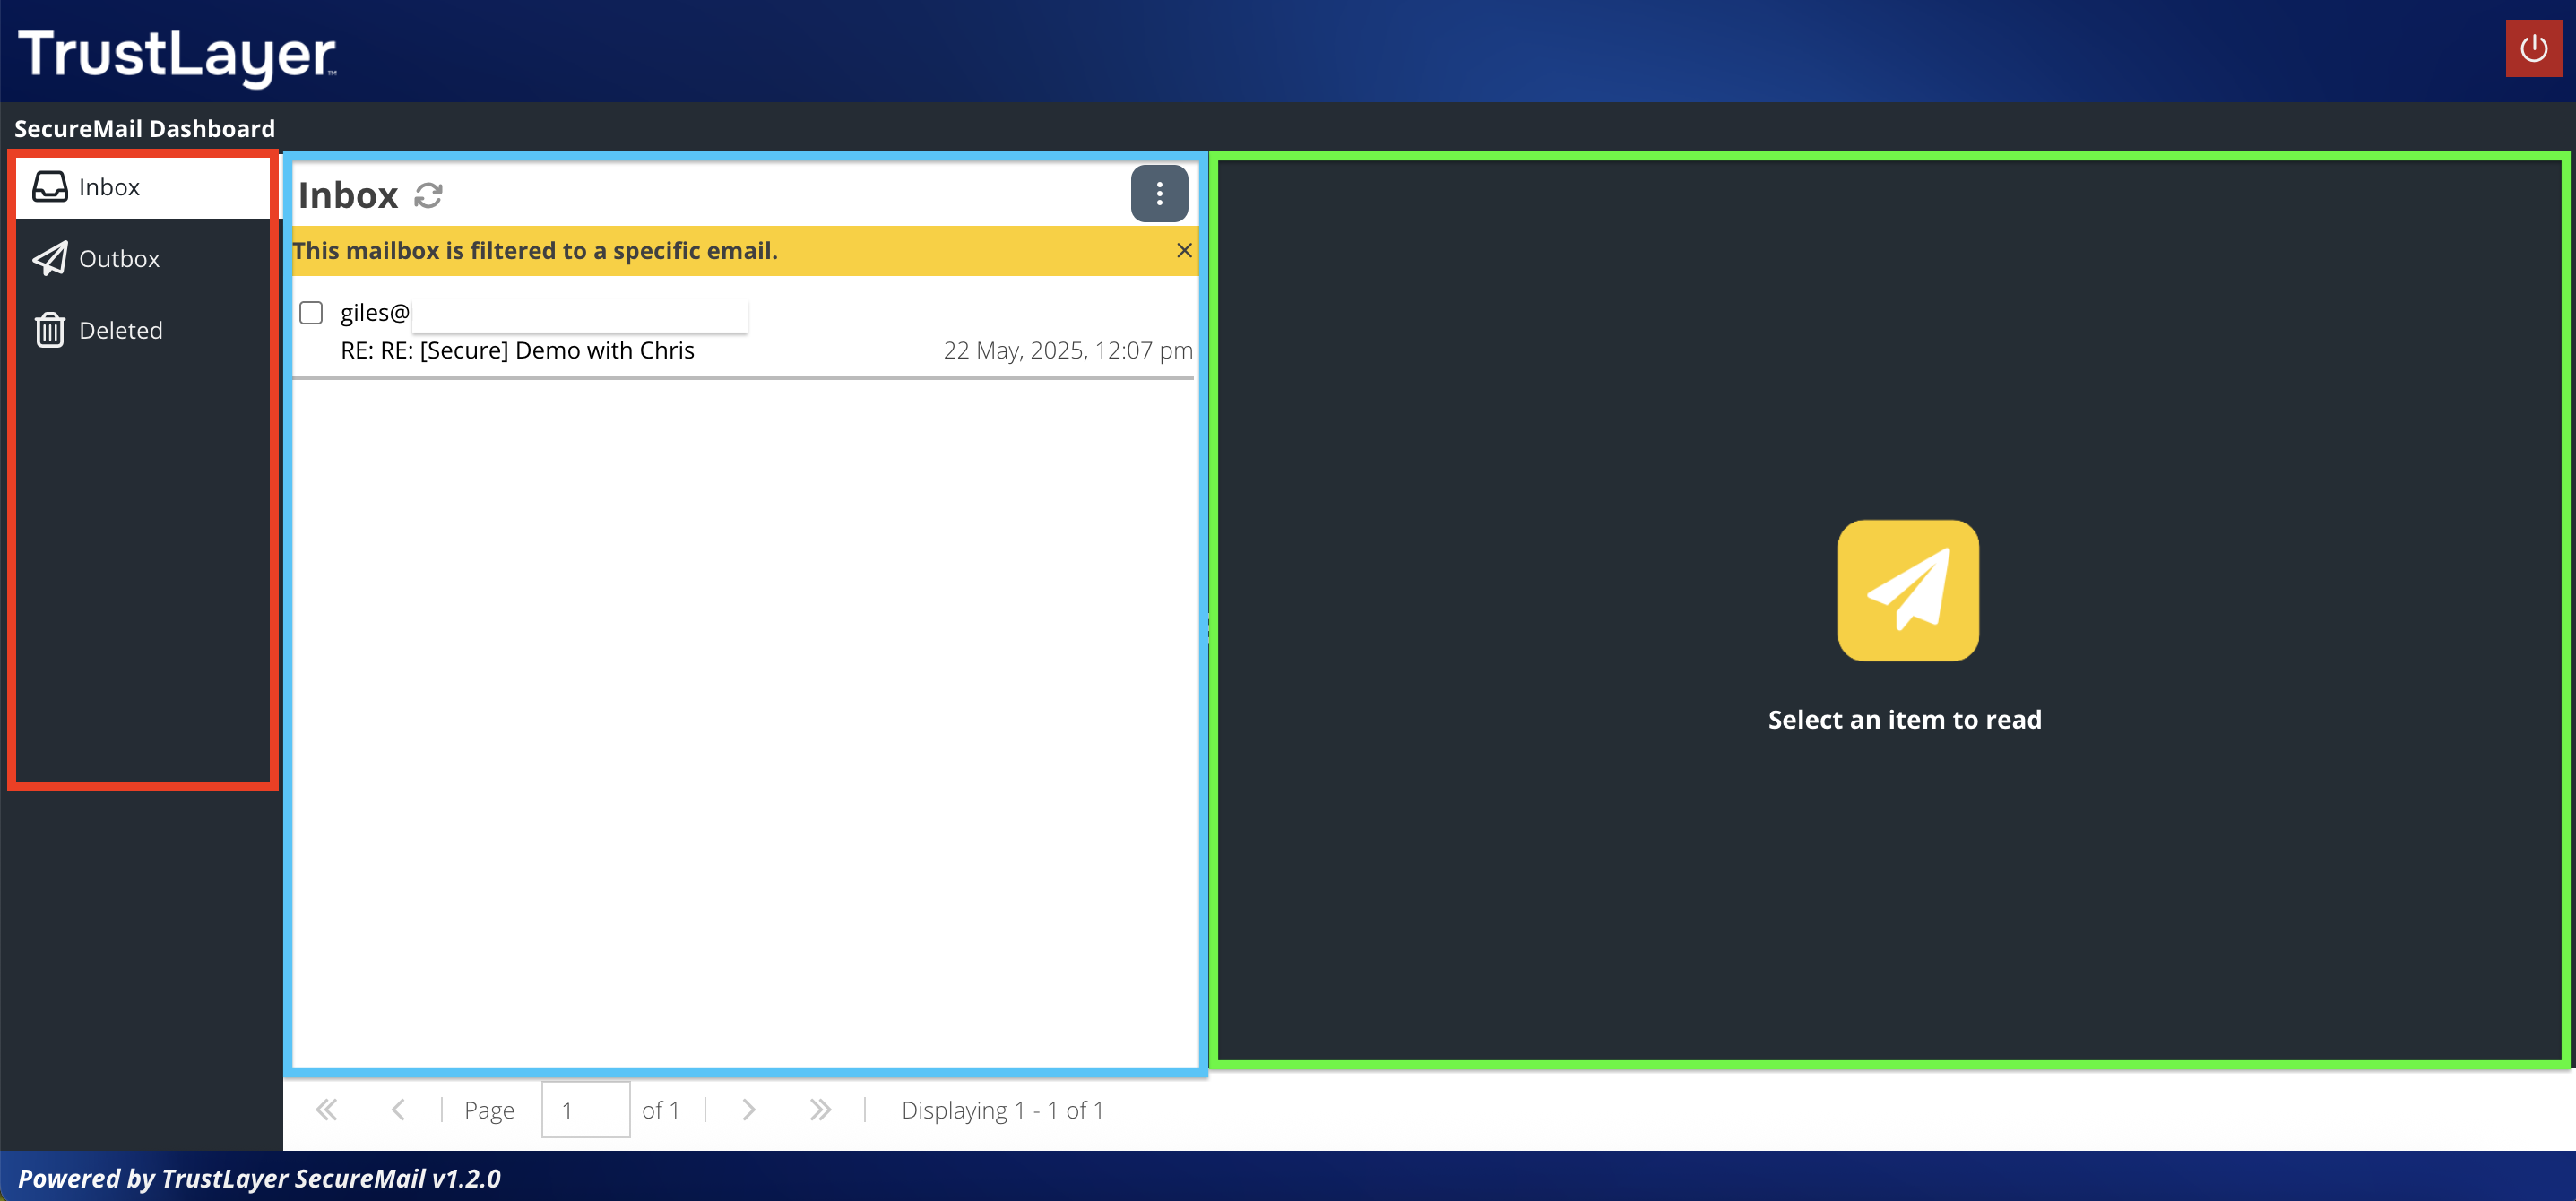
The left hand panel (red border) shows the folder list. The options are:
- Inbox - a list of secure messages you have received
- Outbox - a list of secure messages you have sent
- Deleted - a list of secure messages you have deleted
Selecting a folder will update the message list (blue border).
The message list (blue border) shows the list of secure messages in the selected folder.
Unread messages will appear with a bold subject line. Messages will automatically be marked as read once they have been opened.
The vertical 3-dot menu provides a list of options for managing multiple messages, or a right-click context menu is available for managing a specific message. The options are:
- Mark Read - mark the selected message(s) as read
- Mark Unread - mark the selected message(s) as unread
- Delete - move the selected message(s) to the Deleted folder
- Close - close the message from being viewed in the message panel (green border)
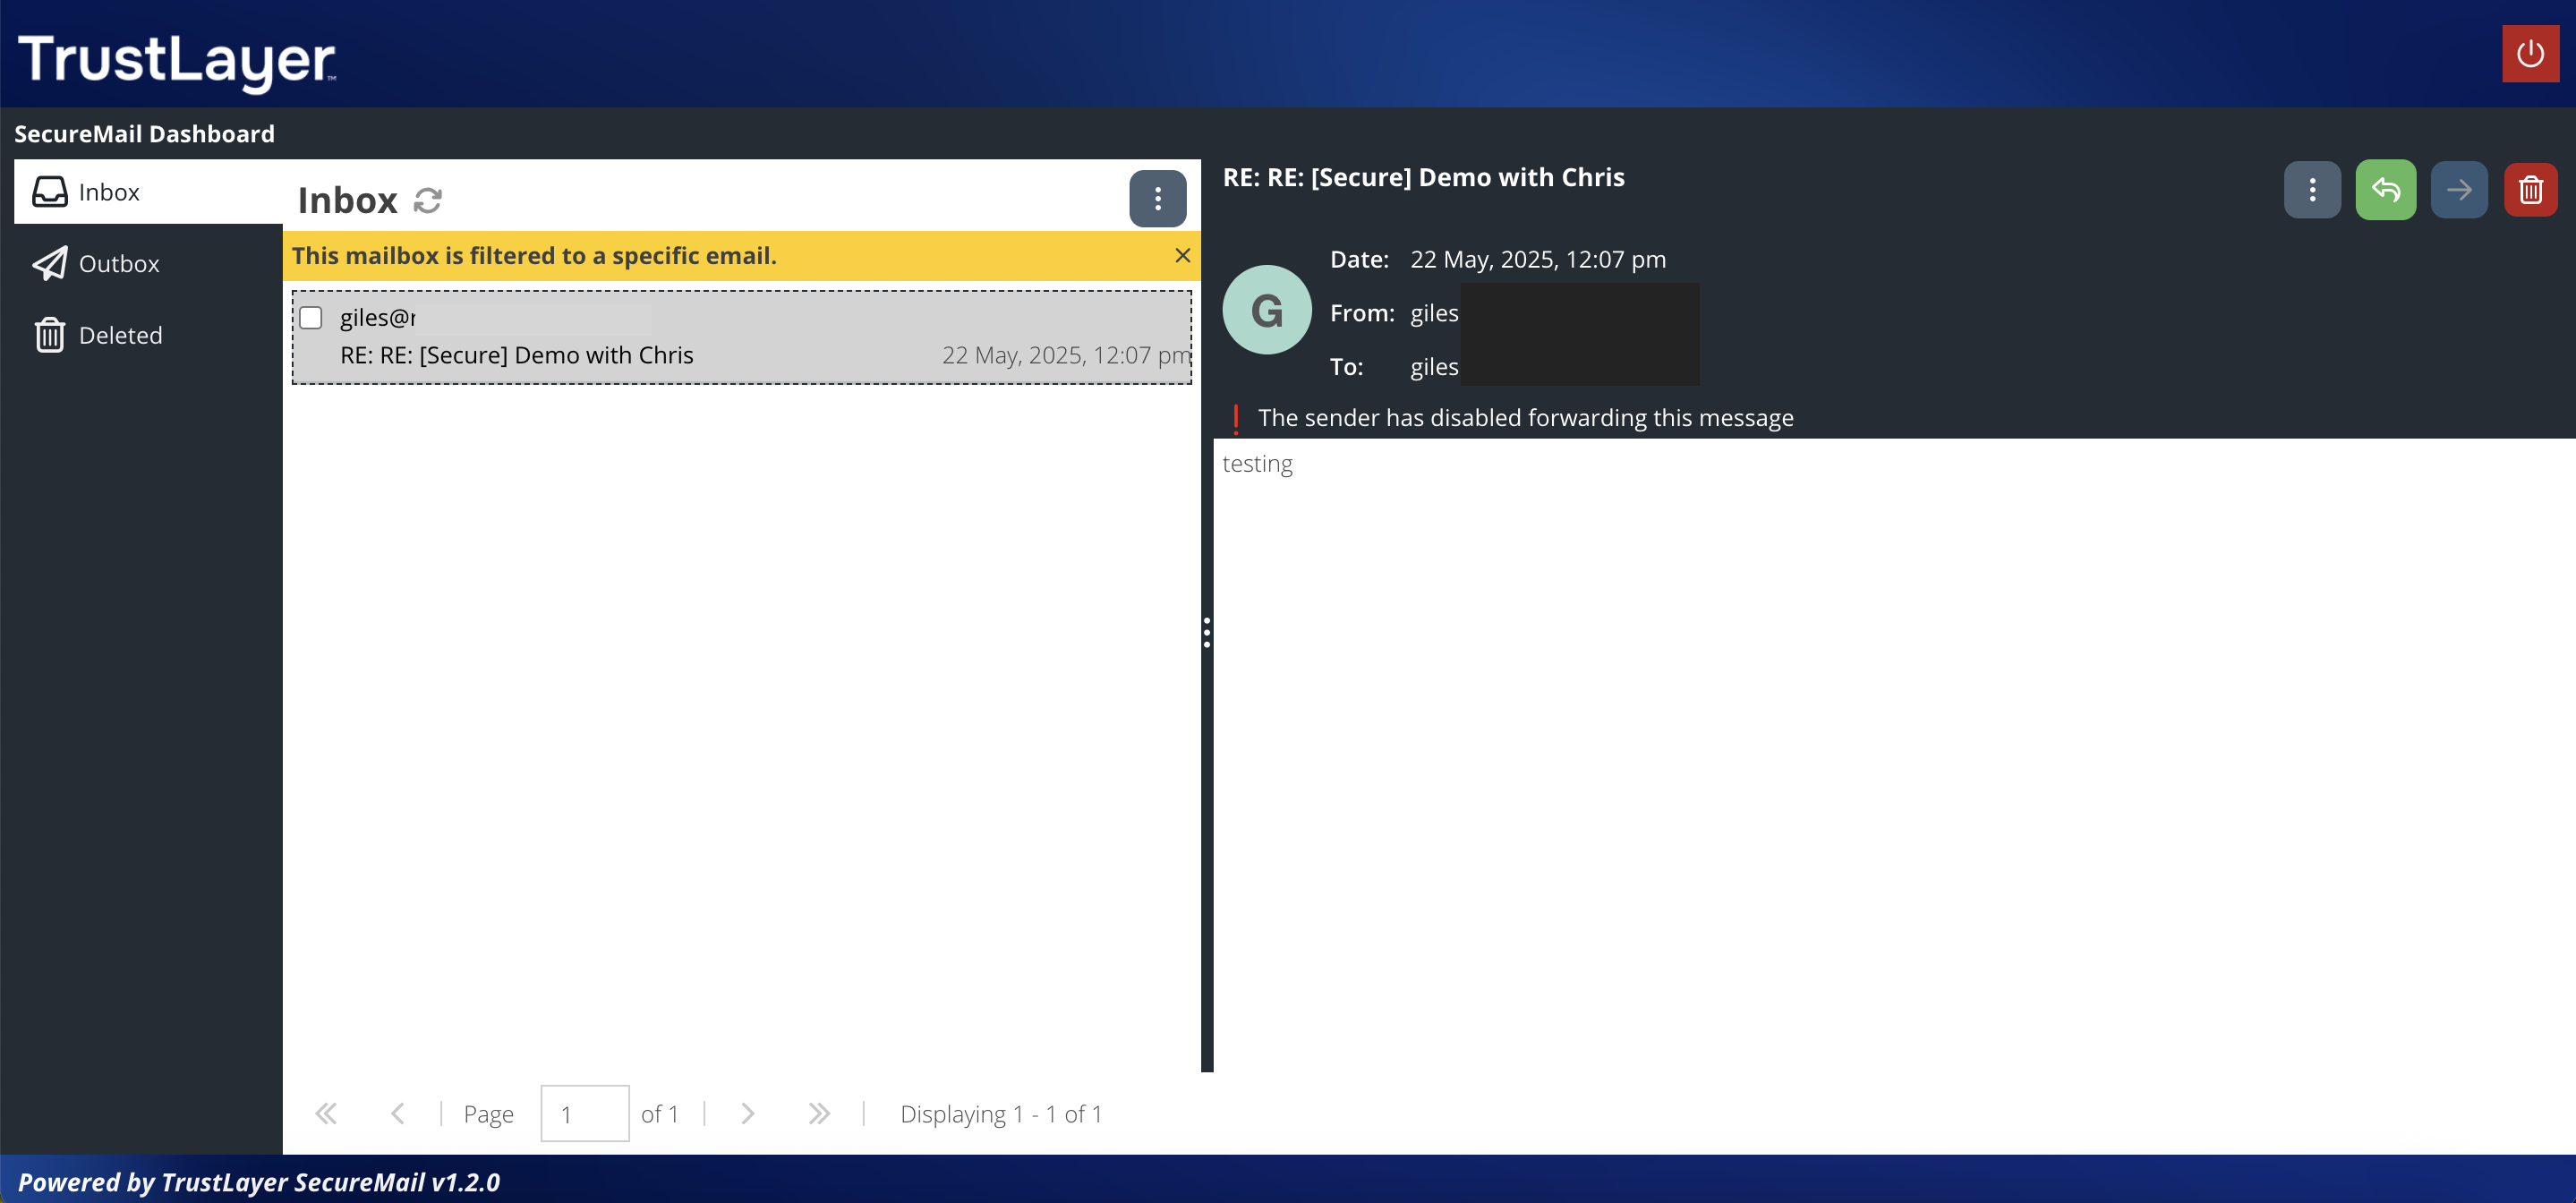
The right hand message panel (green border) is the area used to view the secure message. A splitter is available on desktop view to alter the size of the message panel area. On mobile view, the layout changes to fit a smaller screen size.
Viewing Messages
When accessing the SecureMail dashboard directly you can navigate to the desired folder and then select the secure message to view.
When viewing a secure message directly from an email notification, clicking the View Message link will open the Inbox and display only the new message for convenience. Clicking the close icon X in the yellow banner will reveal all the messages in the inbox.
Responding to Messages
Clicking a message in a folder will open the message in the message panel. The message panel provides various options for responding to the message depending on the permissions on the senders SecureMail account. From the message panel, depending on these permissions, you are able to:
- Reply to a message with a CC address (the CC'd recipient will also need to use the SecureMail dashboard to view and reply to the message)
- Forward the message (the recipient will need to use the SecureMail dashboard to view and reply to the message)
- Add attachments to your response (maximum 10 megabyte in size)
- Delete the message
When responding to a message, you are able to use the rich text editor to compose a response. If the permission is granted, you will also be able to attach files to your response.
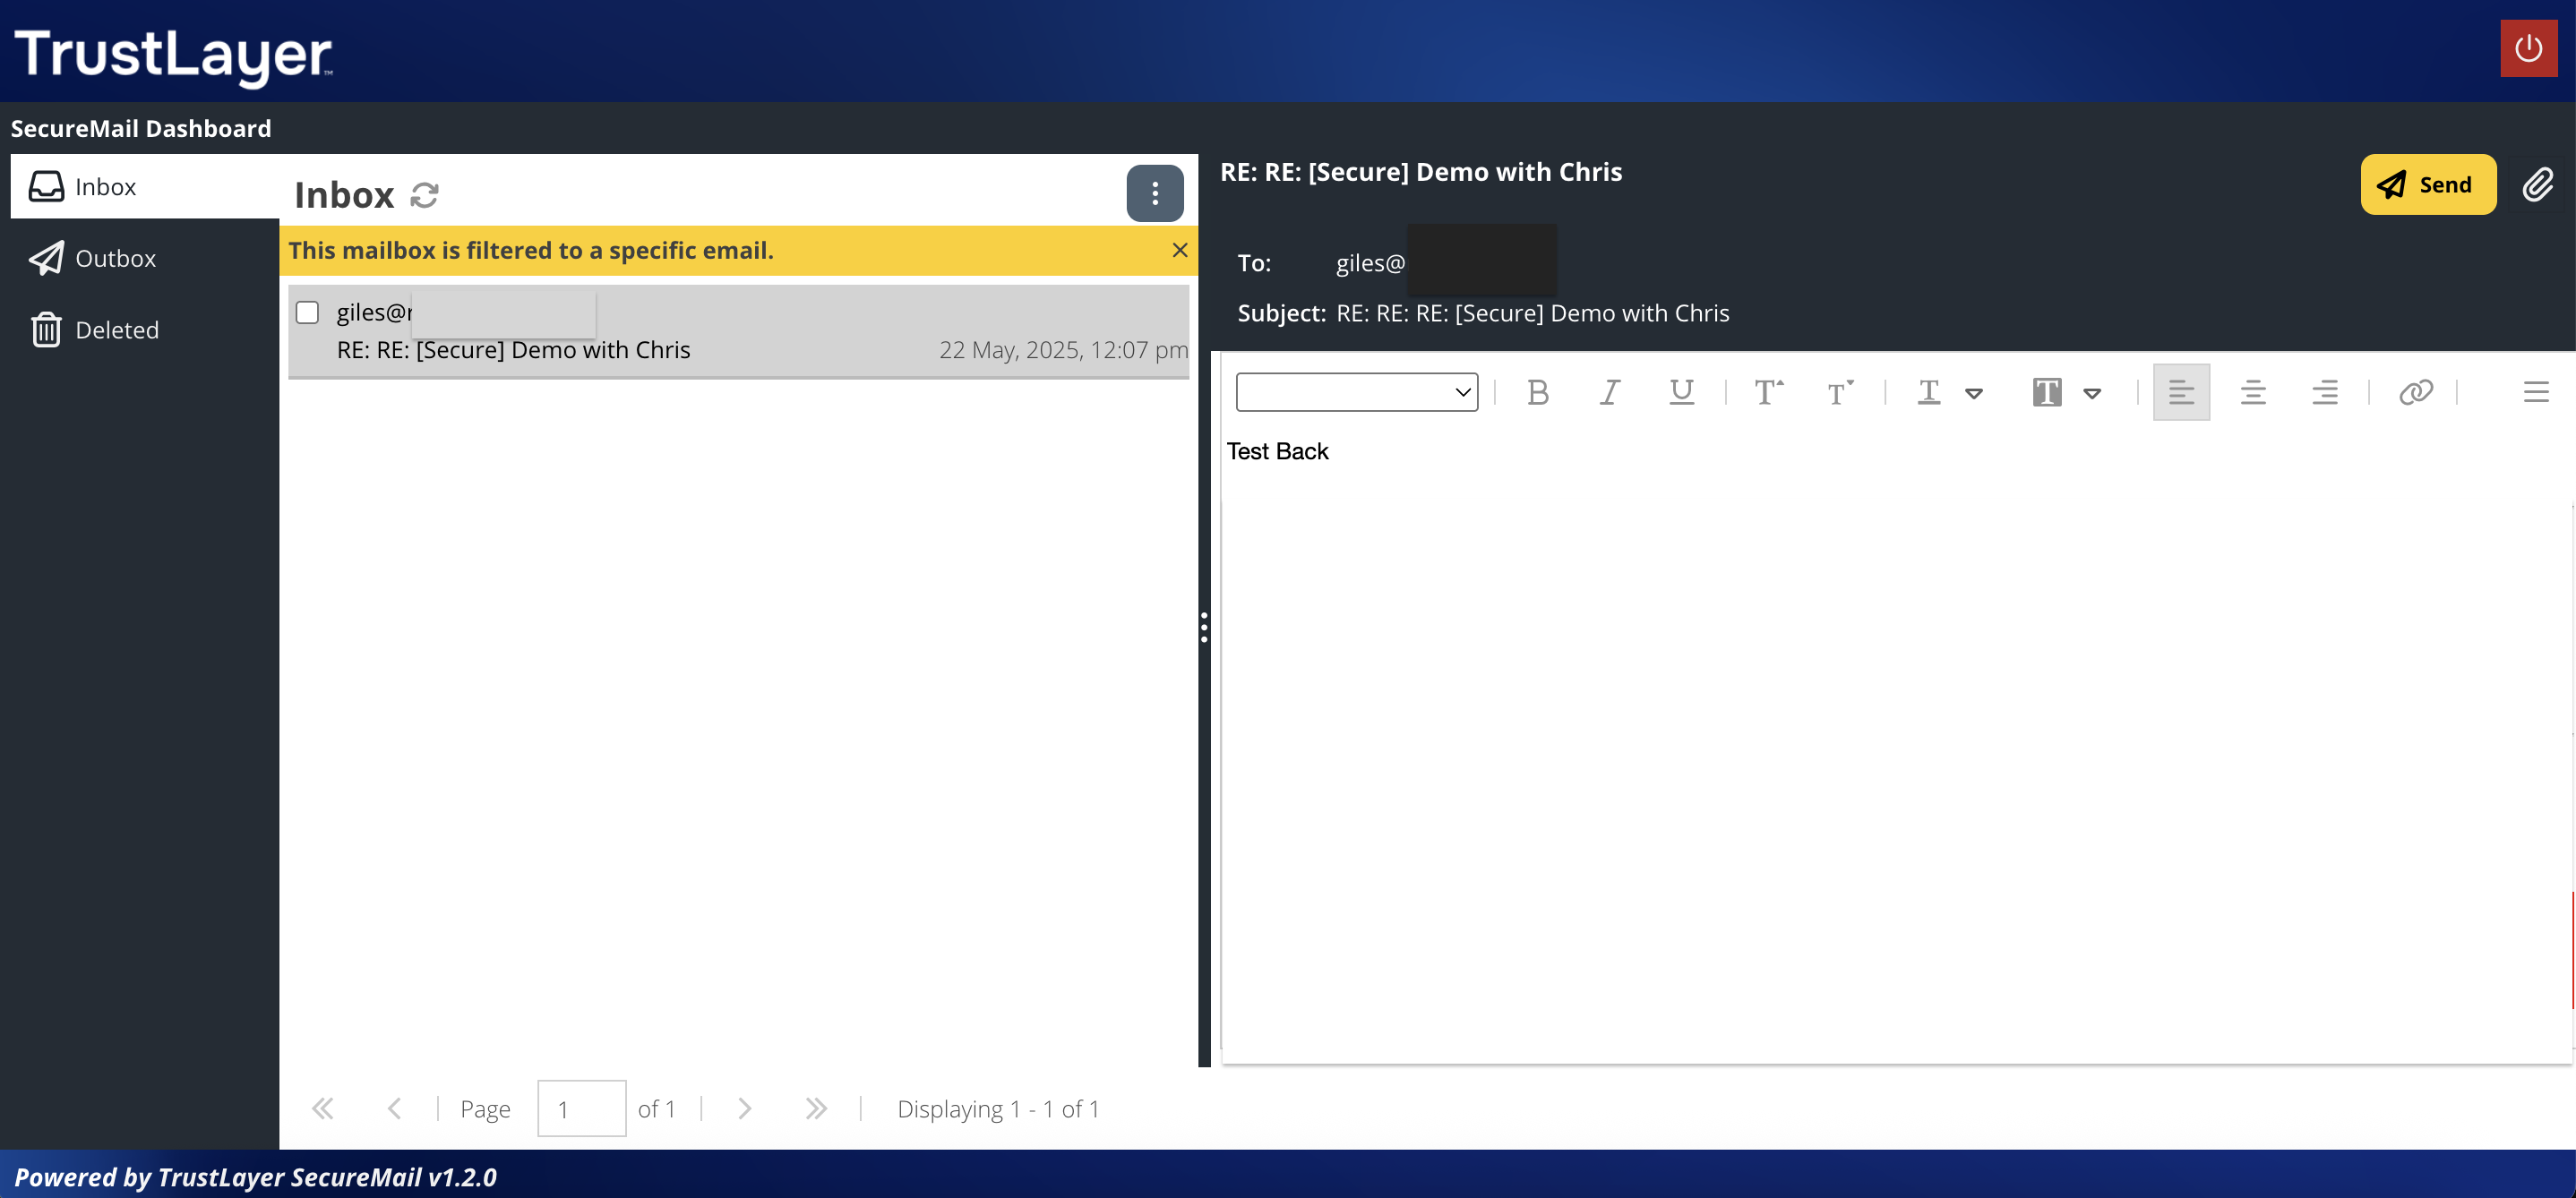
Click the Send button to send the response. A copy of the response will be stored in the Outbox folder.