Display simulation images within Outlook using PowerShell.
![]() Updated 1 year ago
by
admin
Updated 1 year ago
by
admin
The following guide will show you how to execute the below PowerShell script. This script's primary purpose is to ensure that users can see the images presented in each email when they receive phishing emails.
This PowerShell script will need to be run each time a new mailbox has been added to Exchange Online.
We recommend running this script via PowerShell 7.5. If you're already running this version, start from the Run the PowerShell script in this guide.
Download PowerShell 7.5.
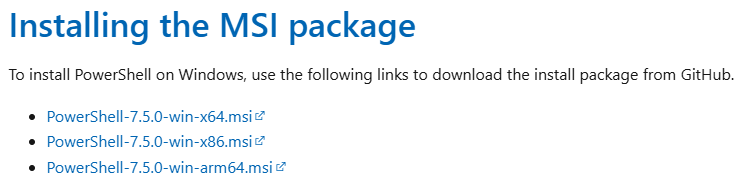
- Navigate to the following link to install PowerShell 7: PowerShell 7 Install.
- Scroll down to 'Installing MSI Package' and install the x64.msi application. Below is what it should look like on the webpage.
Run the PowerShell Script.
- Once installed, navigate to the application and right-click 'Run as administrator'.
Due to the sensitivity of the content, Please contact support for the PowerShell Script.
- Once pasted, it should run through the command and install the correct modules. You must input 'Yes to All' on the popups by clicking the box or inputting 'A' into the command line.
- If you already have them, it will ignore this and attempt to log into your 365 tenants. Ensure that when you log in on this page, you use an account with the required admin role for the tenant (You do not need Global admin, but it will work with this).
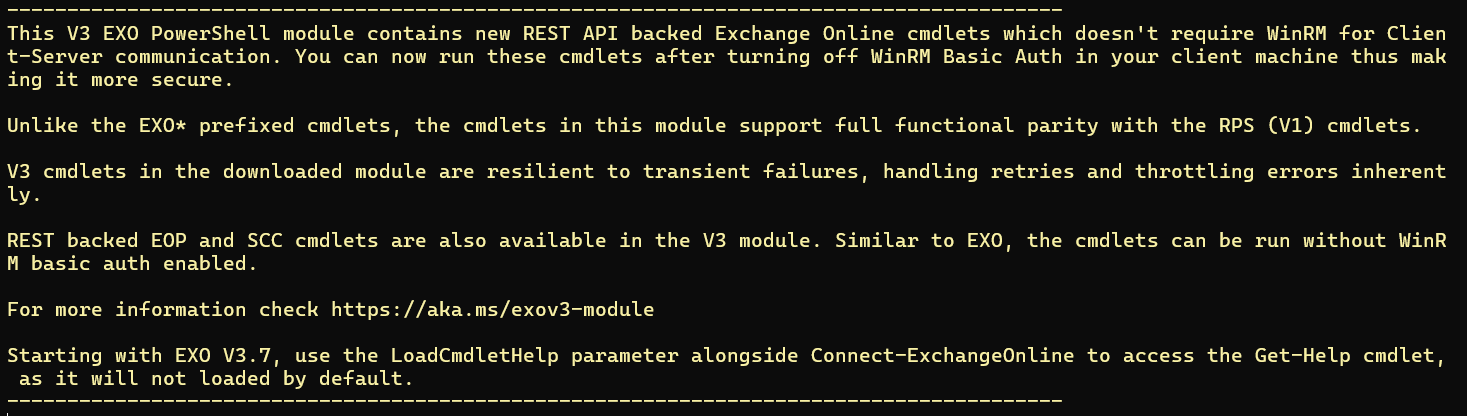
- The below text should appear when you are connected to Exchange Online:
- It will run through the rest of the command, loop through all mailboxes on the tenant, and automatically add the domains to the end user's personal safe senders list. Please allow some time for it to carry out the script, as it is looping through every mailbox. Depending on the amount of objects can depend on the time it takes.
Checking the Script has been Successful.
You can check this by:
Outlook (Classic) for Windows.
- Clicking the home tab on the top bar.
- Once in there, head to the Safe Senders list, and all the domains should appear.
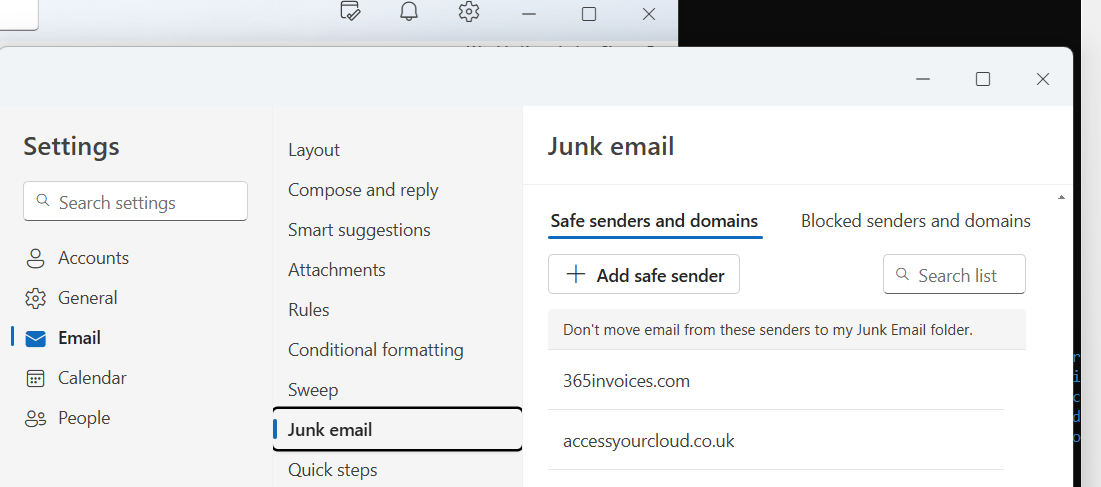
Outlook (New) for Windows.
- Click the cog icon in the top right-hand side of the Outlook client.
- Once the Settings screen has opened, click the Email section on the left-hand side.
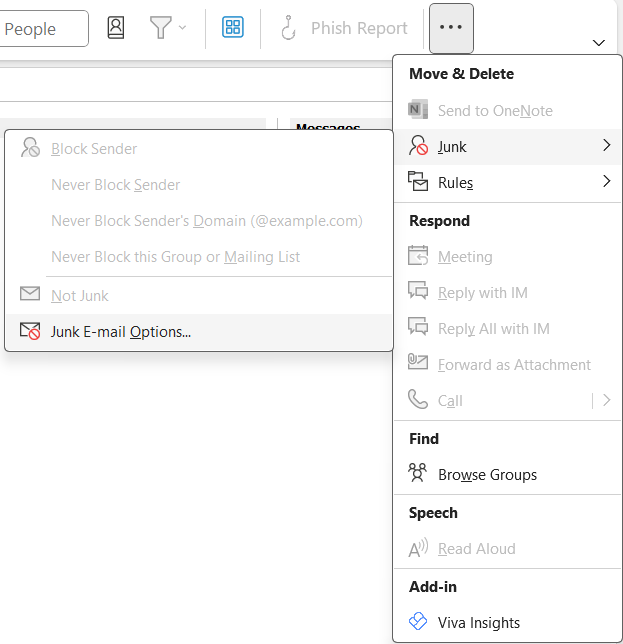
- Select Junk email, then scroll down to view the Safe Senders and Domains list. All the domains should appear.
Testing to see if the images are displayed.
- To test this works, send a phishing simulation to yourself and a few other users to ensure the script has been applied to multiple people. You can find this in the 'On Demand' section of the portal.