Granting access to synchronise Entra ID shared mailboxes
![]() Updated 2 years ago
by
admin
Updated 2 years ago
by
admin
By default, shared mailboxes synchronised from Azure Active Directory (AAD) are identified as standard users (objectClass=user) which means they are subject to billing. To exclude shared mailboxes from billing, the synchronisation service requires additional permissions to read from the Exchange API.
Video
This video will guide you through the steps required within Entra ID to ensure EMS can correctly identify Shared Mailboxes.
Step by Step Guide.
To grant the permission:
- Sign in to Entra ID
- Select Microsoft Entra, Roles and Administrators or use the search feature to quickly find the section.
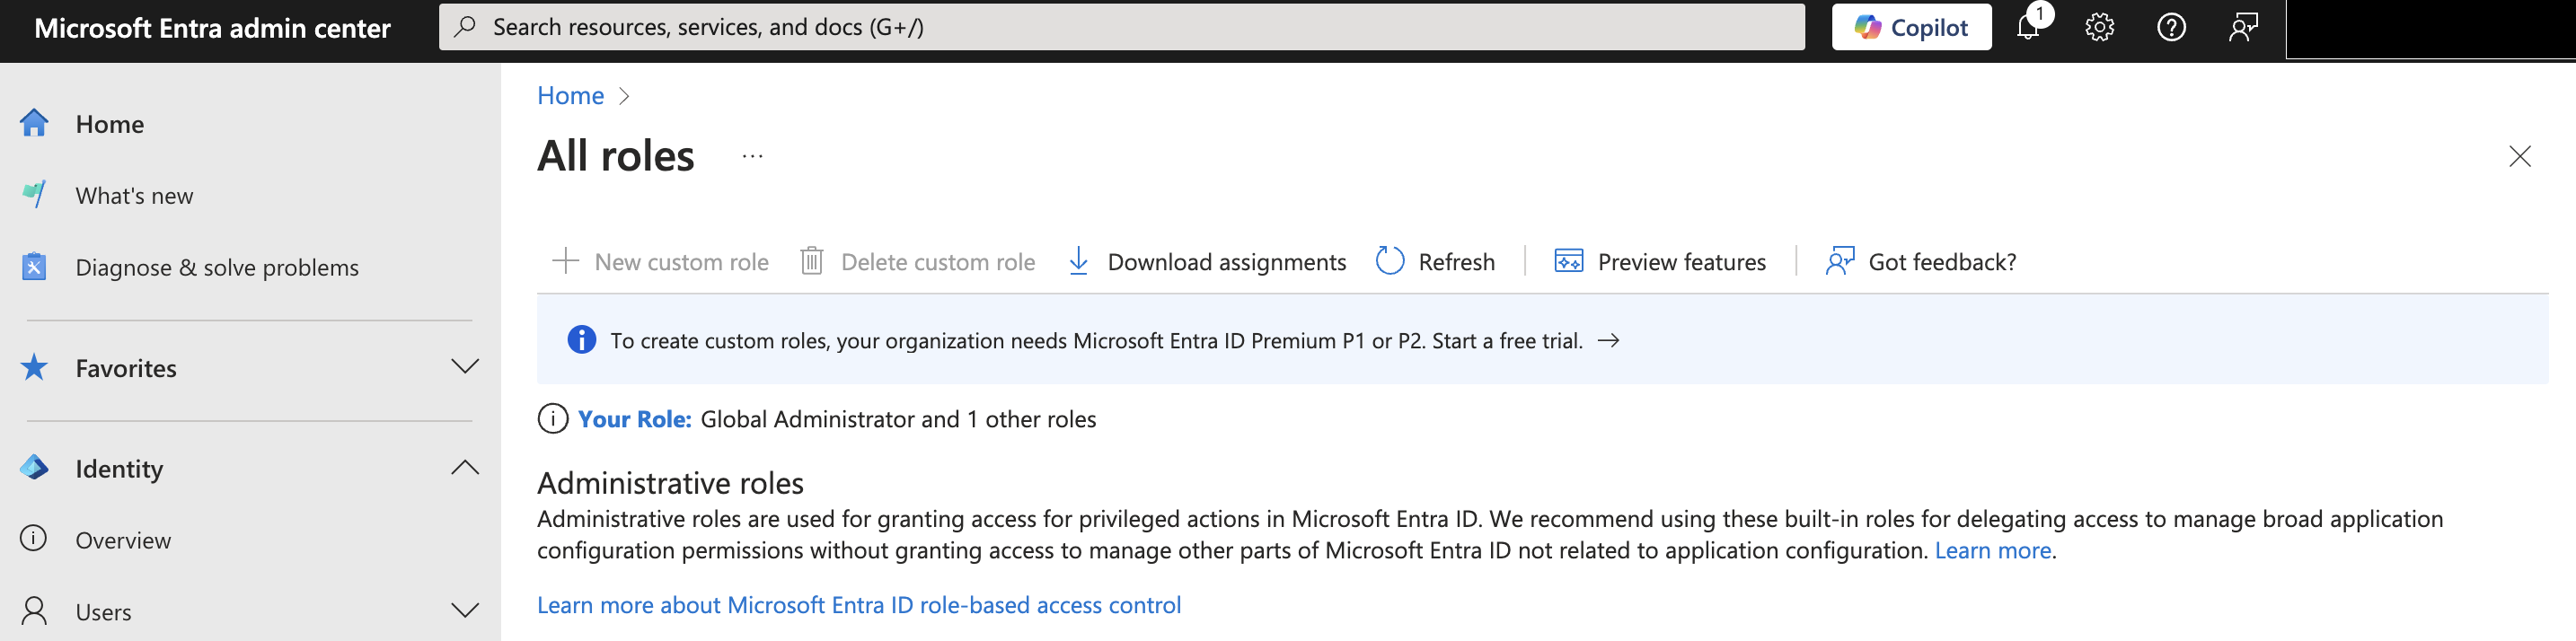
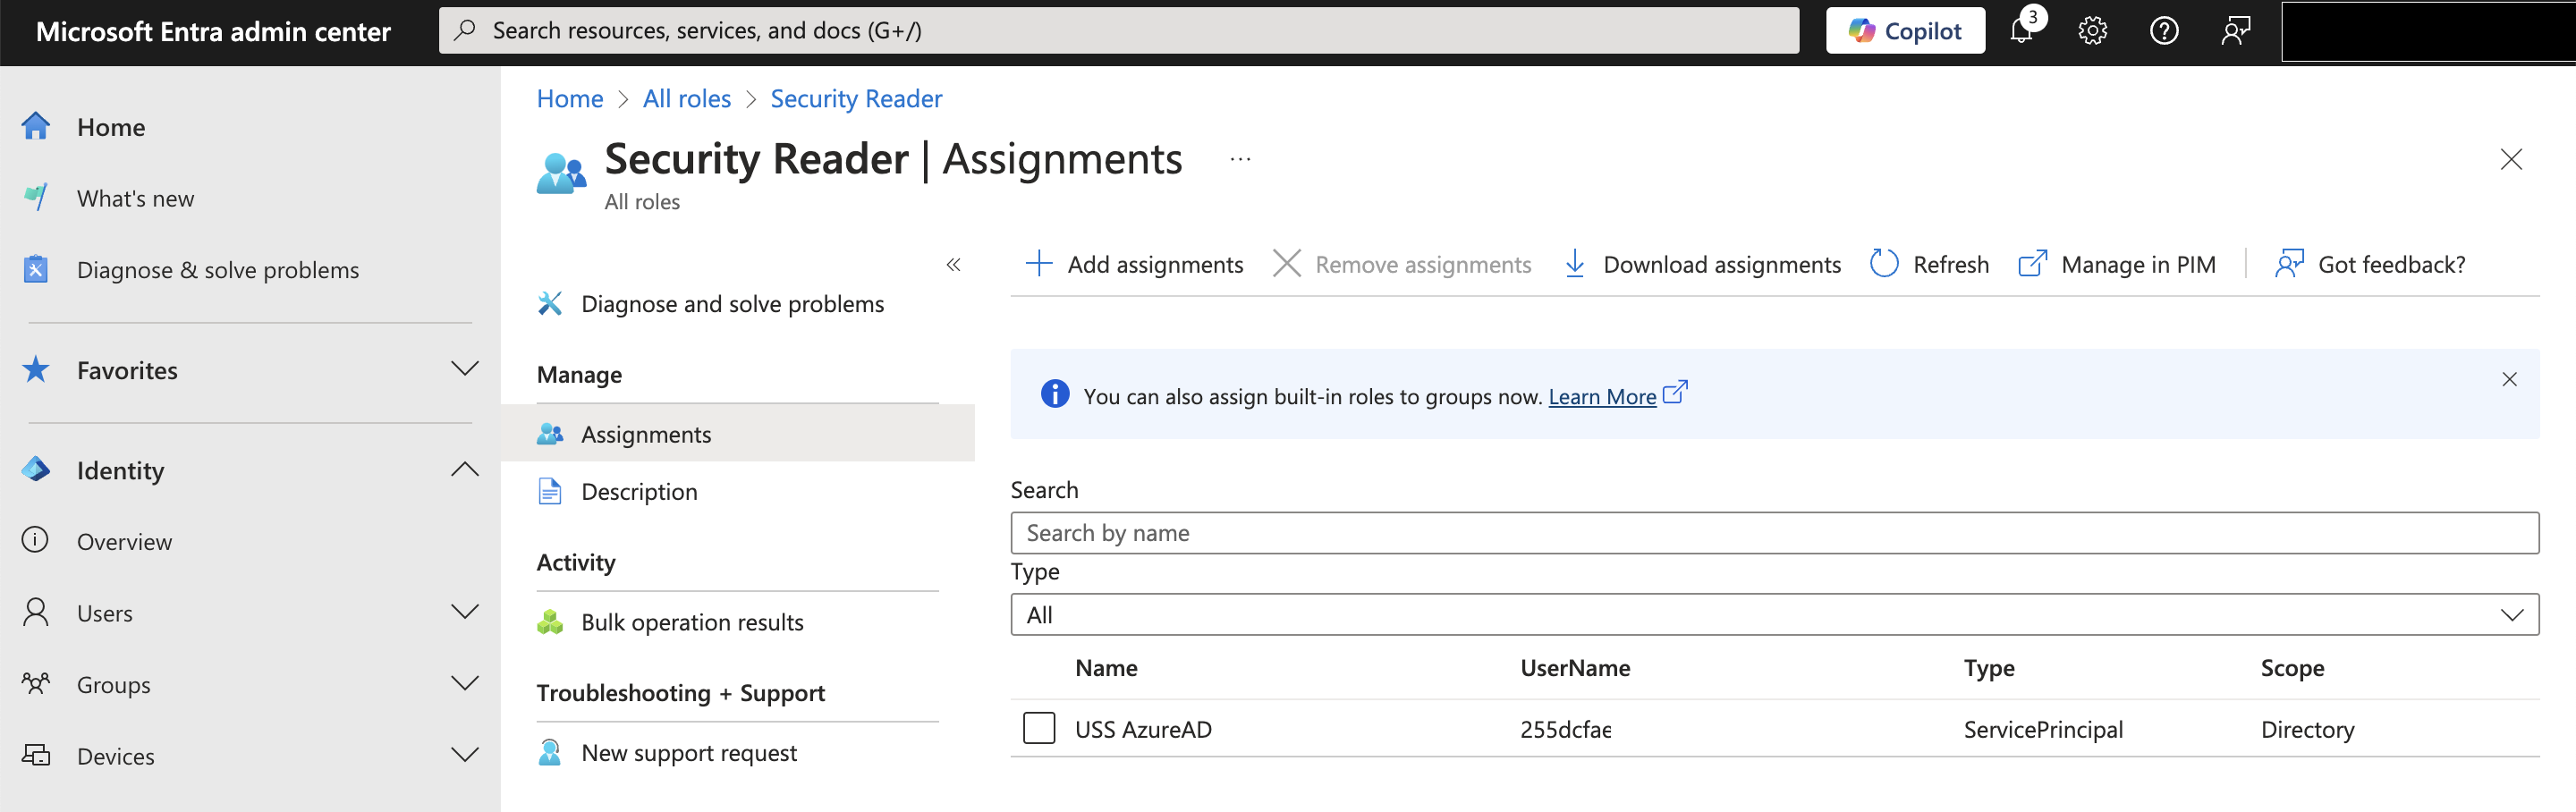
- Search for the Security Reader role
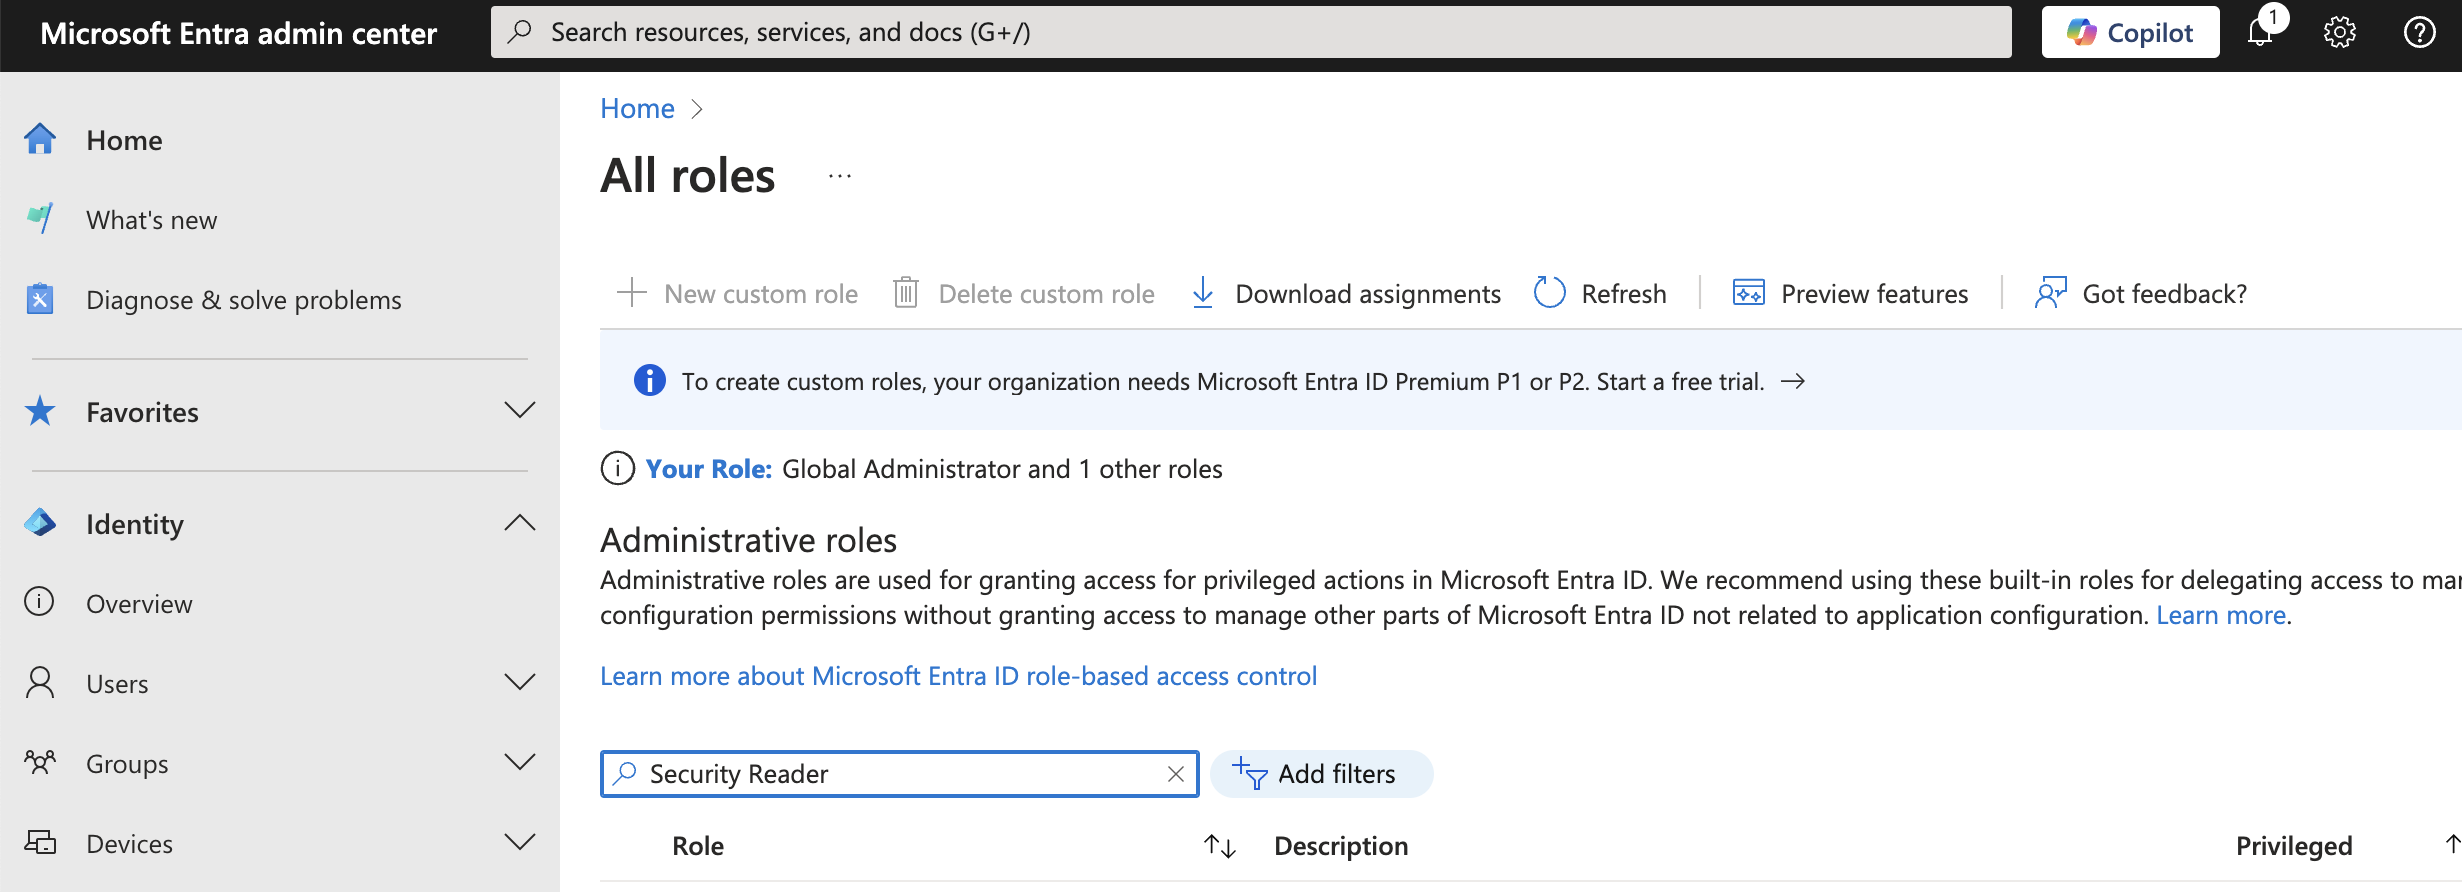
- Click Add Assignments

- Search for USS AzureAD and then Add
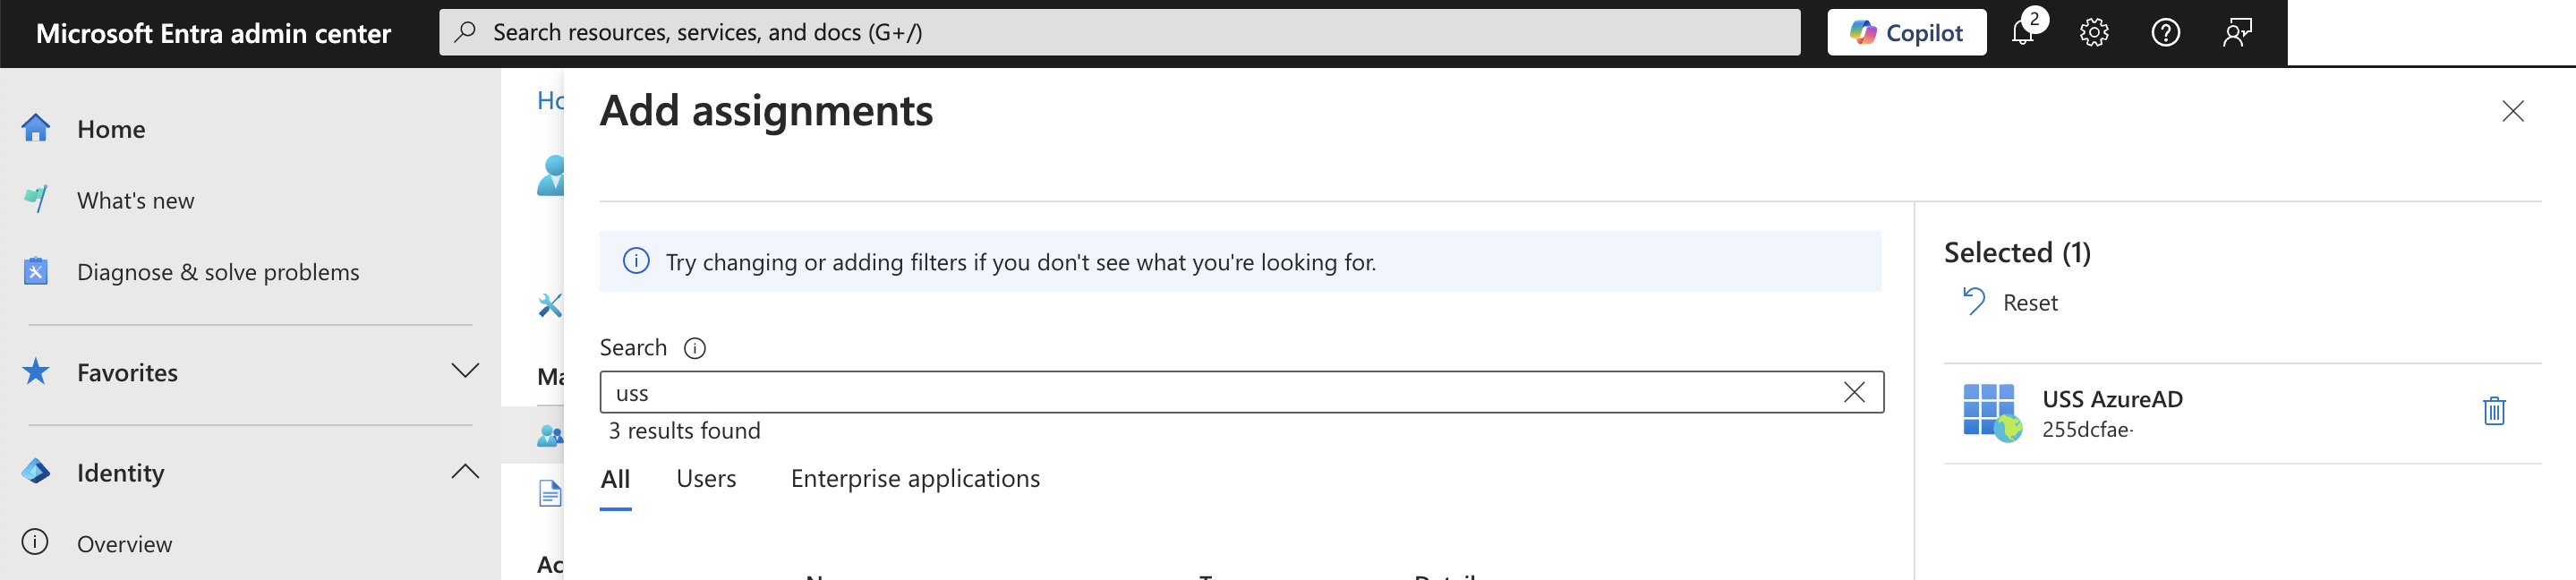
This has now granted the necessary permissions.
Role assignment using the Azure CLI
If the Azure portal does not allow you to assign the role to the USS AzureAD application, then the following steps can be performed using the Azure CLI tool.
- Start the Azure CLI, for example using a docker container if using that option:
docker run -it mcr.microsoft.com/azure-cli
- Log in as a user with permission to assign roles - follow the prompts to open a browser and authenticate the CLI.
az login
- Find the Object ID of "USS AzureAD" (this can also be found in Azure > Enterprise Applications > USS AzureAD section)
az ad sp list --all --query "[].{objectId:objectId}" --filter "displayName eq 'USS AzureAD'"- Assign the "Security Reader" role to "USS AzureAD" (where $objectId is the Object ID from step 3)
az rest --method post --url https://graph.microsoft.com/beta/roleManagement/directory/roleAssignments --body "{\"principalId\":\"$objectId\",\"roleDefinitionId\":\"5d6b6bb7-de71-4623-b4af-96380a352509\",\"directoryScopeId\":\"/\"}"Role Assignment Using PowerShell
- Please download and install the AzureAD PowerShell module.
- Log in to your tenant as a Global Administrator using the command:
Connect-AzureAD - Get the service principal ObjectID using the command:
Get-AzureADServicePrincipal - View the Object ID’s of the Azure AD Directory Roles (this outputs the available directory roles):
Get-AzureADDirectoryRole | sort DisplayName - Set a directory role to a Service Principal:
Add-AzureADDirectoryRoleMember -ObjectId (objectID of the directory role from step 4) -RefObjectId (objectID of the SP from step 3) - Check the current directory roles assigned for the Service Principal:
Get-AzureADServicePrincipalMembership -ObjectId(objectID of the SP from step 3)