Configuring journaling for Exchange and Office 365
![]() Updated 1 year ago
by
admin
Updated 1 year ago
by
admin
This article describes how to configure a send connector and a journaling rule within Microsoft Exchange and Office 365.
Getting email into the Email Archive is the main step. “Journaling” is the common term for taking a copy of new mail being received or sent from an organisation. Microsoft Exchange / Office 365 has very good facilities for Journaling.
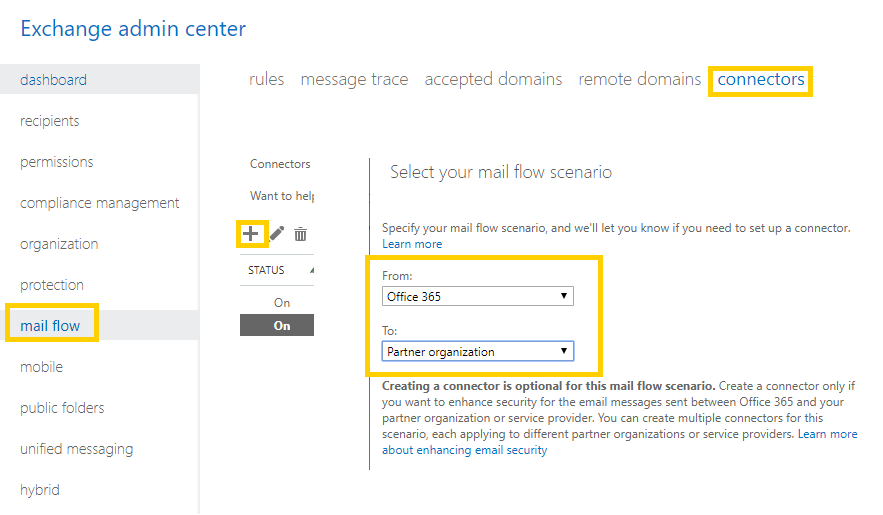
Configure a Send Connector for Exchange and Office 365
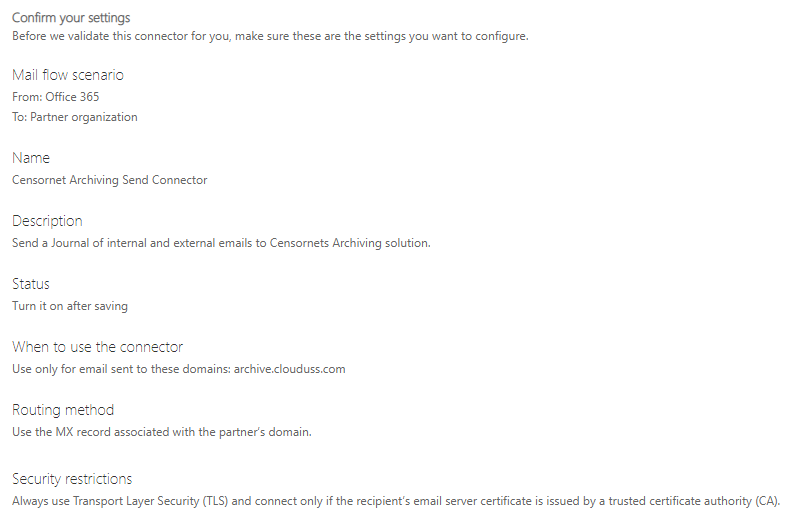
Within Exchange / Office 365 add an SMTP Outbound Connector for the Email Archive, as follows:
- From: Office 365
- To: Partner organization
- Name: Archive Send Connector
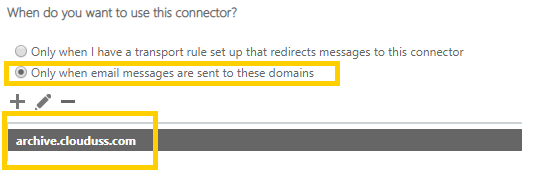
- When do you want to use this connector: Only when email messages are sent to these domains
- Add: archive.clouduss.com
- How do you want to route email messages: Use the MX record associated with the partner’s
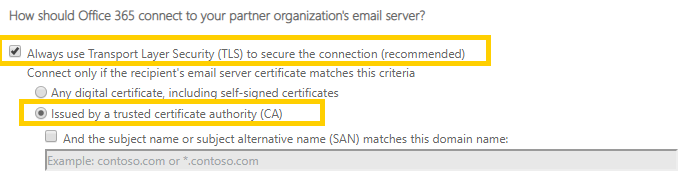
- How should Office 365 connect to your partner organization's email server: Always use Transport Layer Security (TLS) to secure the connection (recommended)
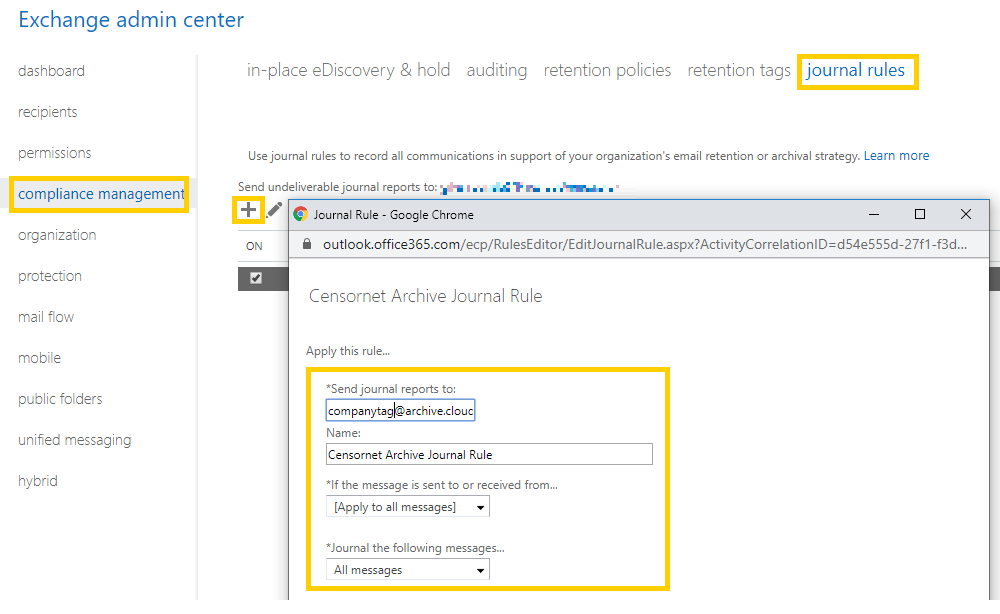
Configure a Journal Rule for Exchange and Office 365
Within Exchange / Office 365 add a journal rule.
- Send journal reports to:
companytag@archive.clouduss.com
- Name: Archive Journal Rule
- If the message is sent to or received from: Apply to all messages
- Journal the following messages: All messages
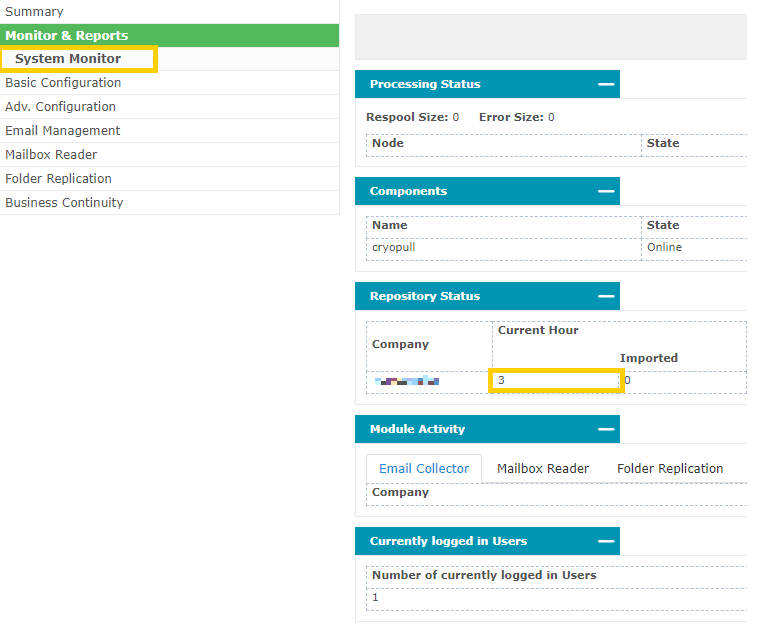
Monitoring
At this point, administrators should be able to view the mail flowing into the Email Archive system on the Monitor page. Log in as an administrator, then click the Monitor & Reports then System Monitor option. New mail items waiting to be processed appear under Repository Status Current Hour.