Compliant Email Archive Quick Start Guide
![]() Updated 8 months ago
by
admin
Updated 8 months ago
by
admin
This guide is designed to help configure the Compliant Email Archive product.
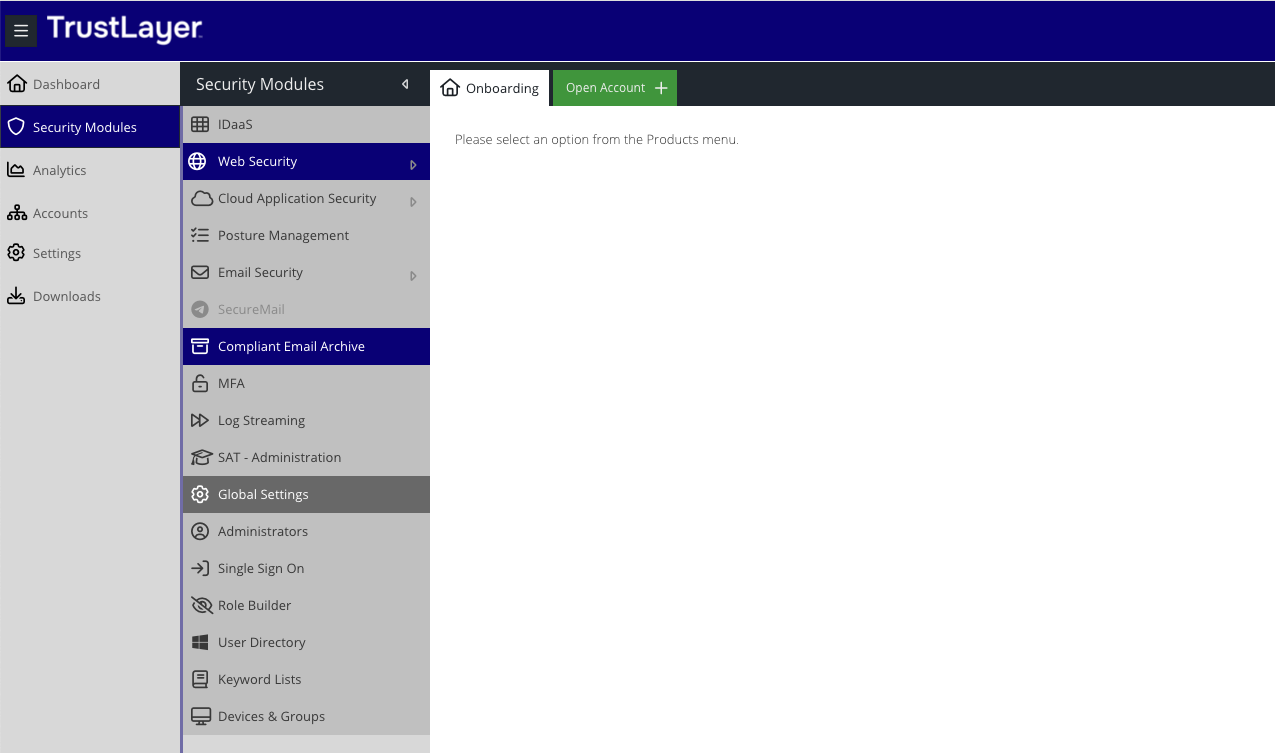
Accessing the Compliant Email Archive
To access the Compliant Email Archive (CEA), navigate to Security Modules, then select Compliant Email Archive. This will open a new browser tab or window and log in automatically to the administration section of the Compliant Email Archive.

Configure Domains and Alerts
Click on Basic Configuration and then Outbound Email & Alerts.
- Ensure that the Use System-wide SMTP Service option is unchecked
- In the MailServer Address field, enter your outbound server hostname, ensure that TLS is selected, and the port is set to 25. If you're an EMS customer, you can find the information needed in this KB article under the Smart Hosts (Outbound) section.
- Ensure that Authorization Required is checked.
- Enter the username and password provided to you by your service provider when SMTP Auth was activated
- Add each of your email domains to the Email Domains list.
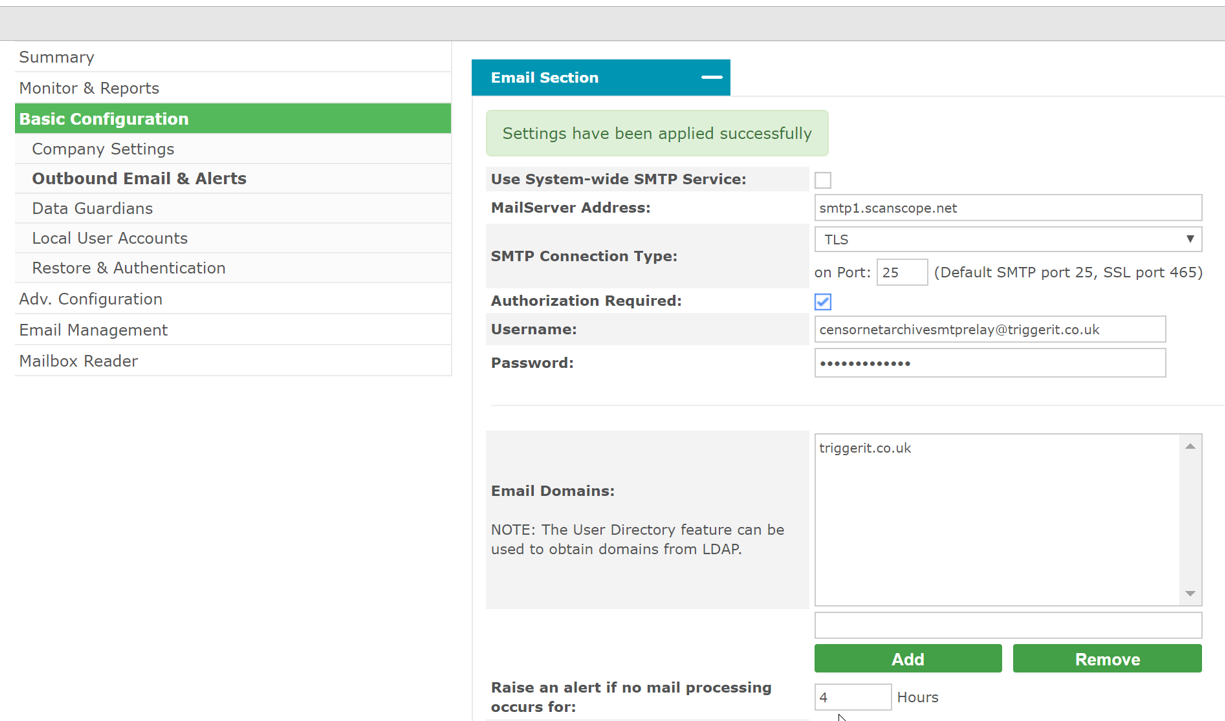
- Click Save to confirm the changes.
Configure Data Guardians
To add a Data Guardian, click on Basic Configuration and then Data Guardians.
- In the Data Guardians text box, enter the email address of each person who has been designated a data guardian for your organisation.
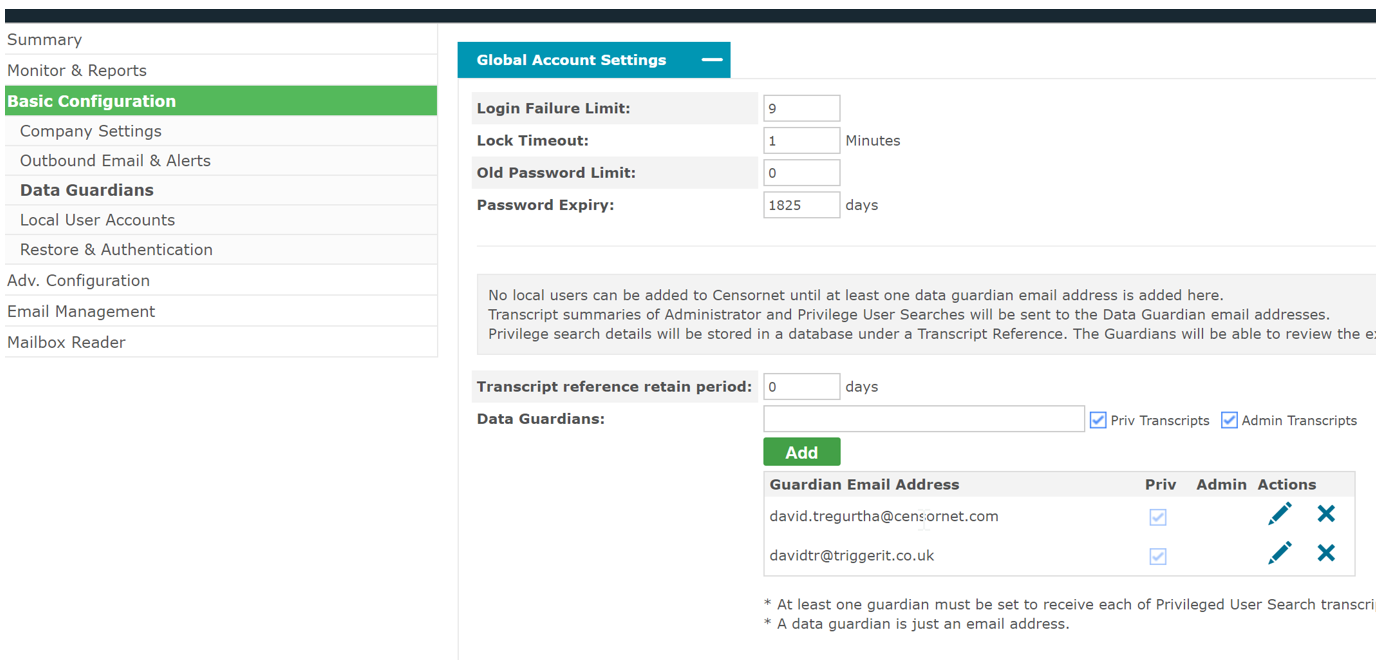
- Click Add to register the email address as a data guardian.
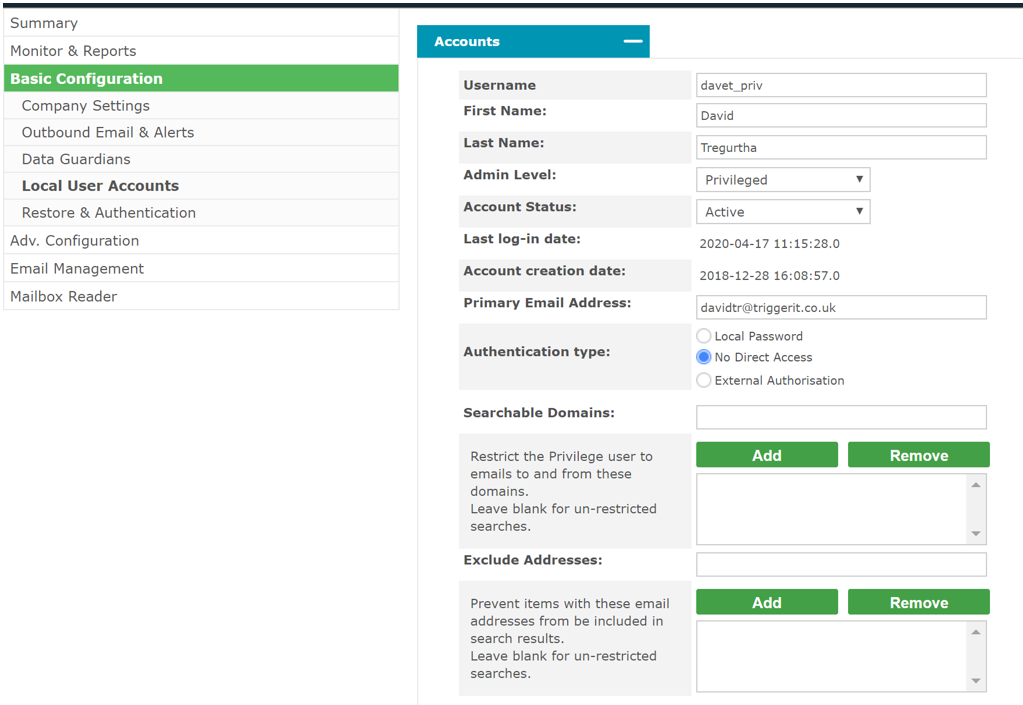
Configure Local Accounts
Click on Basic Configuration and then Local User Accounts.
Configure at least one local admin account, ensuring you use the suffix _admin.
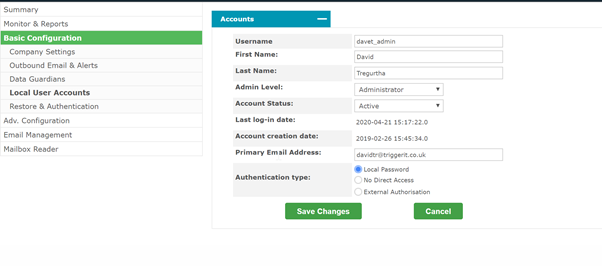
Repeat the process to create at least one local privileged account using the prefix _priv. If the privileged user is the same account as the admin user (as determined by the primary email address) you can optionally set the authentication type to “no Direct Access” so that multiple passwords do not have to be maintained.
Configuring Journaling Rules
The simplest way of sending emails from your email server to the CEA product is via Journaling. Journaling rules can be configured to continually send live incoming, outgoing and internal mail to the CEA product.
<companytag>@archive.clouduss.com or <companytag>@uk.archive.clouduss.com. To find your company tag, navigate to Basic Configuration, Company Settings and then Company Tag.You can then view the result of the test by navigating to Monitor & Reports and then reviewing the Repository Status panel.
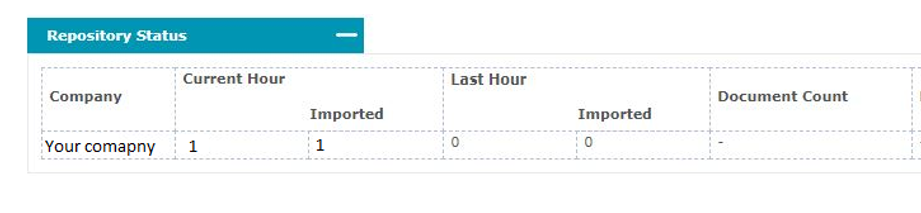
The Current Hour section should show a count of the number of test emails that were sent. The Imported number is from the number of emails imported via Import manager in Email Management.
To configure the journaling rule, please refer to the following guides:
- Configuring journaling for Exchange or Office 365
- Configuring journaling for Gsuite (opens an external site)
Depending on your provisioning location, journal reports can be sent to<companytag>@archive.clouduss.comor<companytag>@uk.archive.clouduss.com
To find your company tag, navigate to Basic Configuration, Company Settings and then Company Tag.
Ingesting Mail (optional)
This step is optional.
To ingest historic email messages that exist in an Office 365 or Exchange environment, please follow the article on Ingest Mail via Mailbox Reader.
Configuring Single Sign-on (optional)
This step is optional.
To configure single sign-on:
Accessing CEA portal as a user.
End users can access the portal via a browser and a unique URL based on the CEA company tag.
To find your company tag, navigate to Basic Configuration, Company Settings and then Company Tag.
UK Environment: https://<companytag>.outlook.archive.uk.clouduss.com/user/login
EU Environment: https://<companytag>.outlook.archive.eu.clouduss.com/user/login
In addition, an Email Archive End User Guide, which explains how to use the system for live and archived email, can be distributed to end users to help with training.