Configuring JumpCloud as an Identity Provider
![]() Updated 1 year ago
by
admin
Updated 1 year ago
by
admin
- Navigate to Products -> IDaaS -> Identity Providers and click the + button.
- Select JumpCloud from the list of available providers:

- Click Download Metadata to download an XML file that can be used to automatically configure your Identity Provider:
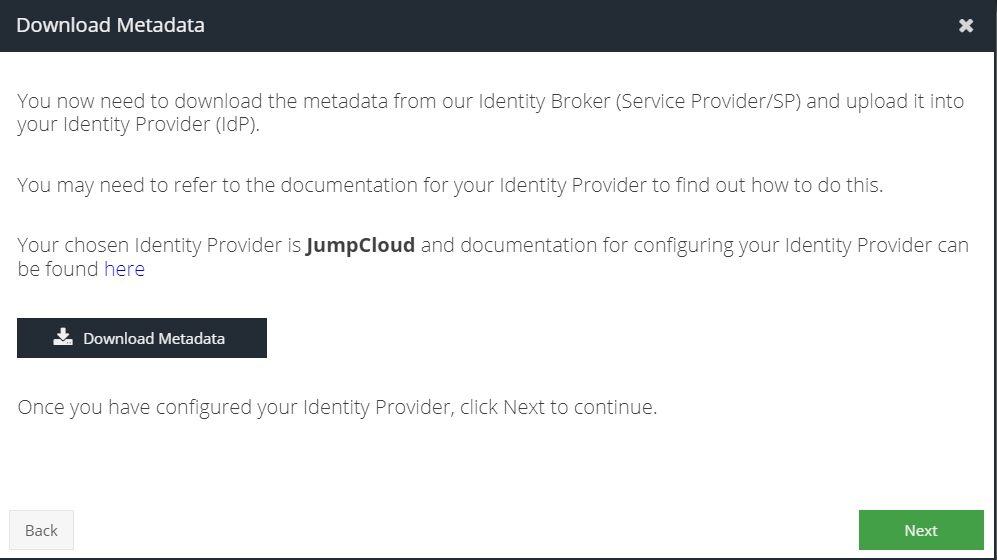
- Click Next.
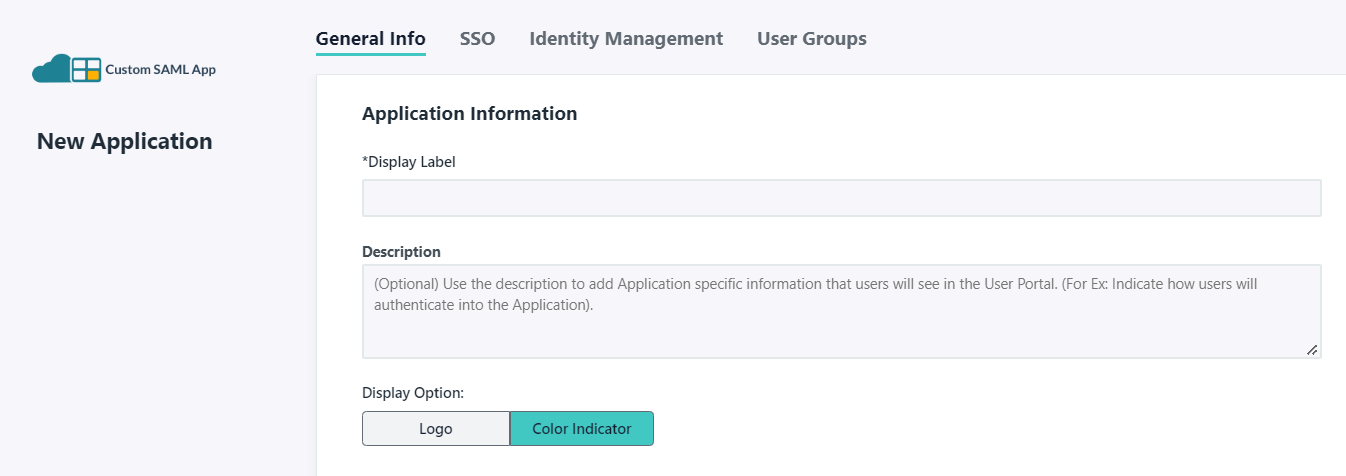
- Log in to the JumpCloud console and navigate to SSO and click + . In the bottom panel, click Custom SAML App
- Enter a Display Label e.g. IDaaS to identify this SSO connection
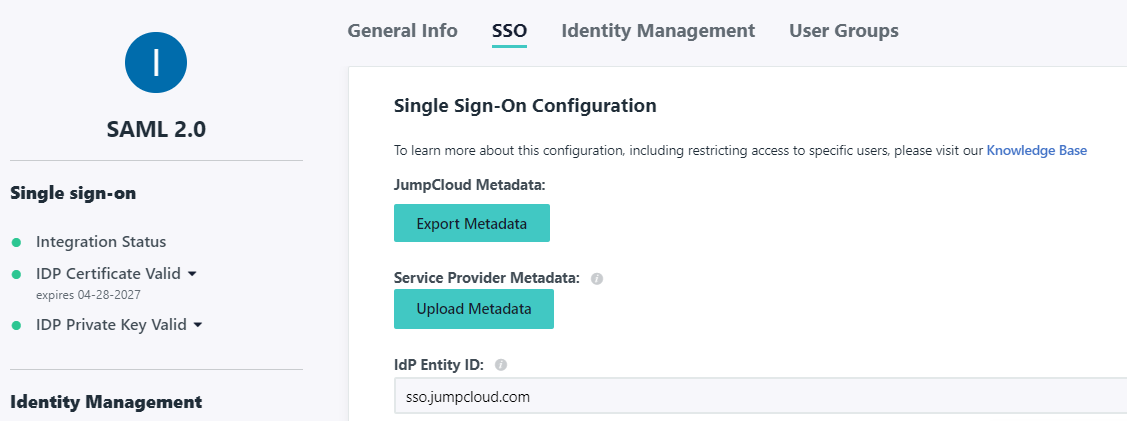
- Click the SSO tab and then Upload Metadata selecting the XML downloaded in Step 3. This will prepopulate a number of fields
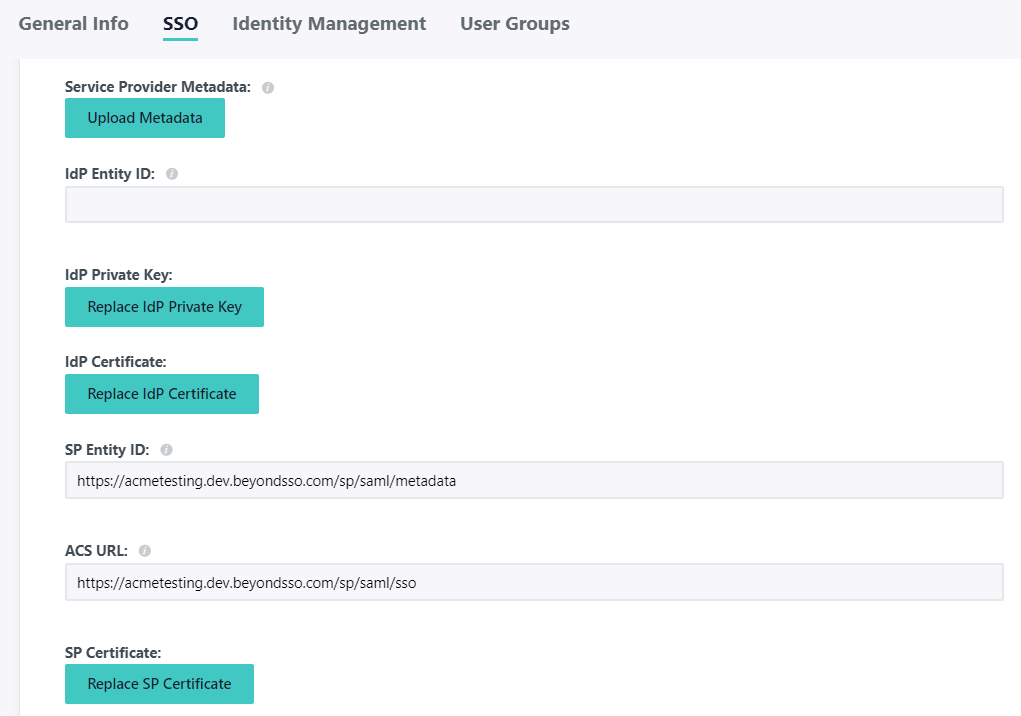
- For the IdP Identity ID you can enter in a unique identifier, such as sso.jumpcloud.com
- For the SAMLSubject NameID select email
- For the SAMLSubject NameID Format select urn:oasis:names:tc:SAML:1.1:nameid-format:emailAddress
- For the IdP URL you can specify a path such as idaas e.g.
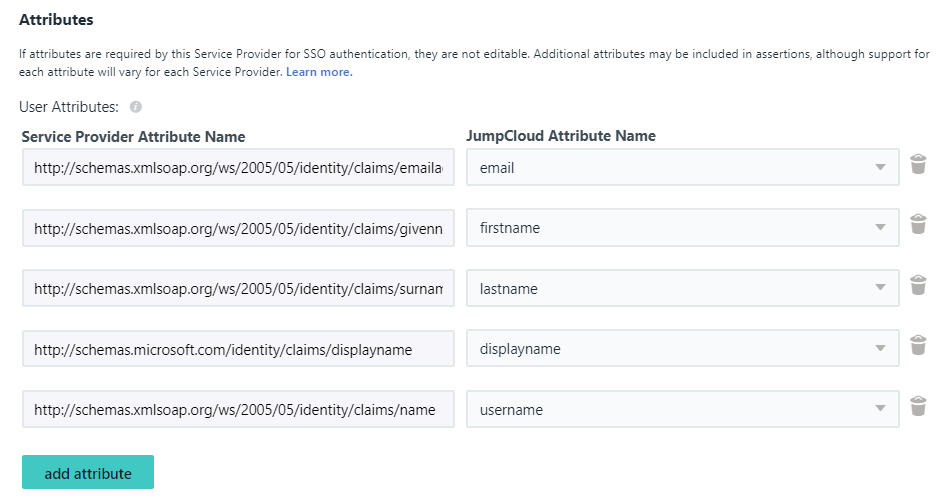
https://sso.jumpcloud.com/saml2/idaas - Under User Attributes click Add and add the following
Service Provider Attribute Name | JumpCloud Attribute Name |
http://schemas.xmlsoap.org/ws/2005/05/identity/claims/emailaddress | |
http://schemas.xmlsoap.org/ws/2005/05/identity/claims/givenname | firstname |
http://schemas.xmlsoap.org/ws/2005/05/identity/claims/surname | lastname |
http://schemas.microsoft.com/identity/claims/displayname | displayname |
http://schemas.xmlsoap.org/ws/2005/05/identity/claims/name | username |
- Click the User Groups tab and tick the groups that should have access to this SSO connector e.g. All Groups
Make sure that you have users provisioned within JumpCloud to use for SSO with cloud apps
- Click Activate
- Now select the newly created connector, click the SSO tab and then Export Metadata
- Return to the Identity Provider wizard, click Next and upload the XML file downloaded in the previous step
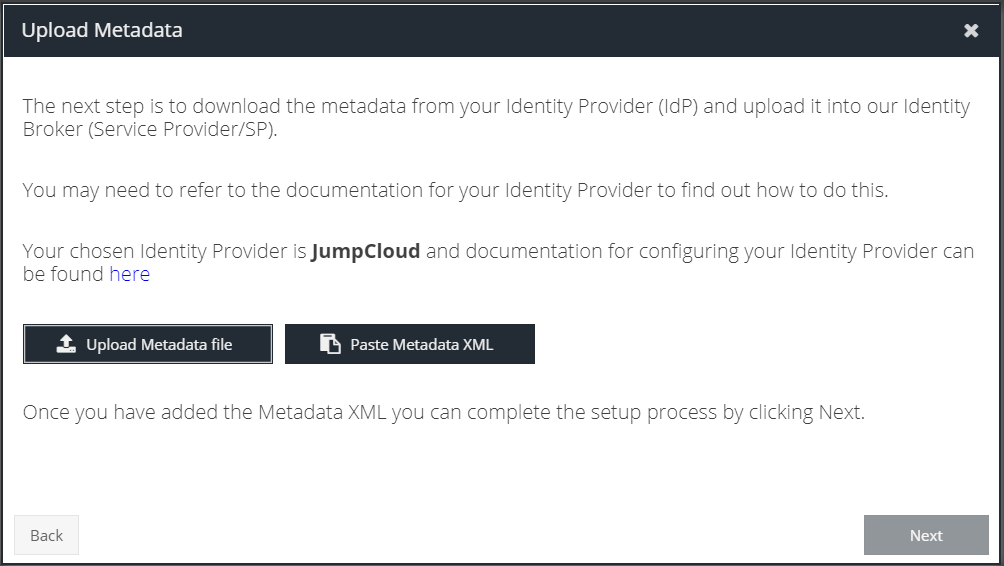
- Click Next
- Continue to connect at least one app to verify the configuration is working as expected