MFA - Rules Engine Concepts
Adding new MFA Rules
To add a new Rule, visit your USS Dashboard and click Products ⟶ MFA ⟶ Rules.
Click  to create a new Rule. Given the Rule a sensible name, and choose the Authentication Client for which this Rule will be used.
Click  . Your new Rule will be created, and displayed in the Rule Editor.
The MFA rule editor follows a similar layout to the rules editor from other Cloud USS products, such as Web Security.
Set the Rule to Active
By default, new Rules are not set to Active. Click the Active  toggle to On.
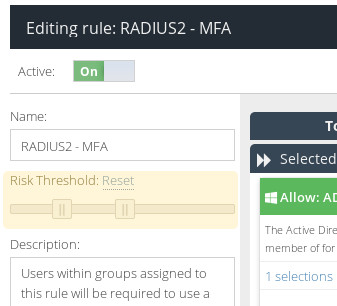
Change the Rule name
If you want to change the name of this Rule, you can do so using the field in the top right. You can also give the Rule a short description.
Set the Risk Thresholds
Each authentication attempt processed by Cloud MFA is assigned a Risk value. This value represents the likelihood of this authentication attempt being malicious or fradulent. By default, each Rule treats a Risk value lower than 22% as Low Risk and a Risk value higher than 51% as High Risk. If you want to change those values, you can do using the Risk Threshold sliders.
Add a Condition
To add a Condition under which this Rule will trigger, simply drag and drop a Condition from the Conditions box to the Selected Conditions column.
AD Group
To limit this Rule to only triggering for users in specific Active Directory groups, use this Condition. To control devices, please use the Device or Device Group condition.
Time
Use this Condition to increase the Risk value of this authentication attempt if it does not occur within a specified time period.
When you  this Condition, you will be able to choose to add Risk points. Doing so will increase the Risk value for this authentication attempt by the chosen value if the Condition is violated. You could for example choose to add
 10 Risk points if the authentication attempt is made between 3am and 6am.

100. button to toggle the logic from Allow to Deny.
Geo-location
Use this Condition to increase the Risk value of this authentication attempt if does not originate from an IP located in a specific region or regions.
When you this Condition, you will be able to choose to add Risk points. Doing so will increase the Risk value for this authentication attempt by the chosen value if the Condition is violated. You could for example choose to add 10 Risk points if the authentication attempt originated from territories other than the UK and the USA.
100. button to toggle the logic from Allow to Deny.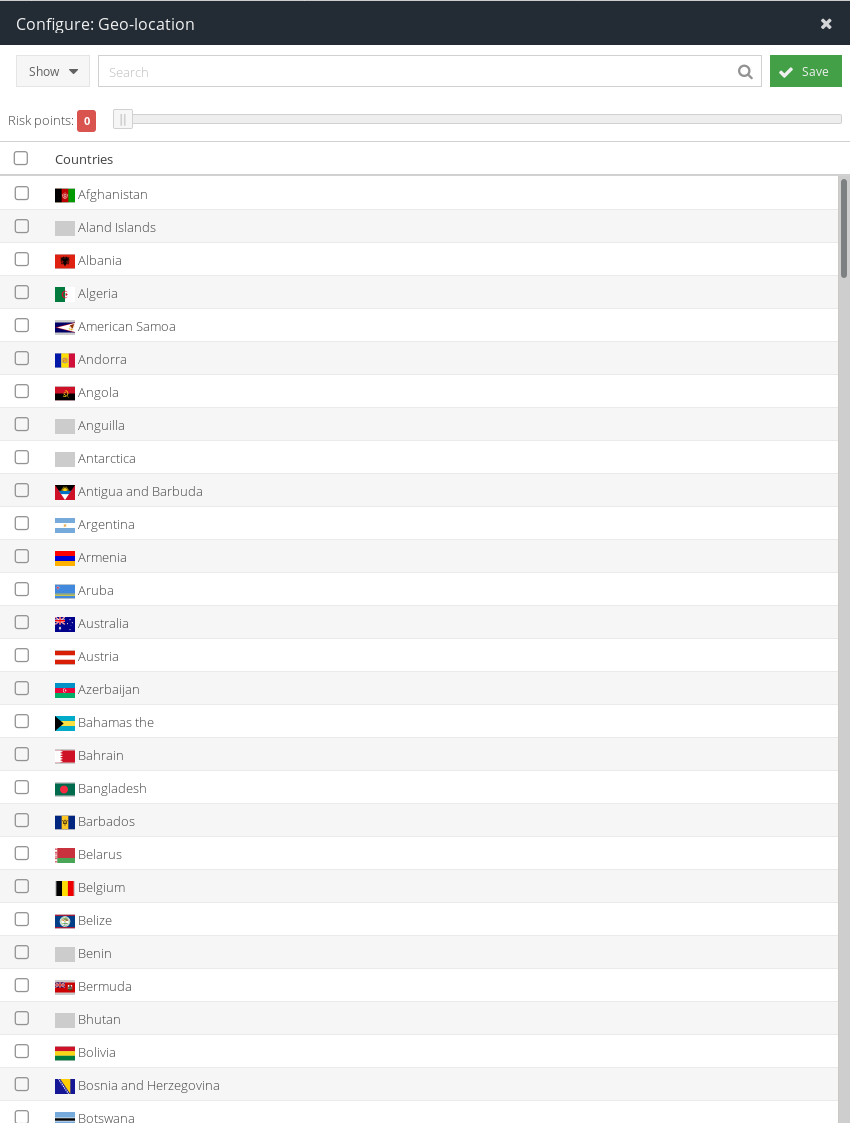
Source IP
Use this Condition to increase the Risk value of this authentication attempt if does not originate from an IPv4 address located in a specific range.
When you this Condition, you will be able to choose to add Risk points. Doing so will increase the Risk value for this authentication attempt by the chosen value if the Condition is violated. You could for example choose to add 10 Risk points if the authentication attempt originates from an IPv4 address outside your corporate domain.
Click  , and use the
  button to add an IP range. The value needs to be a valid CIDR mask, eg
 10.0.0.0/24.
100. button to toggle the logic from Allow to Deny.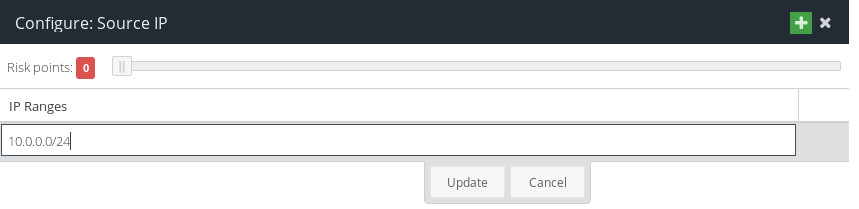
Add First Factors
Once you've added any appropriate Conditions to your Rule, you'll need to choose the First Factor authentication method that this Rule will offer.
As usual, you do this by dragging and dropping a tile from the First Factors box to the appropriate column. When editing an MFA Rule, there are three available columns: Low Risk, Medium Risk and High Risk. You can add a First Factor authentication method to each of those three columns.
Auth Client
Adding this First Factor will force the Authentication Client with which this Rule is associated to be the first factor for authentication.
Deny
If this First Factor is triggered, the user will be prevented from authenticating.
Add Second Factors
Each Rule can offer the user a number of second factor authentication options.
As usual, you do this by dragging and dropping a tile from the Second Factors box to the appropriate column. When editing an MFA Rule, there are three available columns: Low Risk, Medium Risk and High Risk. You can add Second Factor authentication methods to each of those three columns.
Soft Token Push
The user will be prompted to authenticate using the Entrust ST (Soft Token) smartphone app.
SMS / Email
The user will be required to enter a One-Time Passcode. The passcode will be sent automatically, either by SMS text message or by email.
Hard / Soft Token
The user will be prompted to complete a soft token or hard token challenge.
Smart Push
The Smart Credential Push feature automatically prompts the user to authenticate on their mobile device. This requires the user to have installed the Entrust ST smartphone app.
Changing the default behaviour for First Factor and Second Factor authentication
Your Cloud USS installation comes with a default Rule, called MFA. To change the priority for First and Second Factor authentication for your users, simply edit this Rule.
- Visit your USS Dashboard and click Products ⟶ MFA ⟶ Rules. Double-click the MFA Rule to edit.

The MFA rule editor follows a similar layout to the rules editor from other Cloud USS products, such as Web Security.
The default order for Second Factor authentication is:
- Smart Push
- Soft Token Push
- Hard / Soft Token
- SMS / Email
- If you want to change the order, just use the
 arrow icons to move each Second Factor up or down in the list.
Allowing certain users to bypass Second Factor authentication
Adding an authentication client will automatically create two Rules - the MFA Rule and the Bypass Rule. The Bypass Rule - which is initially disabled by default - can be used to allow a subset of your users to bypass Second Factor authentication.
- Double-click the Bypass Rule to edit it.
- Add an AD Group Condition to the Selected Conditions column.
- Click
 on your new AD Group Condition, and choose the AD group that contains the users who will be allowed to bypass Cloud MFA authentication.
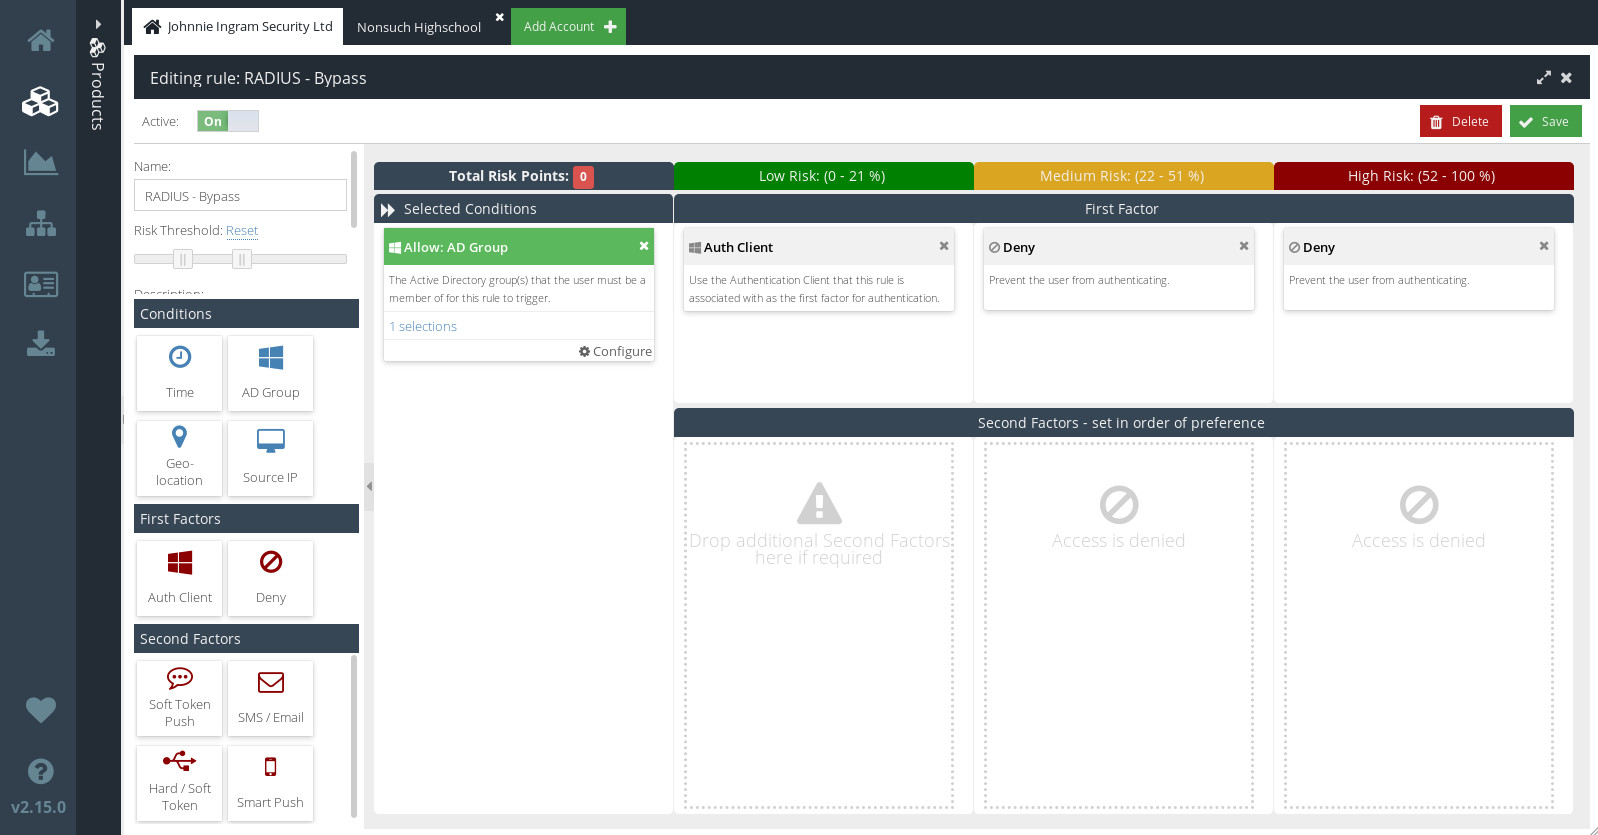
Like other Rules, the Bypass Rule is made up of Conditions and First Factor Actions. Unlike other Rules, though, the Bypass Rule has no Second Factor Actions. That means that, for users who meet the conditions of this Rule, no further challenge will be issued after initial login. It is therefore strongly recommended that you add an AD Group Condition, and strictly limit access to the AD group you select.
- Make sure that the
 toggle is set to On.
 - Click
 to save the changes you've made to your Bypass Rule.