Office 365 SSO with External Identity Provider
![]() Updated 1 year ago
by
admin
Updated 1 year ago
by
admin
This article describes how to federate your Azure Active Directory custom domain to use the IDaaS product as its Identity Provider.
In this article, we will use the domain mxclear.com which has an Azure tenant name of mxclearcom.onmicrosoft.com. For the IDaaS product, the vanity domain acmetesting.dev.clouduss.com will be used. Replace these values with your own. The custom domain will be federated to use JumpCloud as its Identity Provider instead of Azure AD. See Configuring JumpCloud as an Identity Provider. At this point, Azure AD is a directory for Office apps however the source of authentication is set to JumpCloud.
This guide can be followed for alternative Identity Providers too by replacing the JumpCloud specific steps with those of the alternative Identity Provider.
- Make sure you have read and understood the warning panel above
- Open PowerShell with Administrator privileges
- If you have not already done so, install the MsOnline cmdlet with:
Install-Module MsOnline - Type
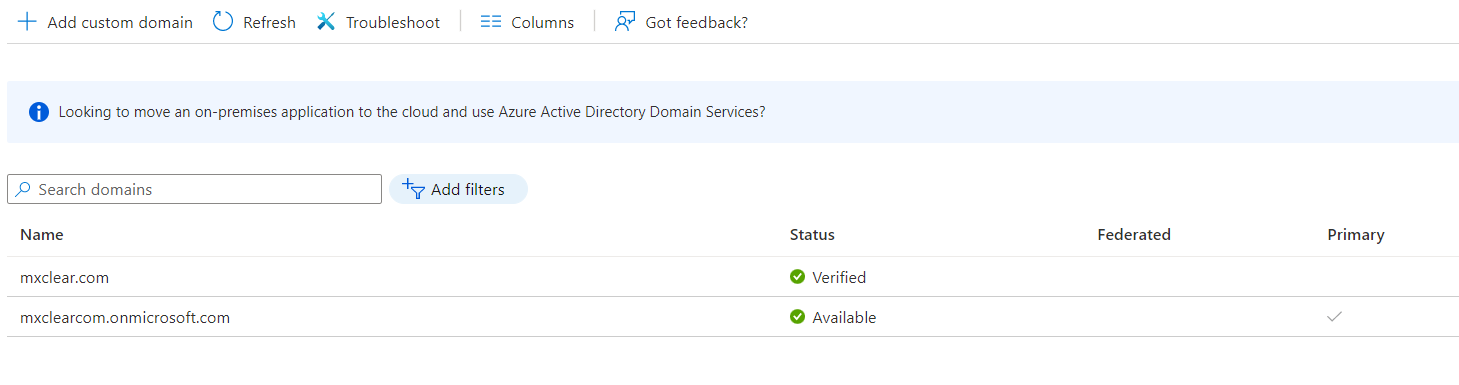
Connect-MsolServiceand sign-in to your Azure tenant as an administrator - Next, in Azure AD, check that the custom domain is not the primary domain. You cannot federate a domain if it is already in use. Navigate to Azure Active Directory -> Custom domain names and check that the onmicrosoft.com tenant is the Primary. If not, set it to be the primary domain
- Ensure that you have an Identity Provider configured other than Azure AD, such as JumpCloud
- Navigate to App Launcher -> Add Apps within the IDaaS product
- Select the Office 365 app tile for the app you are adding, such as Outlook. If you do not see a tile that matches the desired Office 365 App, select the Office 365 App (Generic) tile and change the Application Name to the name of the app you are setting up
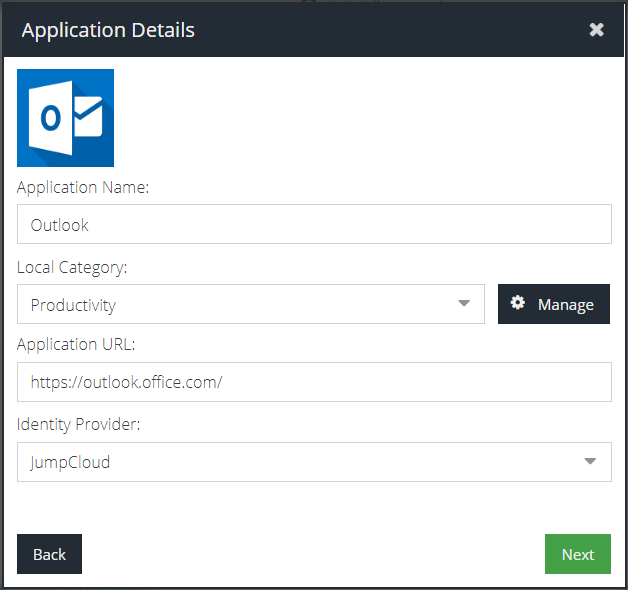
- Select an existing category or create a new category by using the Manage option. The app tile will appear in this category for IDaaS users.
- Refer to the table below and set the corresponding Application URL for the app you are configuring
App Name | Application URL |
Office 365 Admin | https://admin.microsoft.com/ |
Outlook Web Access | https://outlook.office.com/ |
SharePoint | https:// |
Office e.g. Word, PowerPoint | https://www.office.com |
- Select an Identity Provider other than Microsoft Azure e.g. JumpCloud
- Click Next
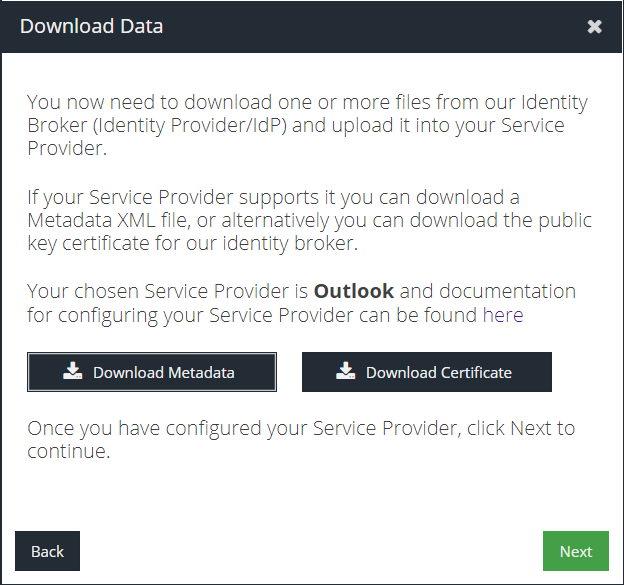
- Click Download Certificate and then open the resulting
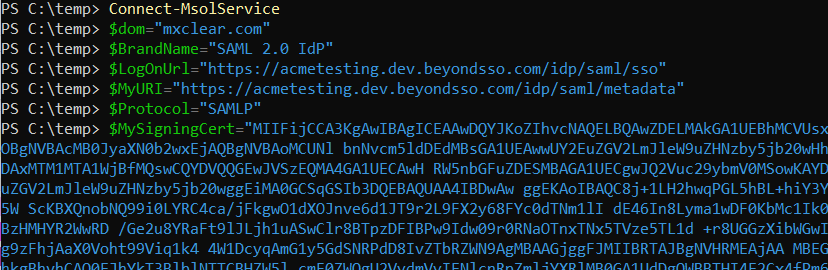
.pemfile in a text editor. Copy all of the text between the-----BEGIN CERTIFICATE-----and-----END CERTIFICATE-----tags, and remove the line breaks. You can use an online tool (external link) and paste the text into input and then copy the output to the clipboard and paste it in to your text editor for use in the next step - Return to the PowerShell prompt and set up some variables to use for the configuration
$dom="mxclear.com"
$BrandName="SAML 2.0 IdP"
$LogOnUrl="https://acmetesting.dev.beyondsso.com/idp/saml/sso"
$MyURI="https://acmetesting.dev.beyondsso.com/idp/saml/metadata"
$Protocol="SAMLP"
$MySigningCert="<INSERT ONE LINE CERTIFICATE>"
Be sure to replace mxclear.com with your custom domain name to federate and acmetesting.dev.beyondsso.com with your IDaaS vanity domain, leaving the path in place. Ensure the certificate is pasted in without any line breaks as described in the previous step. Your terminal should look similar to this:
- Now execute the command to federate the domain using the variables you have set:
Set-MsolDomainAuthentication -DomainName $dom -FederationBrandName $BrandName -Authentication Federated -IssuerUri $MyURI -PassiveLogOnUri $LogOnUrl -LogOffUri $MyURI -PreferredAuthenticationProtocol $Protocol -MetadataExchangeUri $MyURI -SigningCertificate $MySigningCert
- In the Azure portal, you should see the federated tick is added to your custom domain. This may take several minutes to appear

- Return to the IDaaS configuration screen to complete the Add Application wizard. Click Next and then click Paste Metadata XML. Paste in the following XML:
<EntityDescriptor entityID="urn:federation:MicrosoftOnline"
	xmlns="urn:oasis:names:tc:SAML:2.0:metadata">
	<SPSSODescriptor WantAssertionsSigned="true" protocolSupportEnumeration="urn:oasis:names:tc:SAML:2.0:protocol">
		<NameIDFormat>urn:oasis:names:tc:SAML:1.1:nameid-format:unspecified</NameIDFormat>
		<AssertionConsumerService index="1" Binding="urn:oasis:names:tc:SAML:2.0:bindings:HTTP-POST"            Location="https://login.microsoftonline.com/login.srf" />
	</SPSSODescriptor>
</EntityDescriptor>
urn:federation:MicrosoftOnline will determine the Identity Provider that all subsequent Office 365 related app tiles will use if more are added at the end of this guide. Put simply, it is not possible to split Office 365 Apps access across multiple Identity Providers.- Microsoft requires IDPEmail and NameID attributes (external) to be provided. The IDaaS product will attempt to add the IDPEmail attribute automatically, however the NameID attribute needs to map to the ImmutableID of the user that is authenticating. On the Identity Provider side, we need to create a custom attribute to store the ImmutableID of the Azure user.
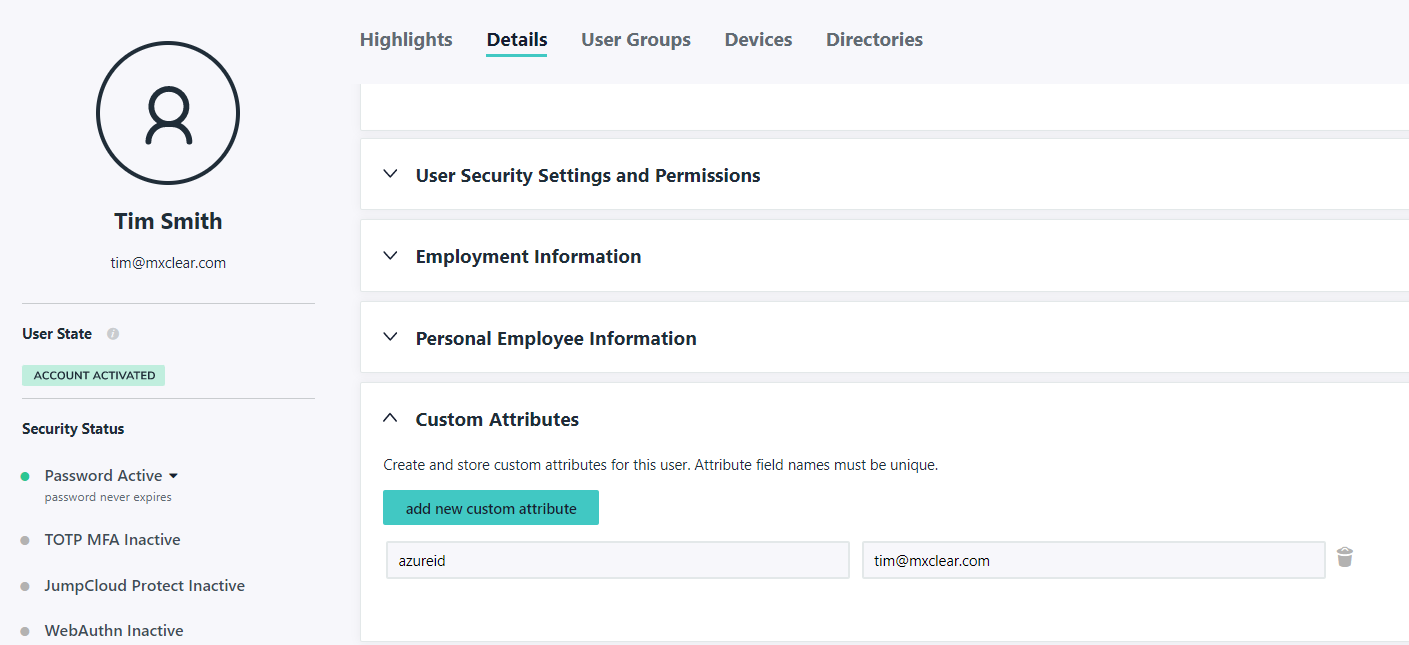
If you are using JumpCloud, you can find the corresponding Office (Azure AD) user within the JumpCloud users list and under Details add a new attribute, e.g. azureid with a value of the Azure AD user's ImmutableID.
To check if a user has an ImmutableID, return to the PowerShell screen:
Get-MsolUser -UserPrincipalName <upn> | select ImmutableID
e.g. Get-MsolUser -UserPrincipalName tim@mxclear.com | select ImmutableID

If the ImmutableID is blank, you can set it otherwise you can skip the next command. To set the ImmutableID to be the same as the UPN of the user, use this command:
Set-MsolUser -UserPrincipalName <upn> -ImmutableId <upn>
e.g. Set-MsolUser -UserPrincipalName tim@mxclear.com -ImmutableId tim@mxclear.com

Finally, in the JumpCloud user details panel, ensure the chosen attribute name has the ImmutableID value you obtained or created for the user.
- Still within JumpCloud, click the SSO menu option and select the Identity Provider connection that you set up previously. Navigate to the SSO tab and scroll down to the SAMLSubject NameID Format select box and change this to urn:oasis:names:tc:SAML:2.0:nameid-format:persistent

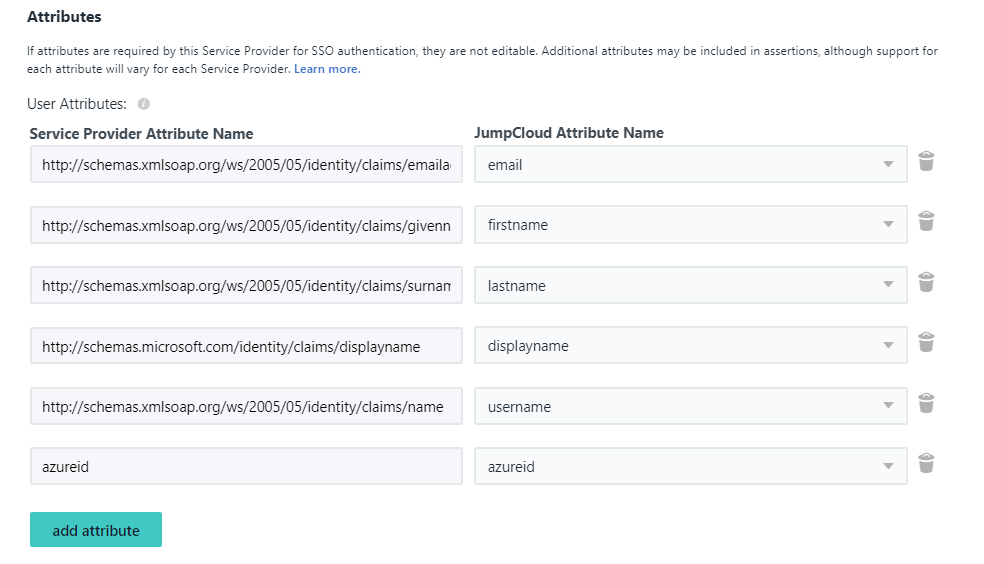
- Scroll further down to the Attributes section. Add a new attribute to assert that azureid should be provided if the service provider requires it. Map this to the newly created azureid attribute.
- Return to the IDaaS configuration screen. Test the authentication by clicking the newly created Outlook tile and when prompted sign in with your identity provider credentials
Additional Office 365 App tiles
Once a user has authenticated with the Office 365 app that has been configured they can switch between Office Apps using the selector menu.
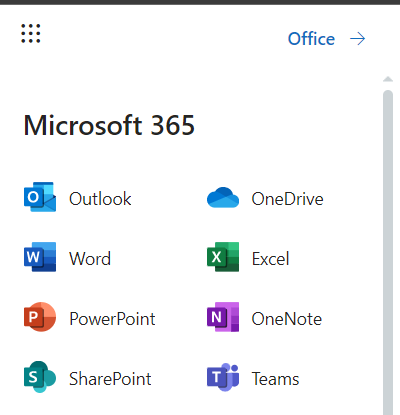
However, it is also possible to add additional Office 365 app tiles to the Applications list if required.
To add another app, such as SharePoint, repeat the same steps 7-12 and step 17 taking care to use a unique EntityID in step 17, e.g. entityID="sharepoint". It doesn't matter what the entity ID is at this stage as all apps will share the original urn:federation:MicrosoftOnline. Failing to do this will generate an error that an application already exists with the given metadata.