Configure Inbound mail on Office 365 to reject non-EMS emails.
![]() Updated 2 weeks ago
by
admin
Updated 2 weeks ago
by
admin
Configure Inbound mail on Office 365 to reject non-EMS emails.
You should configure Office 365 to block any inbound email that does not originate from EMS.
The recommended approach to this is described below.
Video guide.
This video will guide you through configuring Exchange Online to ensure that Exchange Online does not accept direct connections outside of EMS.
Step by Step guide.
- Log in to the Office 365 Admin Center, navigate to Admin Centers and then Exchange.
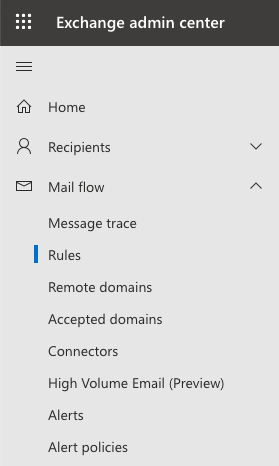
- In the left-hand pane, click Mail Flow and then Rules.
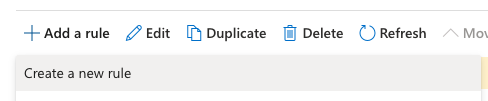
- Click Add a rule and then click Create a new rule.
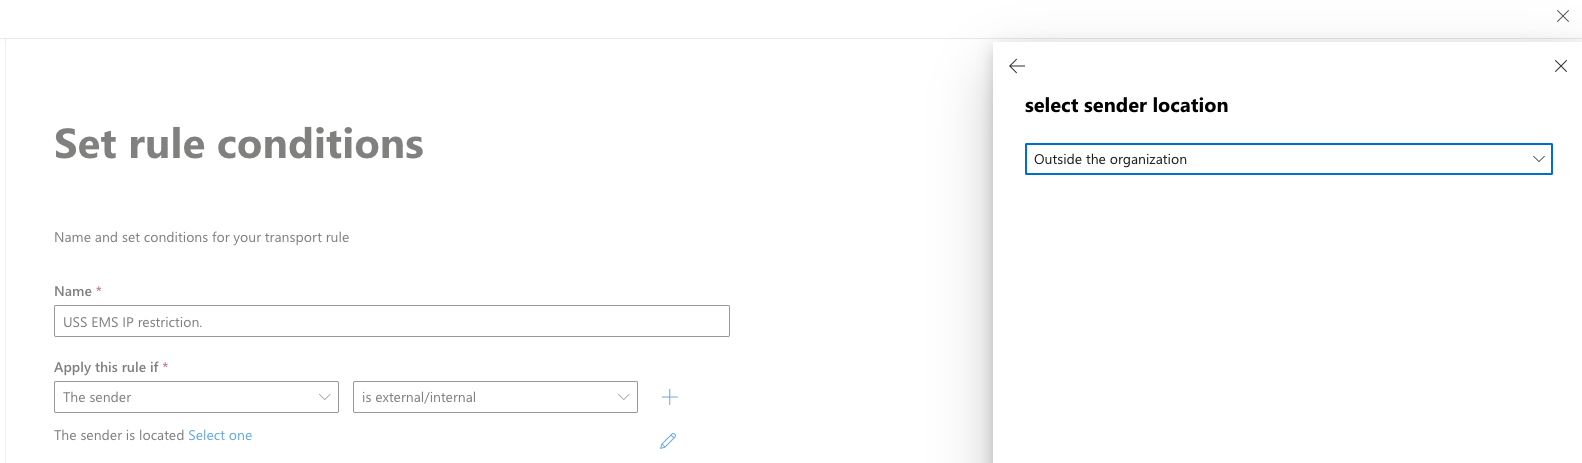
- On the New Rule page, enter a Name to represent the rule, such as USS EMS IP restriction.
- From the Apply this rule if drop-down menu, select The Sender, then ss external/internal and then Outside the organization.
- From the Do the following drop-down menu, select Block the message, then choose Reject the message and include an explanation.
- Click Enter text and enter the message you want to include in the non-delivery report (NDR) that will be sent to the email's sender. For example:
IP restricted, not using MX record. Please ensure your DNS is up-to-date and try sending this message again.
- Under the Except if option, select The sender condition and then the IP Address is in any of these ranges or exactly matches, add all the IP addresses for the Email Security region you use.
Please refer to our knowledge-based articles to find the IP addresses for the Email Security region by clicking HERE.
- Select the Add icon to add each of the IP addresses for your region.
- Once all the IP addresses have been added, click OK.

- Click on the Add exception + icon.

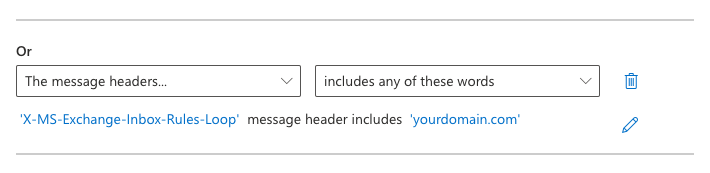
- Select, The message headers, then select, includes any of these words:
Under the Enter text section, enter: X-MS-Exchange-Inbox-Rules-Loop
Under the Enter words section, enter: yourdomain.com
- Select the Next icon.
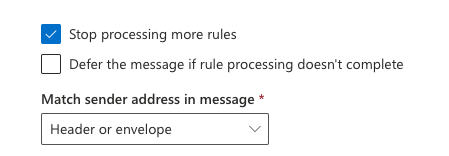
- Click Stop processing more rules.
- Under the section Match sender address in message, select Header or Envelope.
- Click Next, then Finish, then Done.

- Verify that the new rule is displayed at the top of the list of mail flow rules. If it's not at the top, select the rule and use the Up arrow to move it.
- Ensure that the rule is enabled.

Office 365 is now configured to block any email that does not originate from EMS.