Managing Sanctioned Apps
 Updated 35 minutes ago
by
admin
Updated 35 minutes ago
by
admin
Identifying which SaaS applications your organisation should allow is an important step in securing your environment and controlling Shadow IT/AI.
The Sanctioned App condition is available with Cloud Application Security (CASB) and is enforced through rules in the Rule Builder. It lets you distinguish between applications that are explicitly approved and those that are not, so you can enforce policies that control access and reduce risk.
Setting an app as Sanctioned
Setting an app as Sanctioned marks it as approved for use in your rules, so they can treat the application as trusted and apply policies accordingly.
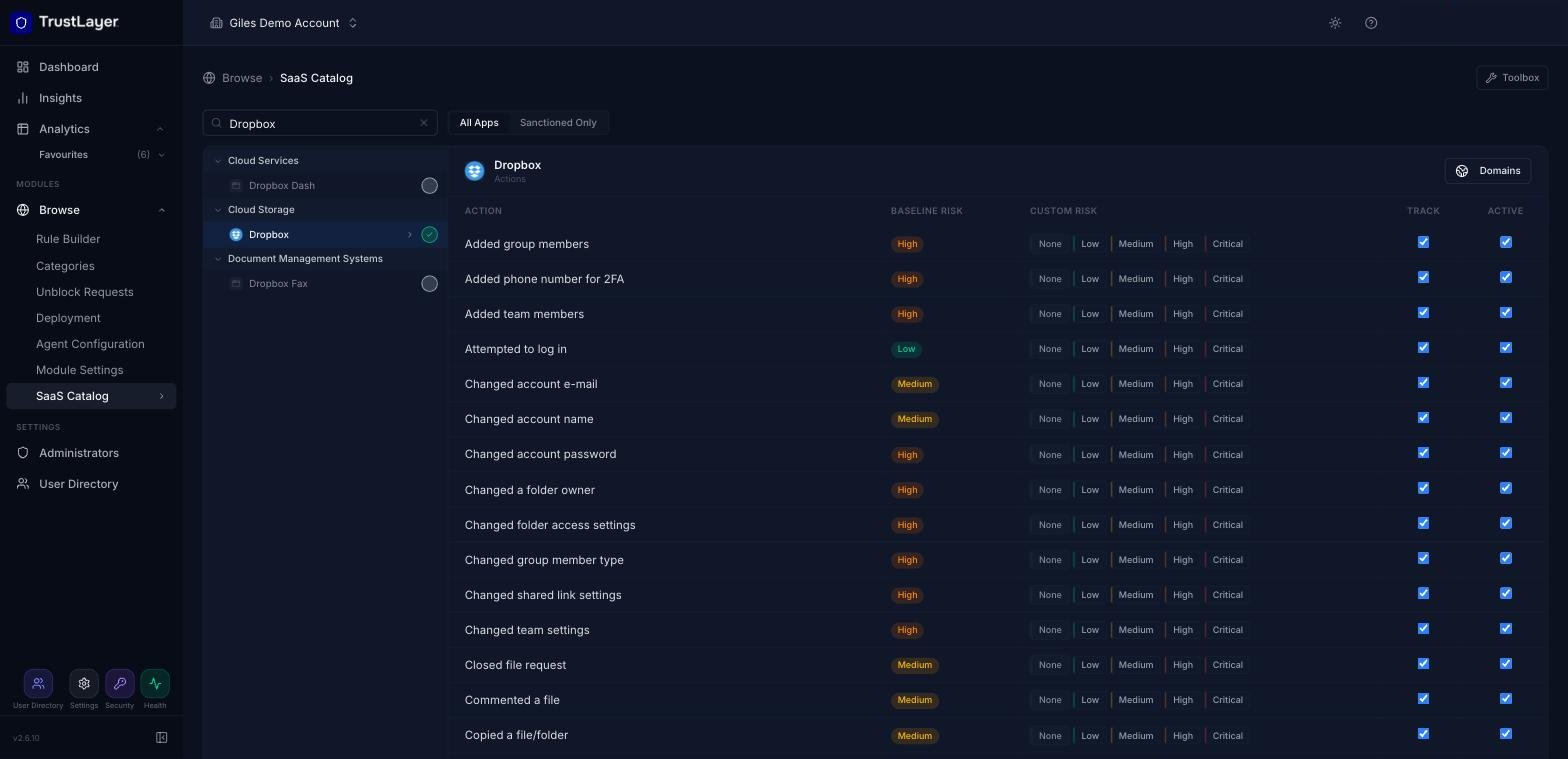
- In the console, go to Browse ⟶ SaaS Catalog.
- Search for the app by name, or find it in the category tree on the left.
- Click the circle to the right of the app name. It turns green with a tick when the app is sanctioned.
- Repeat for any other apps you want to mark as sanctioned.
Controlling Sanctioned & Unsanctioned Apps
Once at least one app is sanctioned, you can apply controls to sanctioned apps, or to apps that are not on your sanctioned list.
- Go to Browse ⟶ Rule Builder.
- Create a new rule (Create Rule) or open an existing one.
To allow all traffic to Sanctioned Apps:
- In the Toolbox, double-click Sanctioned App (or drag it onto the Conditions column).
- Click the settings icon on the tile and tick some or all of the apps you have sanctioned. Use All to select every sanctioned app, or Manage to open the SaaS Catalog.
- Add the Allow action to the Actions column.
- Position the rule above any rules that block app activity, so your allow rule for sanctioned apps is processed first.
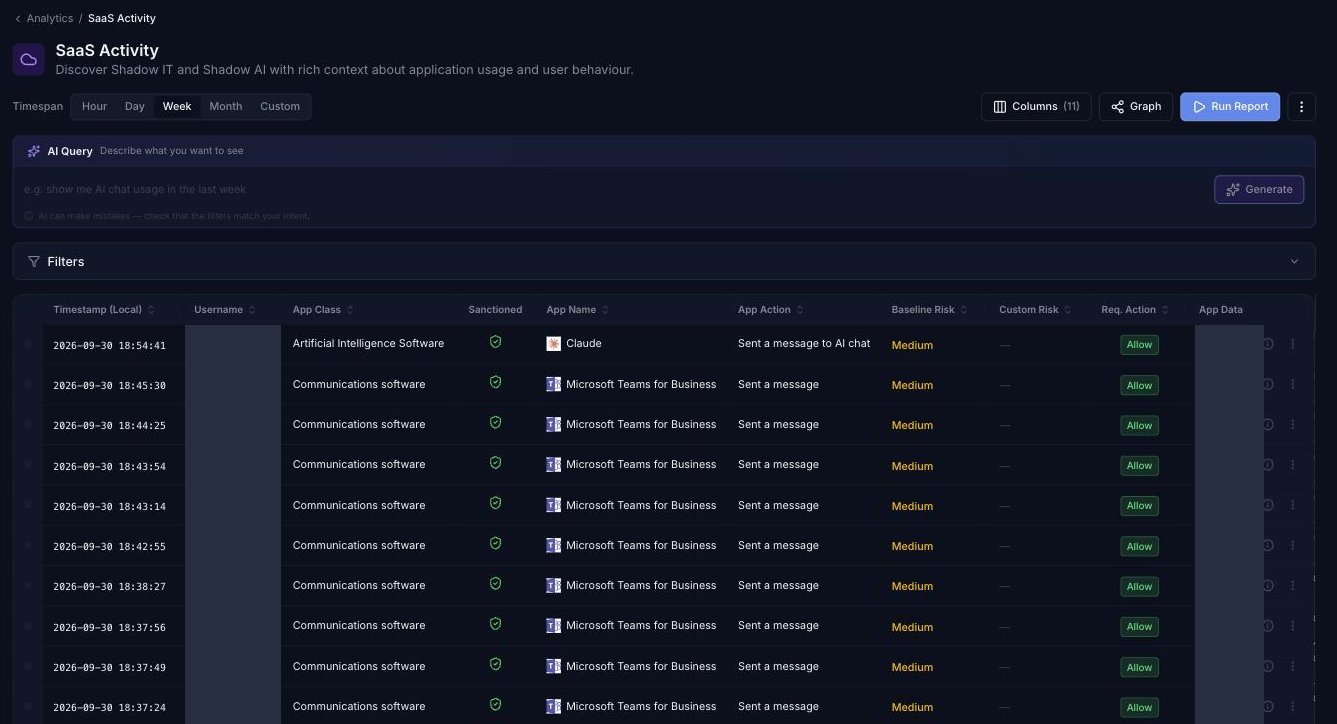
- User actions in your sanctioned apps will be allowed, and the activity is recorded in Analytics ⟶ SaaS Activity.
To block all traffic to Unsanctioned Apps:
- Add the Sanctioned App condition and configure it by selecting all of the available apps (All).
- Click the Enable inverse match (NOT) icon on the tile, so it matches apps that are not sanctioned. A red NOT label appears. (This replaces Switch Logic in the old dashboard.)
- Add the Block action, click its settings icon and choose the block page template to show.
- Position the rule after any rules that allow sanctioned apps, so the rules don't conflict.
- User actions in any SaaS Catalog app will now be blocked unless the app is sanctioned.
Reviewing App Usage
- Go to Analytics ⟶ SaaS Activity, choose a timespan and click Run Report.
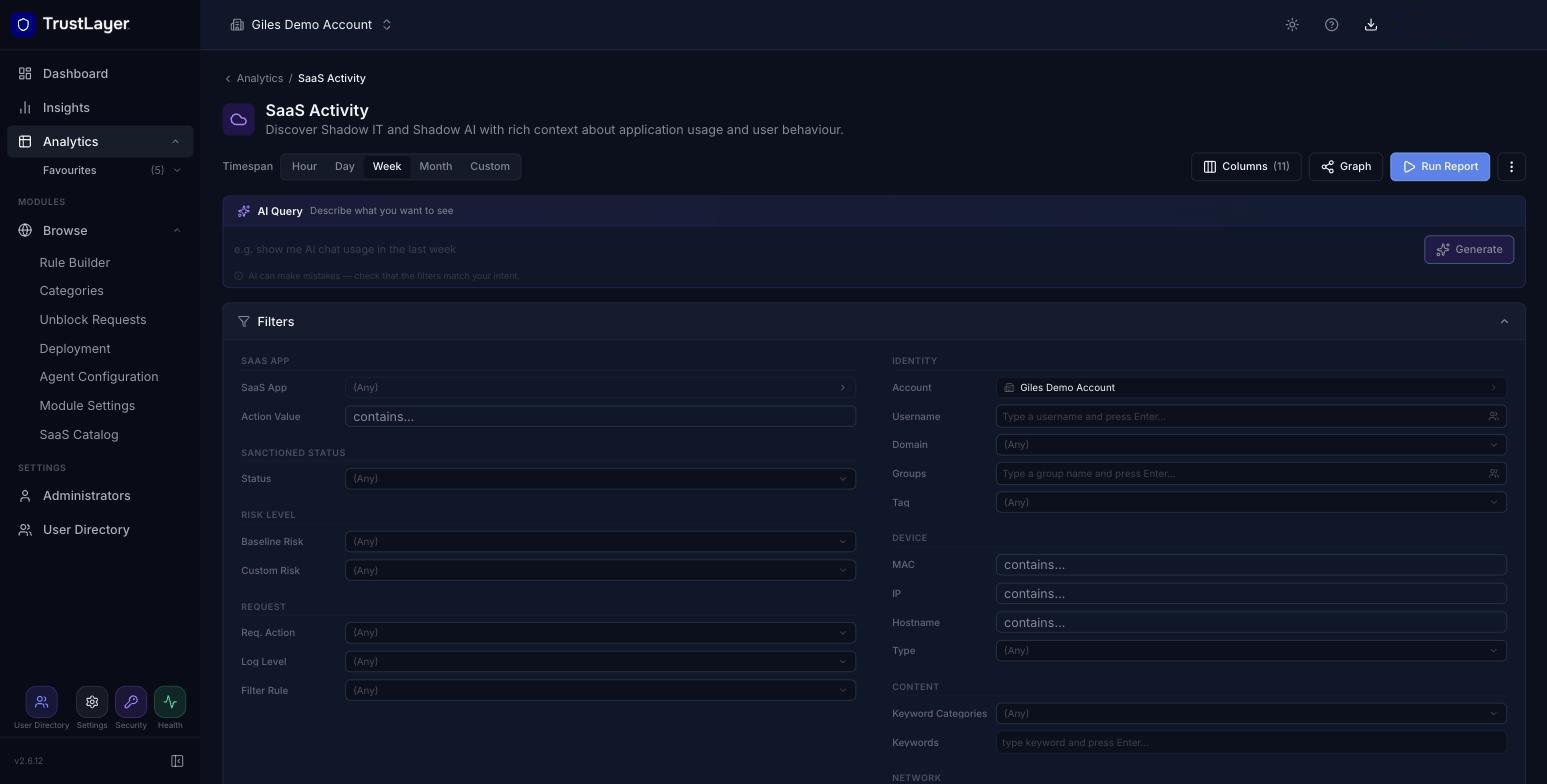
- To show only sanctioned or unsanctioned activity, expand Filters and use Sanctioned Status ⟶ Status.
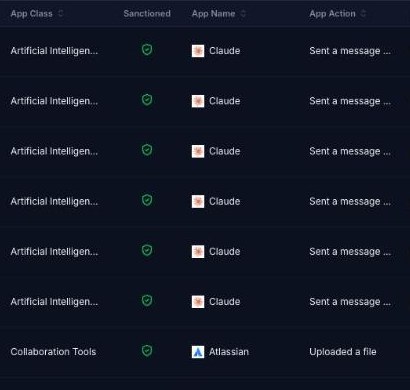
In Analytics ⟶ SaaS Activity, the Sanctioned column shows a shield icon for each request. Hover over the icon to see its designation.
Designation | Description |
Sanctioned (green shield with a tick) | The application is approved for use and complies with company security policies. |
Sanctioned Exception (amber shield) | The application is approved, but a policy exception or NOT (inverse) match is affecting how it is evaluated. Review the rule configuration for details. |
Unsanctioned (red shield with a cross) | The application is not approved and may present a security or compliance risk. Consider adding the app to your rules. |