Installation (v2.x)
![]() Updated 2 years ago
by
admin
Updated 2 years ago
by
admin
Installation
Installing on a physical server
- Download the latest USS Gateway software image.
- Use Windows Explorer or similar tool to burn the software image to CD.
- Insert the CD into the physical server. Ensure the BIOS is set to boot from the CD first.
- Power on the server and follow the installation steps below.
Installing on a virtual server
- Download the latest USS Gateway software image.
- Create a new virtual machine matching the requirements.
- Attach the .
isofile to the virtual CD on the new virtual machine. Ensure the virtual CD drive will connect at power on. - Power on the virtual machine and follow the installation steps below.
Installation Steps
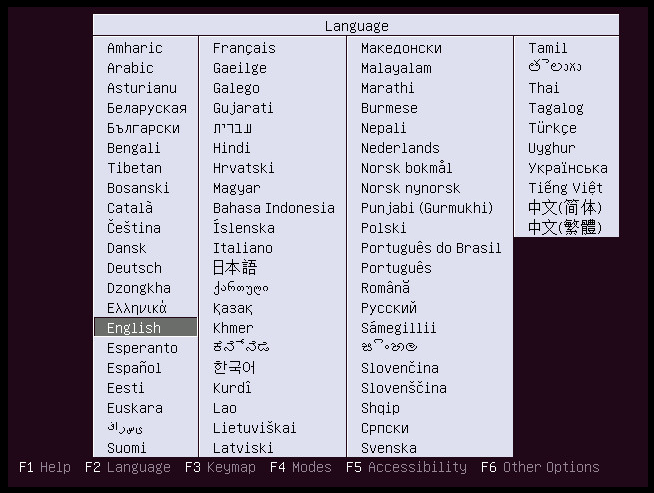
Once the server has booted from the installation CD you will be prompted to select the language to use. Select the appropriate option from the list and press Enter.
The USS Gateway splash screen will be displayed. Press Enter again to start the installation.
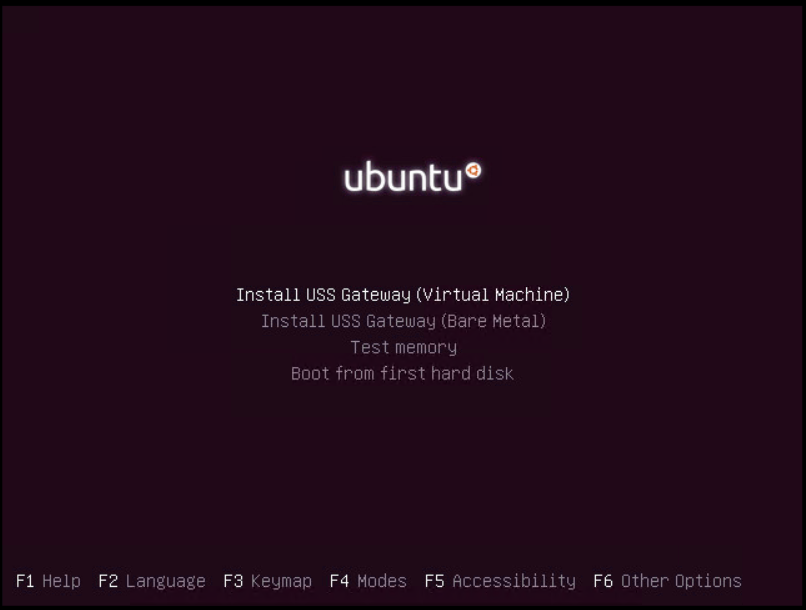
The console-based installer will appear.
Select the desired operating system language and press Enter.

Next you will be prompted to confirm the keyboard layout. If the keyboard has been detected correctly, you can press Enter to continue.
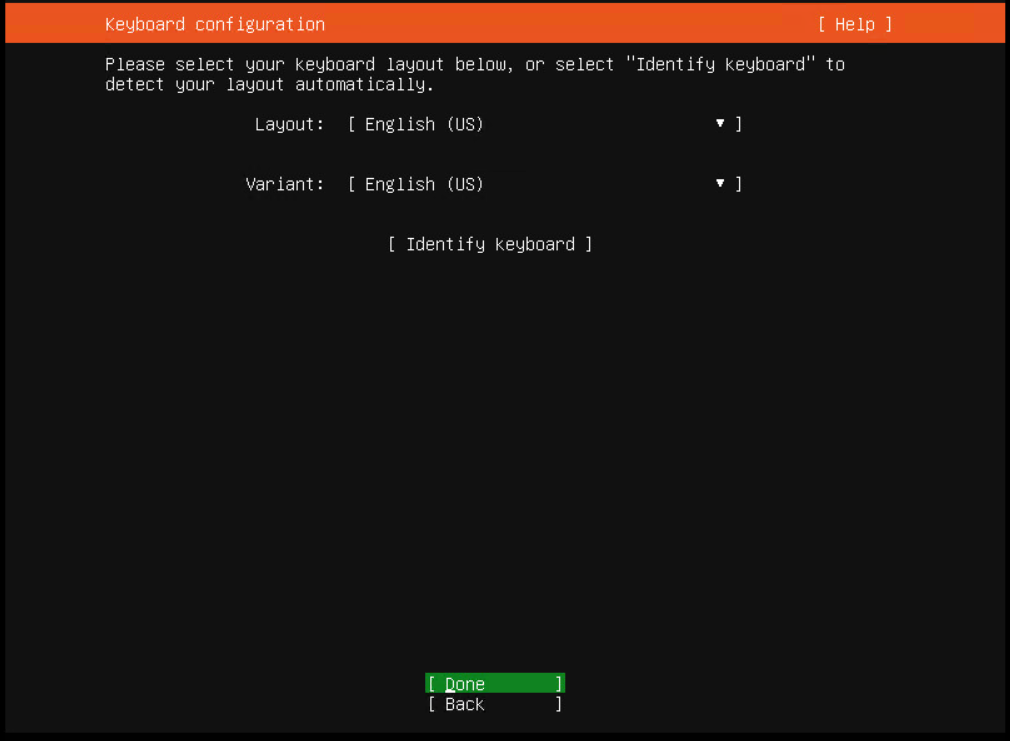
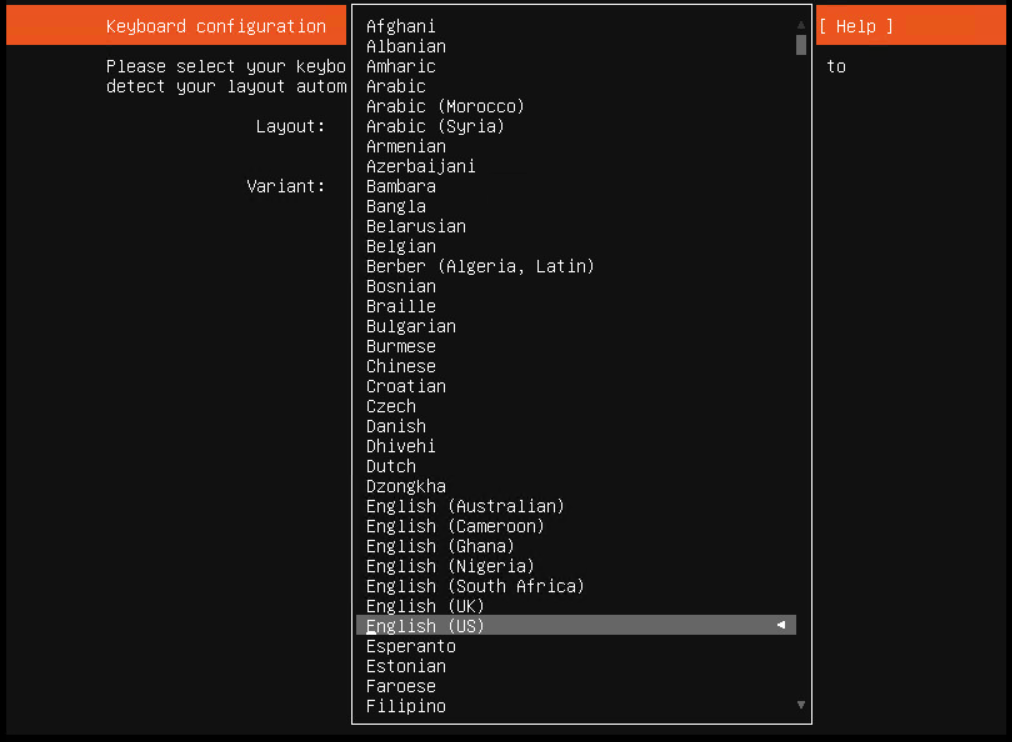
If you need to change the layout, use the tab key several times to highlight the Layout drop down and then press Enter. From the list, use the cursor keys to select the desired keyboard layout and press Enter to select. Repeat the process for the Variant option if required.
Next, you will be prompted to enter network details so that the installer can access the Internet.
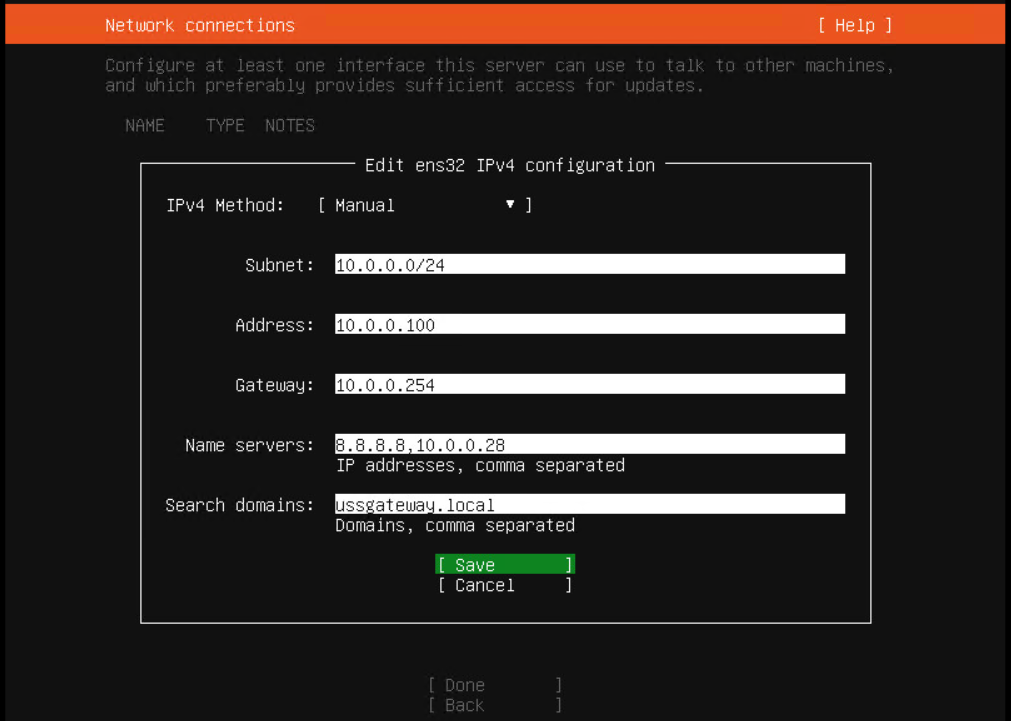
Use the tab key to highlight the Subnet field and enter in the subnet CIDR for the IP address you intend to give the new USS Gateway server e.g. if the IP of the server will be 10.0.0.100 and the subnet mask is 255.255.255.0 then the CIDR to enter is 10.0.0.0/24.
Use the tab key again to move to the Address field and enter in the IP address for the virtual machine to use on the network.
Use the tab key again to move to the Gateway field and enter the default gateway IP address for the network.
Use the tab key again to move to the Name Servers field and enter in at least one valid DNS server. Comma separate additional name servers.
Use the tab key again to move to the Search Domains field and enter the local network domain, if available. If not, you can enter a placeholder domain and change this later.
Use the tab key again to highlight the Save button in green and press Enter.
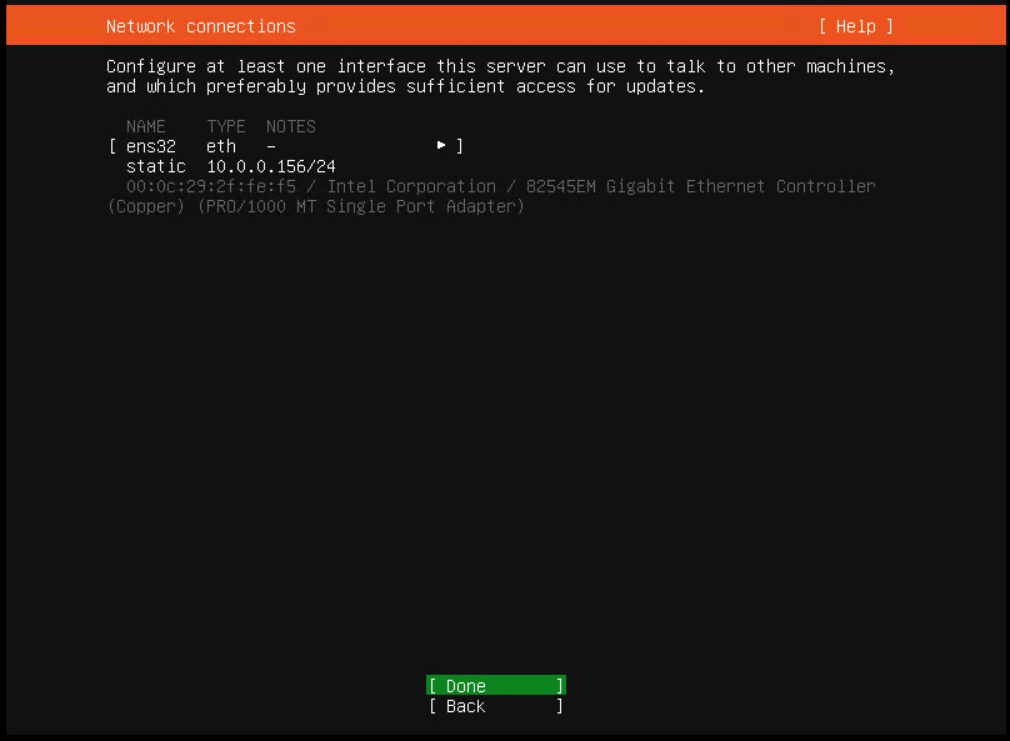
The network settings will be applied and confirmed. Ensure the Done button is highlighted and press Enter to continue.
If your network requires a HTTP proxy for Internet access enter the address in the format given.
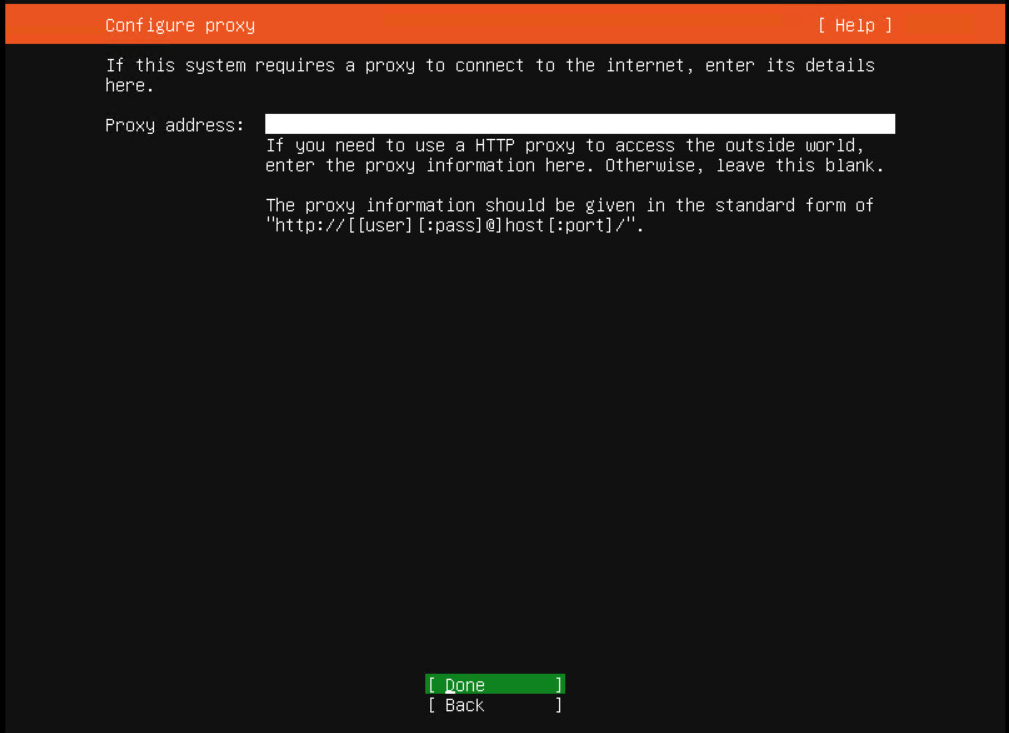
Ensure the Done button is highlighted and press Enter to continue.
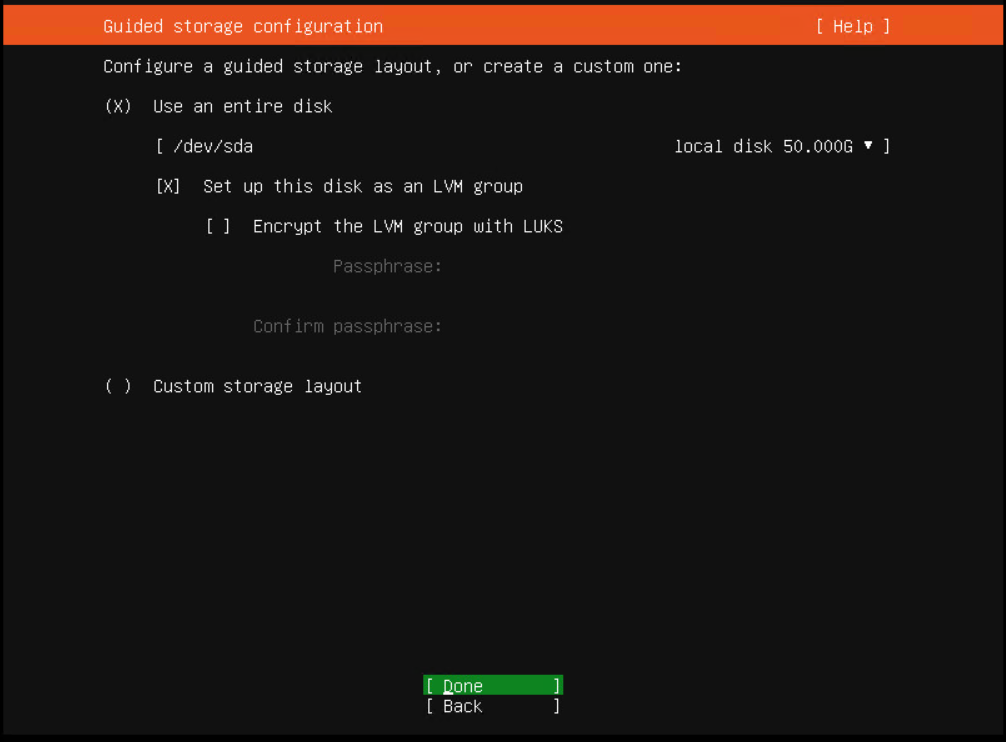
The installer will now prompt to create partitions on the virtual machine disk.
Ensure the Use an entire disk option is selected, use tab multiple times until you can highlight Done and press Enter to proceed.
The summary of disk changes will be presented
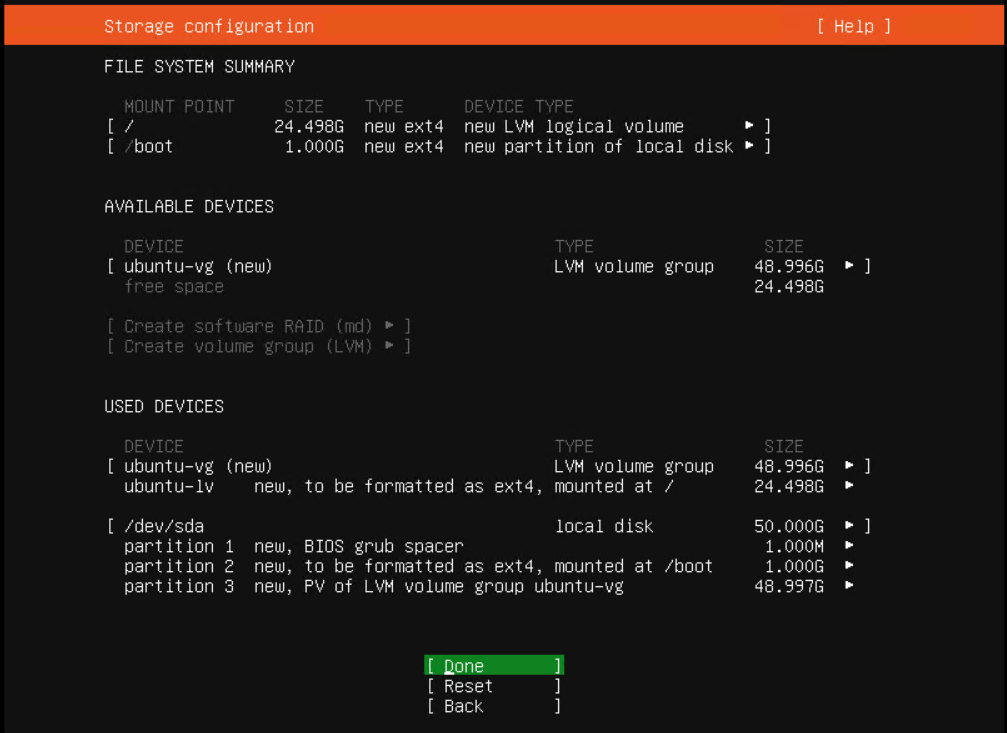
Press Enter to continue. You will be prompted one final time to confirm that the disk will be erased and all data will be lost.

To continue, use the tab key to highlight Continue and press Enter.
Next, you will be prompted to set up the profile of the operating system, including system user and hostname.
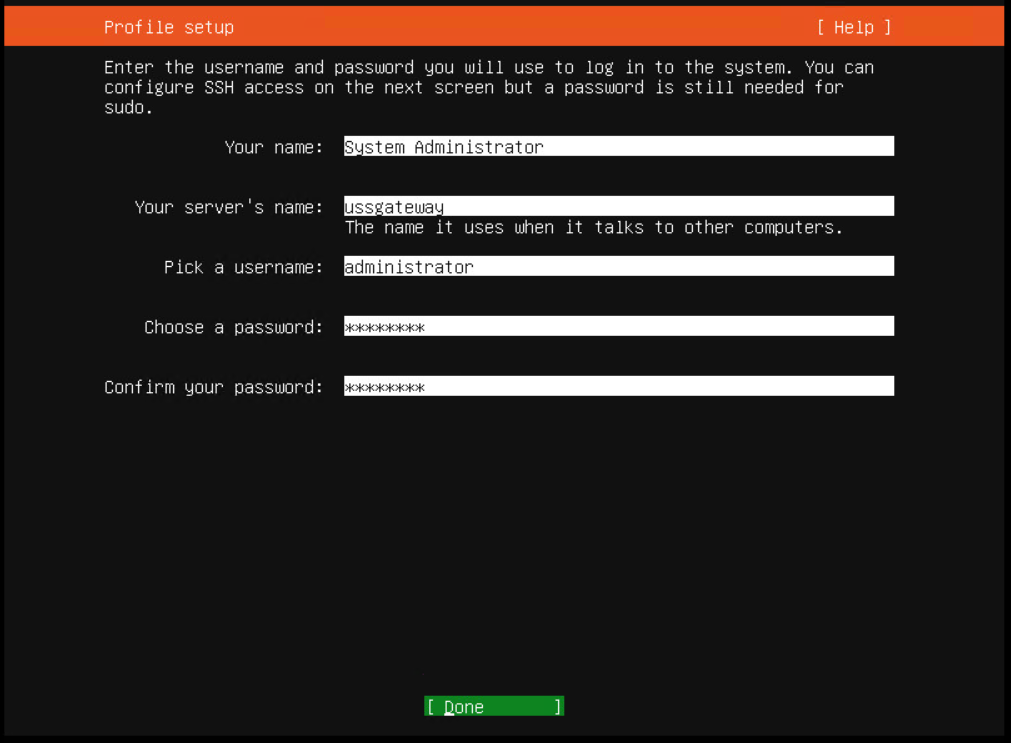
Use the tab key to highlight Your name and enter the name of the administrator that will manage the server, or enter a generic name such as System Administrator
Use the tab key to highlight Your server's name. This is the hostname for the USS Gateway server. This will form part of the Fully Qualified Domain Name of the server if you join it to a Windows domain later on. The hostnames can be changed later if required.
Use the tab key to highlight Pick a username and enter in the desired username for console access via a terminal such as Putty.
Use the tab key to highlight Choose a password and re-enter the password to ensure you know it.
Next, use the tab key to highlight Done and press Enter.
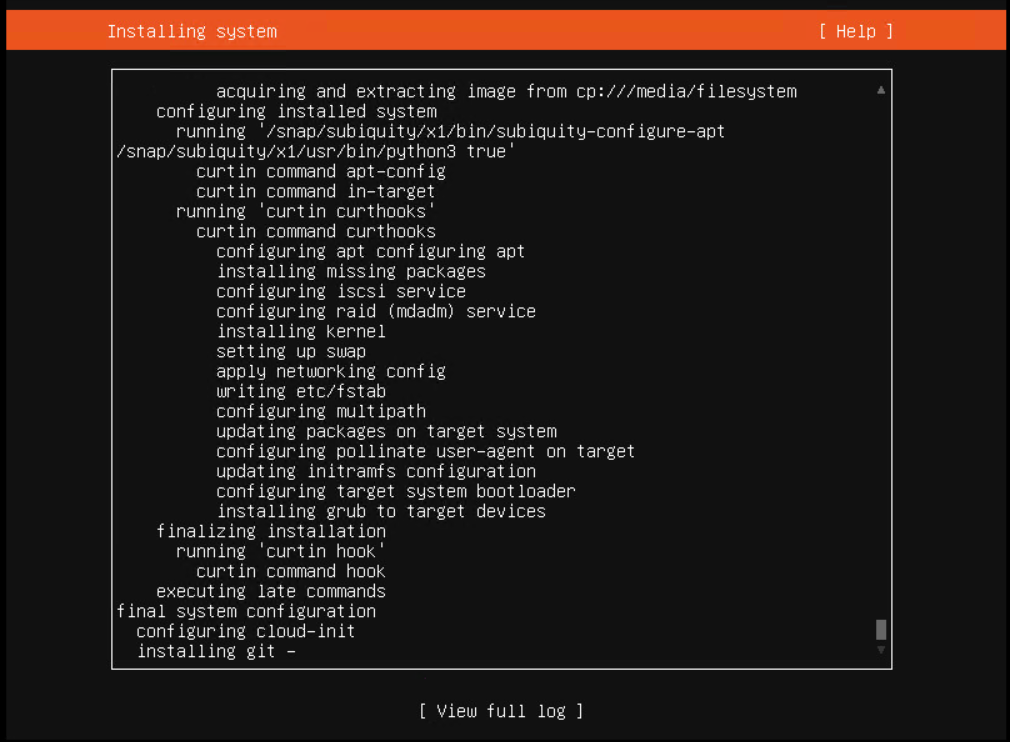
The installer will now begin downloading and installing files.
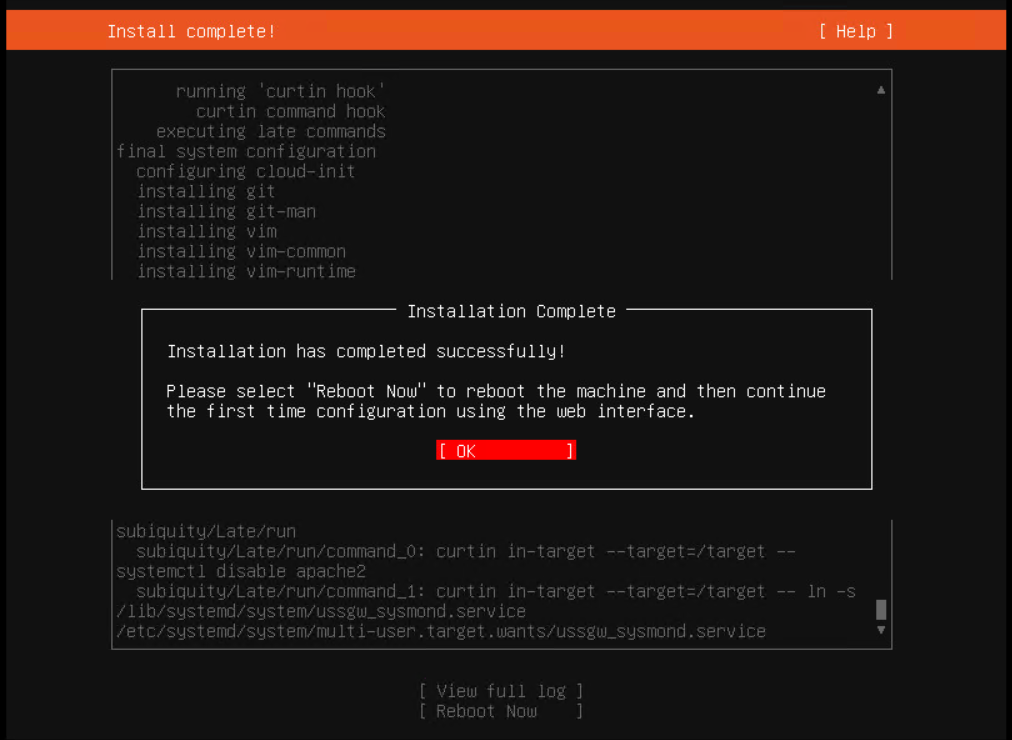
Use the tab key to highlight OK and press Enter
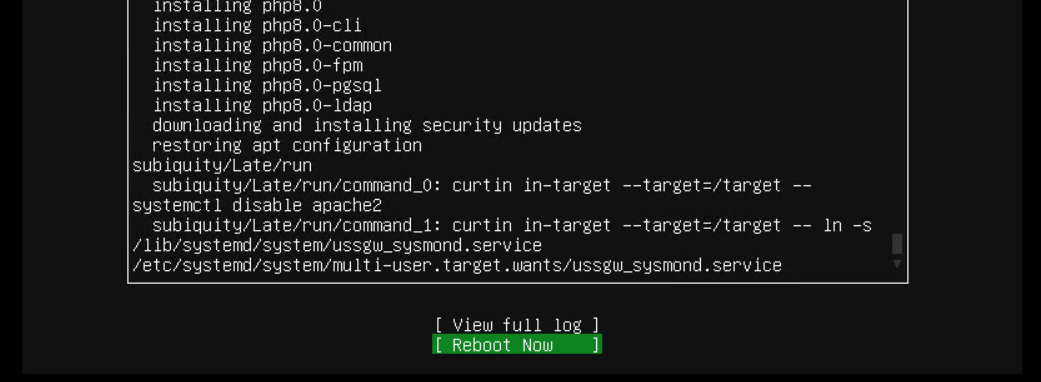
Use the tab key to highlight Reboot Now and press Enter
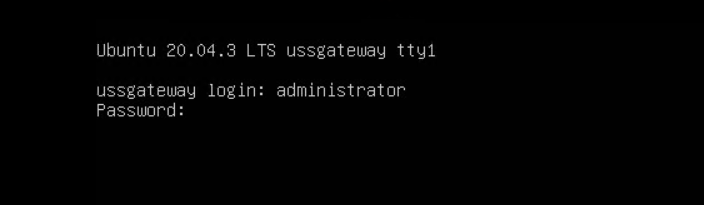
After the reboot, the console will show the command line log in prompt.
Perform System Upgrades
Log in to the command line using the username and password set during installation.
Type:
sudo su
<enter password again>
apt-get update && apt-get dist-upgrade
After the system update process has completed, you must reboot the gateway.
Type reboot
Installing on Hyper-V
Please review the post-installation Hyper-V notes before continuing. If you encounter problems with the network during installation please attach the Legacy Network Driver to the virtual machine and retry.
Troubleshooting
The Installation has Failed error message
- The most common cause is the installer is not able to download the required files - usually due to DNS or gateway problems. Ensure the network details are correct and the virtual machine has access to the Internet. You should exit the installer and start again to change the network settings.
- If you have to use a proxy server ensure it has been entered correctly, starting with
http://and containing the port number and a username/password if required in the right format. - Ensure no other security appliance on the network is blocking the installer.