USS Gateway failing to install
![]() Updated 1 year ago
by
admin
Updated 1 year ago
by
admin
USS Gateway failing to install
There are two common problems which cause the USS gateway to fail during installation which all stem from an inability to connect to the Internet. Both will be addressed in this guide:
Installer is unable to connect to the internet
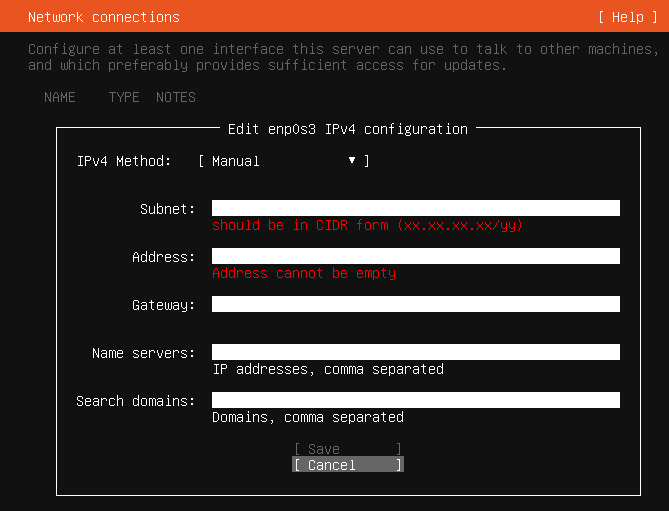
This is usually a very simple fix, during installation you need to specify the correct default gateway, DNS server, subnet mask and assign the gateway an IP address as outlined in this Guide. These settings need to be correct for the gateway installation to be able to connect to the Internet via the router and be able to download essential installation packages.
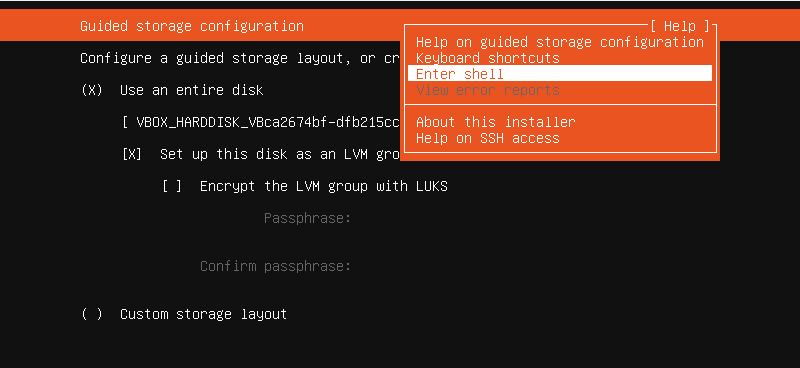
To verify that your IP configuration is correct please execute a shell using the help section:
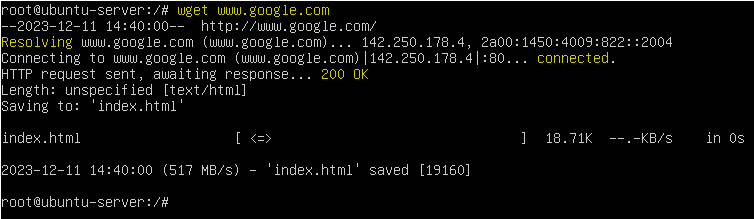
Then run this command:
wget www.google.com
This should produce an output like this:
If the output is different please restart the installation and verify the following:
- Network interface is connected to the Virtual Machine (if VLANs are in use please make sure this is also configured correctly on the Virtual Machine settings and the correct subnet is configured during install)
- Make sure the IP address you have chosen for the gateway is available and not already in use
- Make sure there is no upstream proxy or a firewall rule preventing web access for the installer
- Make sure the installer is able to resolve DNS via Google's 8.8.8.8 service
DNS resolution issues during installation
As noted above, the Ubuntu installer will ignore the DNS servers configured during installation and attempt to use 8.8.8.8 as the primary nameserver. If your organisation blocks the Google DNS servers and you are unable to allow access, you can manually override the network settings by following these steps.
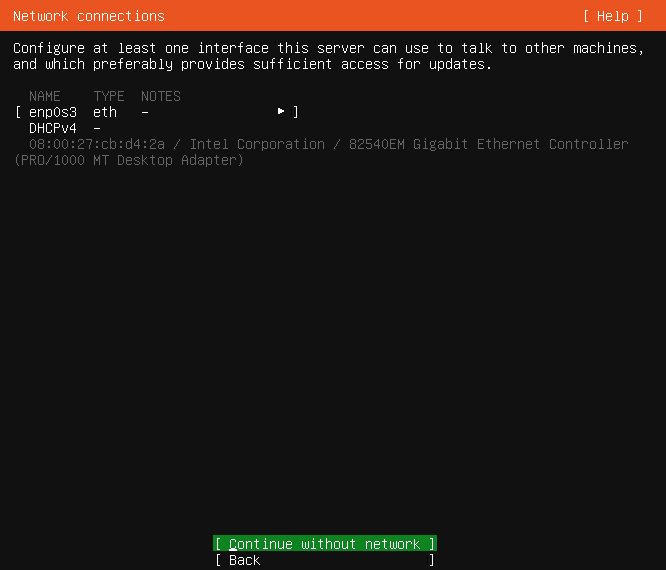
On the network setup screen select cancel and then Continue without network:
Now Enter Shell again and run the following commands:
apt install net-tools
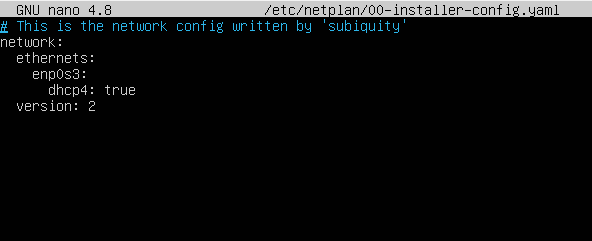
nano /etc/netplan/00-installer-config.yaml
You will be presented with an empty netplan file like this:
Edit this file as shown below and add your network configuration:
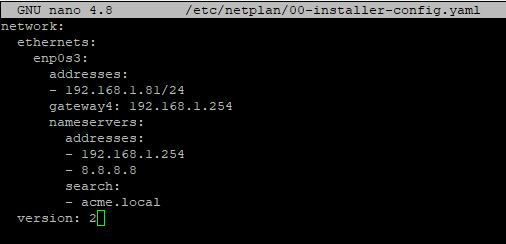
You can use the file above as a reference, but note that this is a YAML file which is indent sensitive:
- Use spaces, not tabs: YAML requires spaces for indentation. Tabs are not allowed.
- Consistent number of spaces: Use a consistent number of spaces for each level of indentation. The most common choices are 2 spaces, 4 spaces, or even 8 spaces.
- Maintain alignment: Keep items at the same level aligned properly. This helps with readability.
- Nested structures: When you have nested structures (like lists within lists or dictionaries within dictionaries), indent them further.
Once the file is completed press Ctrl+X and Y to exit and save
Then run this command:
netplan try
and click Enter to accept changes

Next, set the preferred DNS server:
We edit resolve.conf (this is a deprecated option but change it anyway to avoid legacy issues)
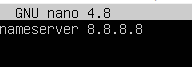
nano resolv.conf
and replace 8.8.8.8 with the IP of your primary nameserver:
Finally, also update the new configuration file:
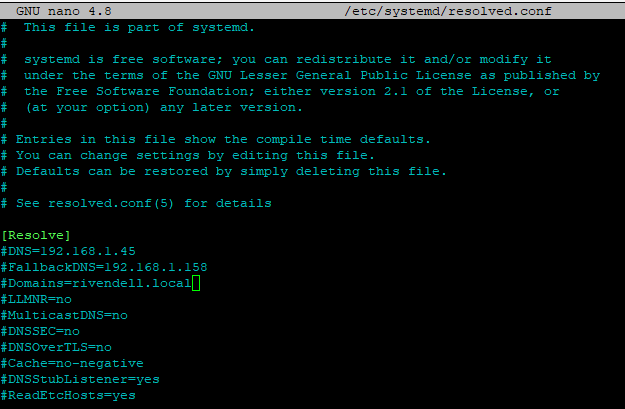
nano /etc/systemd/resolved.conf
Make sure the DNS servers are populated:
Once the file is configured press Ctrl+X and Y to exit and save
systemctl restart systemd-resolved
systemd-resolve --status | grep 'DNS Servers' -A2 (this will show you the changes)
If 8.8.8.8 still shows up as the top IP address please run the following command:
systemd-resolve --flush-caches
and then run this again to verify:
systemd-resolve --status | grep 'DNS Servers' -A2
To Exit Shell and go back to the installation simply run:
exit
You should now be able to continue with the Installation as normal.