Installation
Installation
Installing on a physical server
- Download the latest USS Gateway software image.
- Use Windows Explorer or CDBurnerXP (free) to burn the software image to CD.
- Insert the CD into the physical server. Ensure the BIOS is set to boot from the CD first.
- Power on the server and follow the installation steps below.
Installing on a virtual server
- Download the latest USS Gateway software image.
- Create a new virtual machine matching the requirements.
- Attach the .
isofile to the virtual CD on the new virtual machine. Ensure the virtual CD drive will connect at power on. - Power on the virtual machine and follow the installation steps below.
Installation Steps - Version 2.x
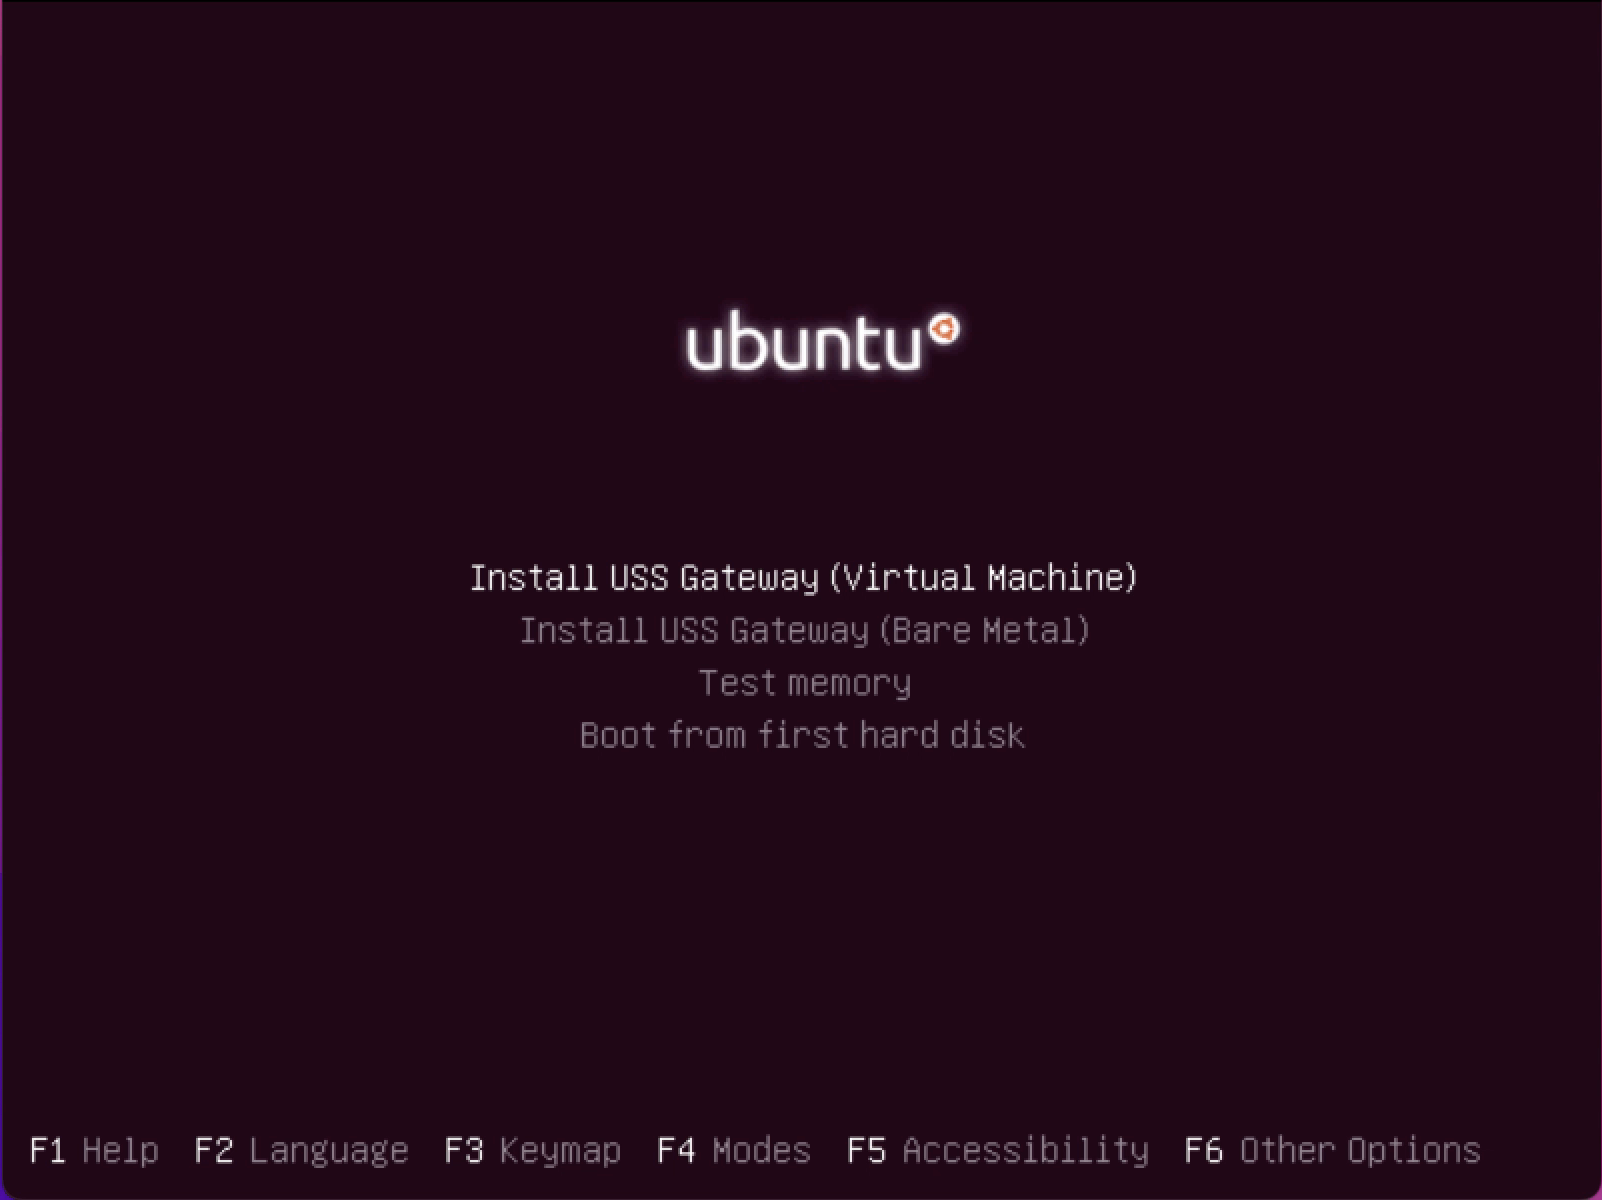
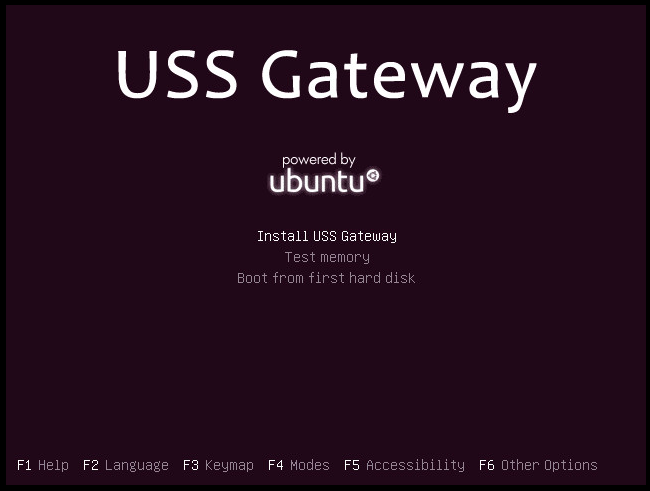
Boot from CD or ISO image, you will see the Ubuntu installer splash screen - press any key to continue.

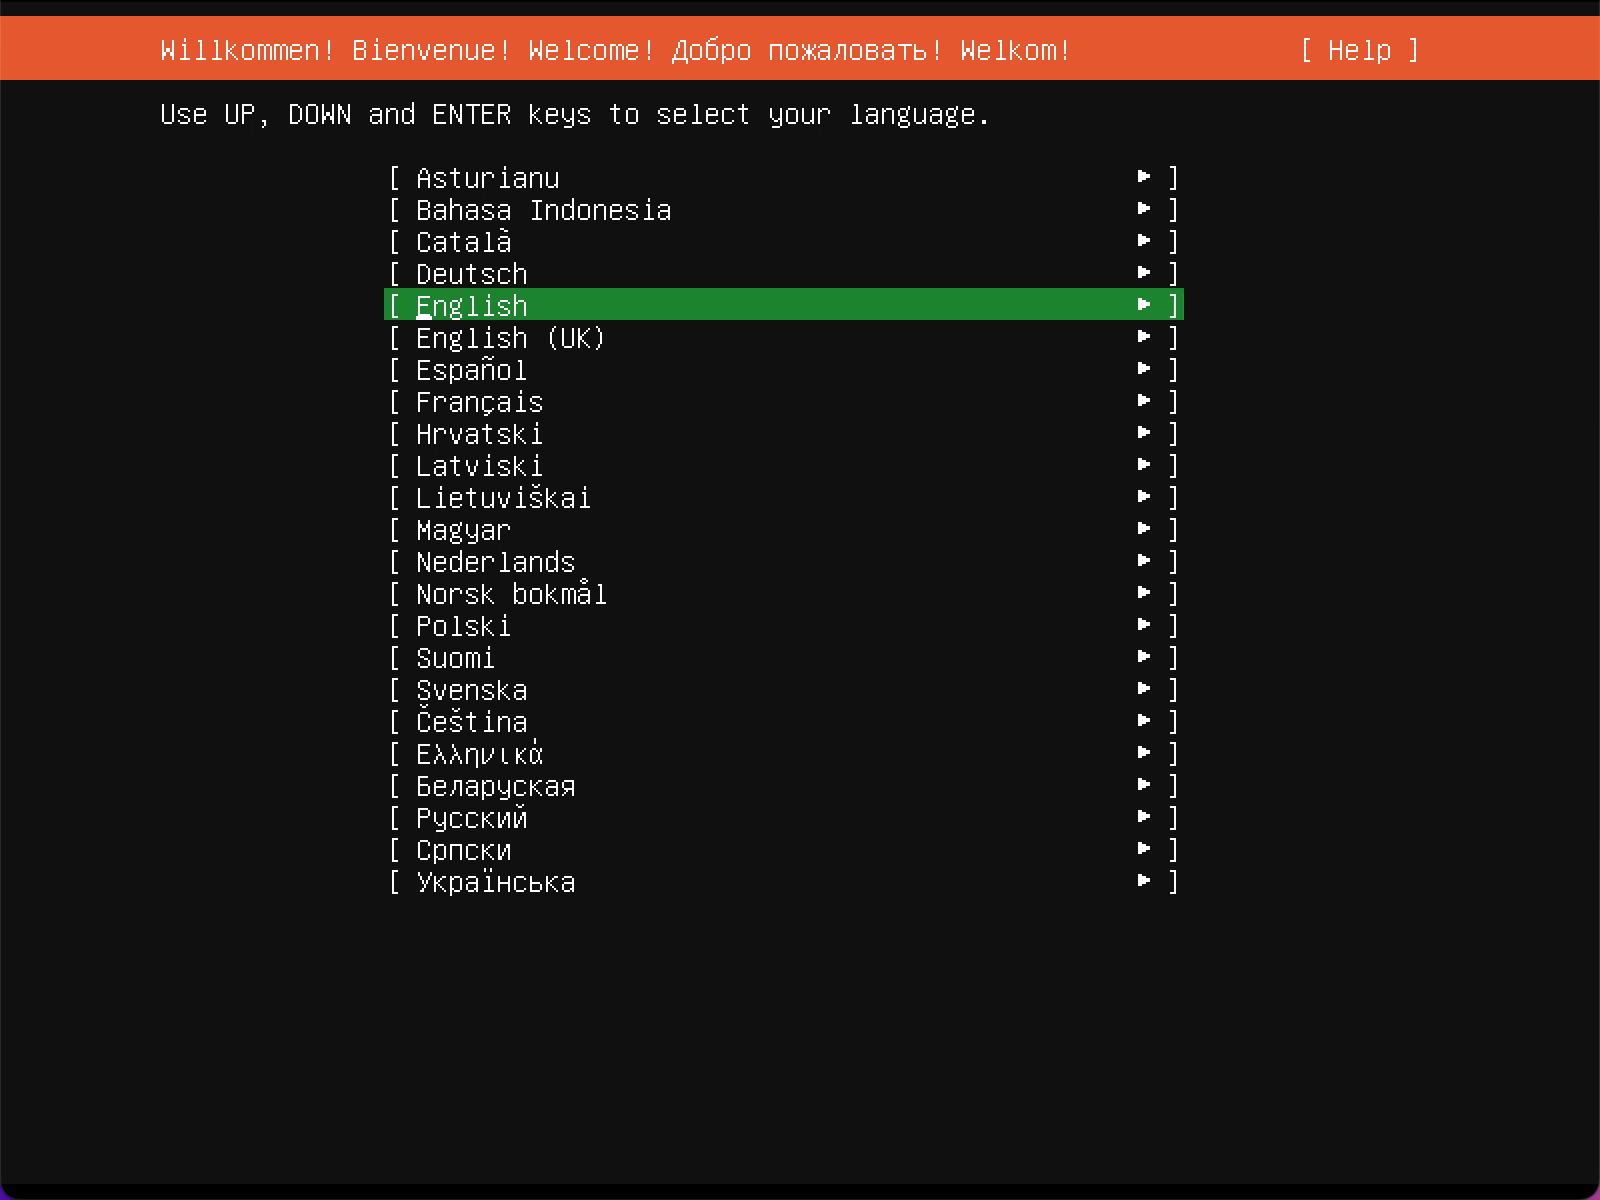
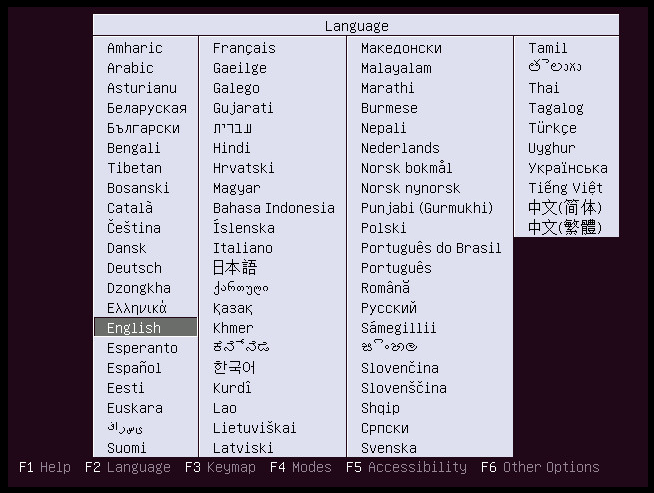
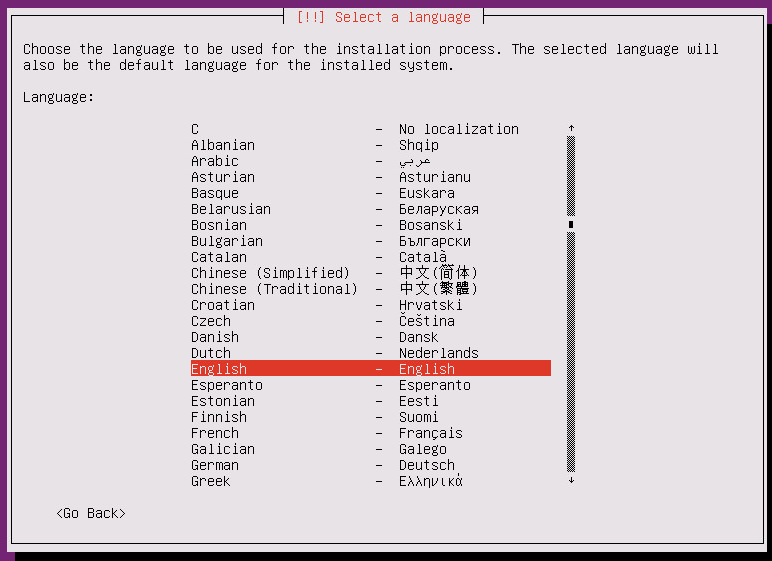
Select your Language and press Enter.

Select the relevent installation option for Virtual Machine or Bare Metal (Physical Server) and press Enter.
After a short while the installer will start and prompt for further configuration. Select your language and press enter.
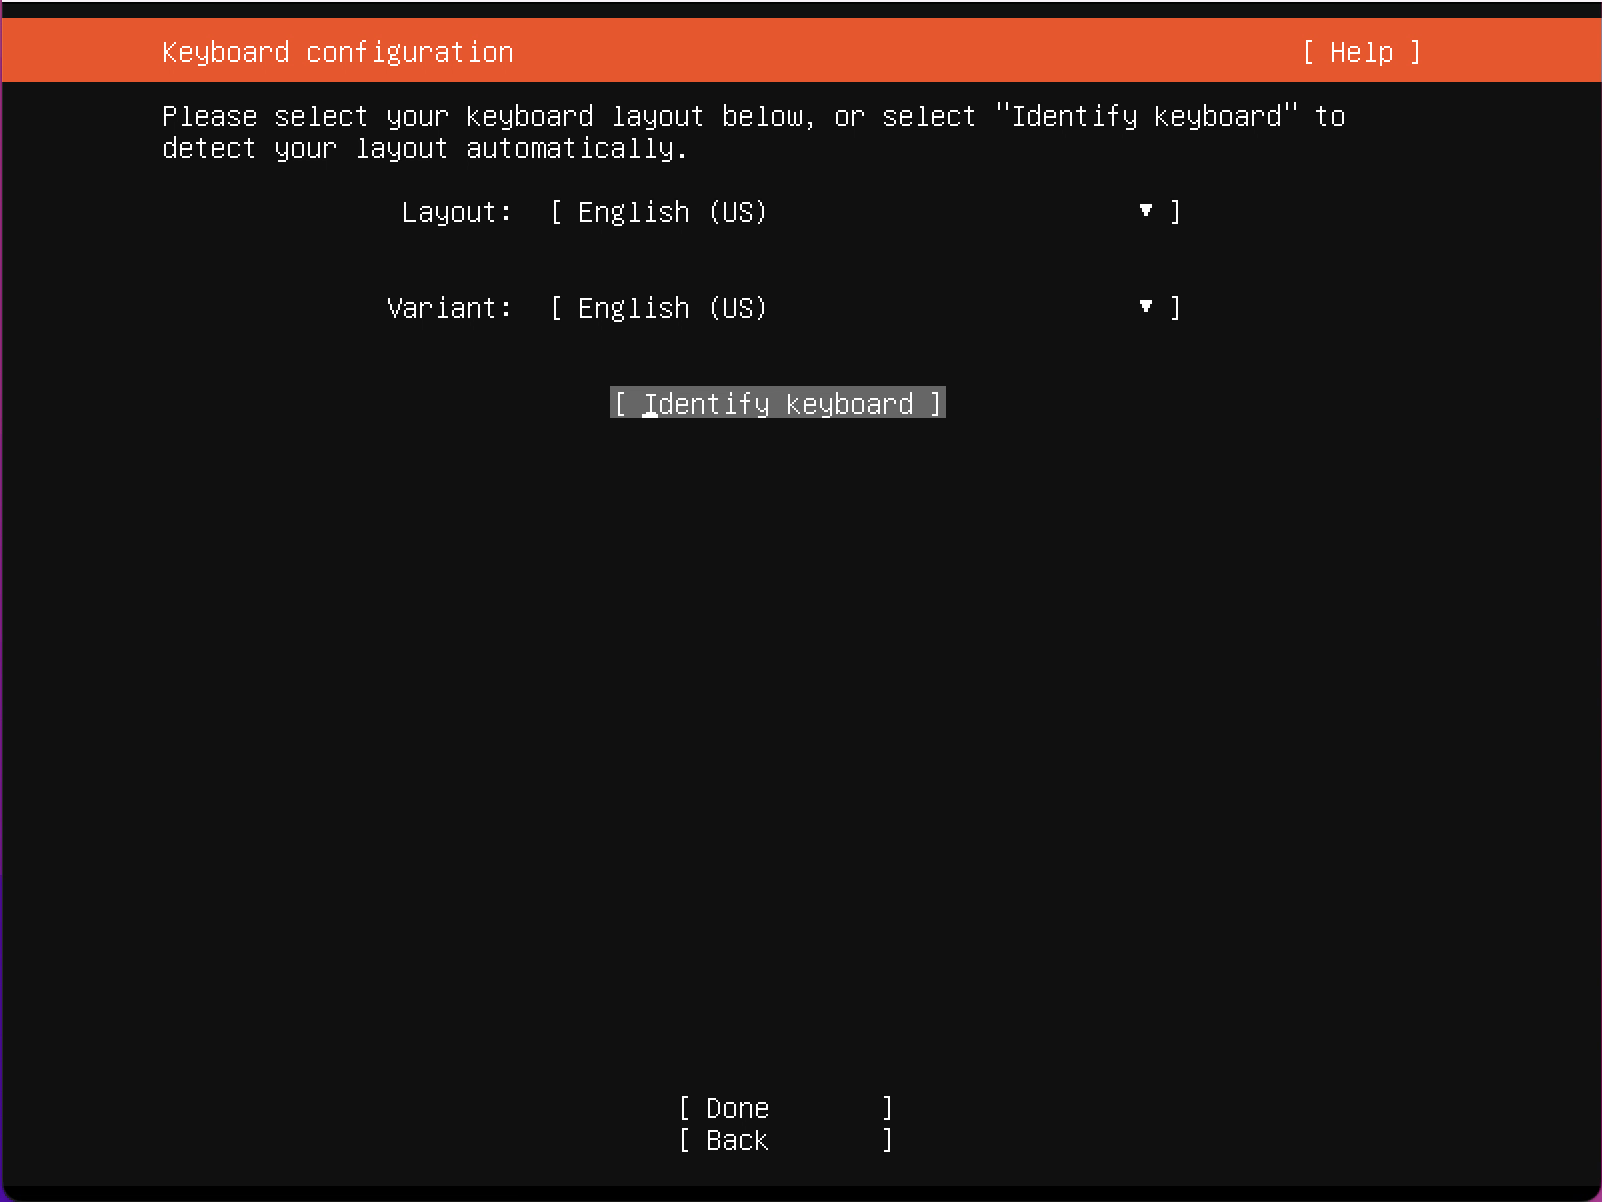
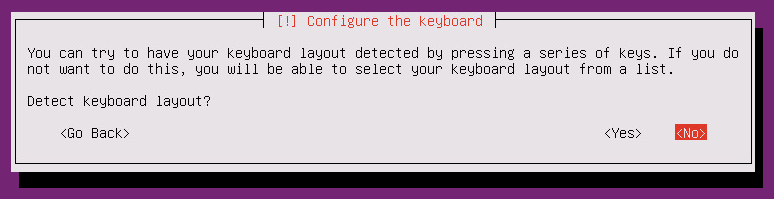
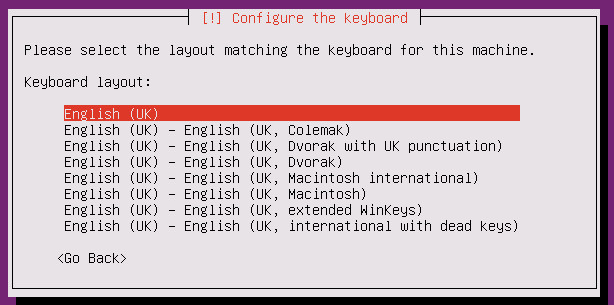
Set your keyboard layout, and select Done once complete.
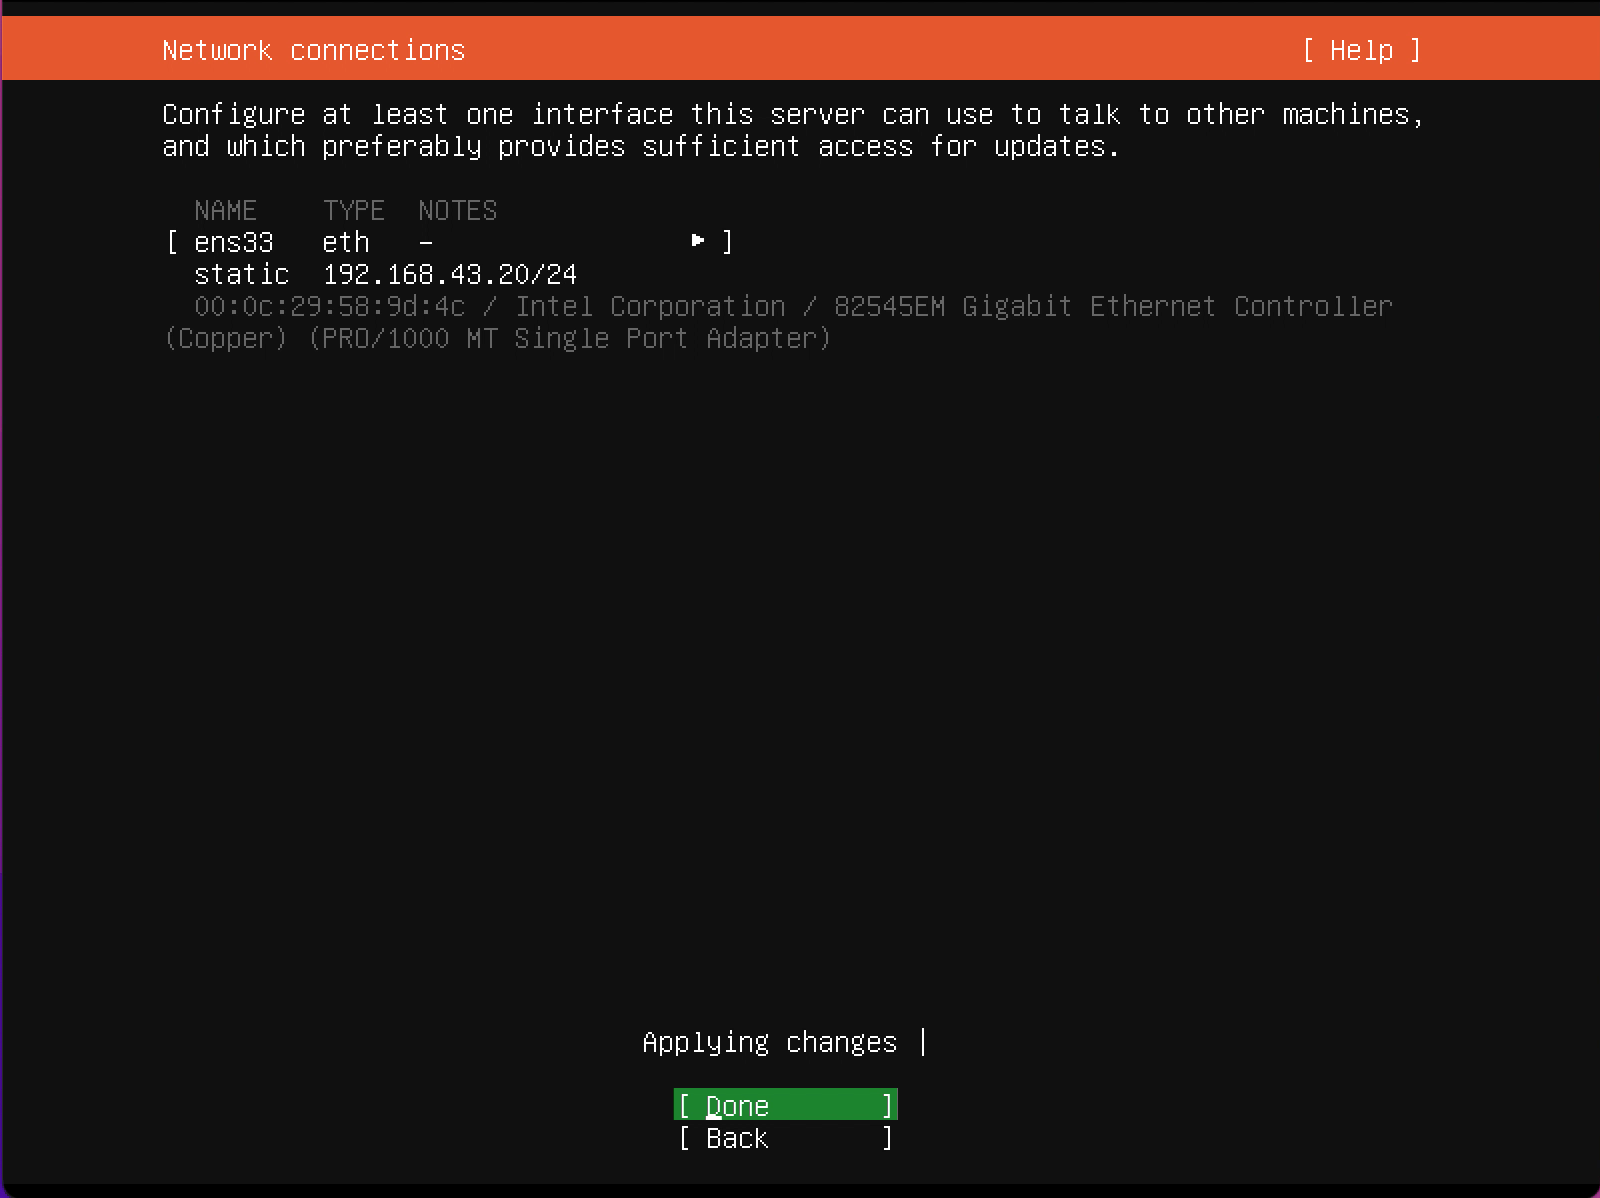
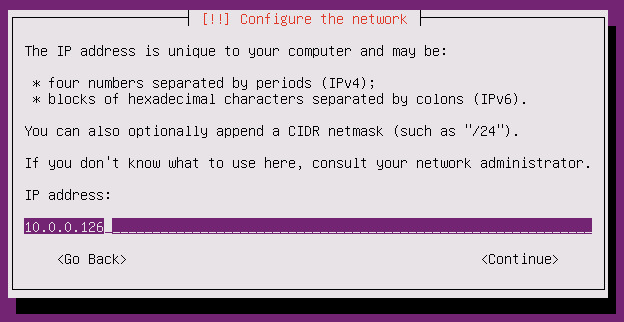
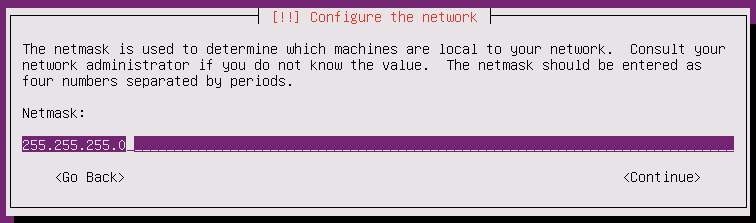
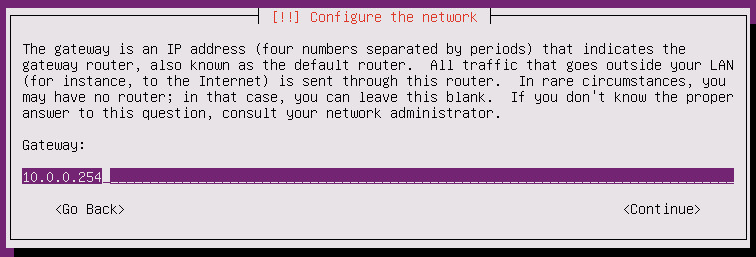
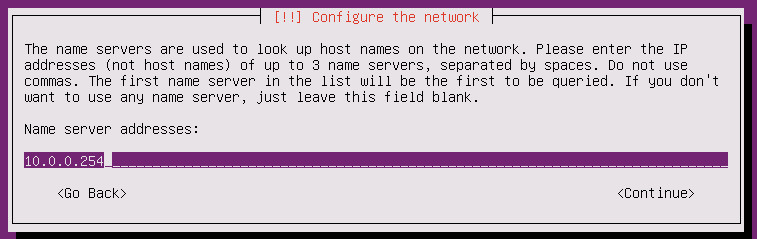
Set your internal LAN IP network configuration
Subnet | Your network address (the first IP of your address range) followed by the CIDR subnet mask |
Address | Your USS Gateway's static IP on the LAN |
Gateway | Default gateway and route to the Internet |
Name Servers | Your DNS server addresses. If planning to join a Microsoft Active Directory domain please ensure you configure your internal DNS servers here. |
Search Domains | The DNS suffix of any internal domains, such as your Active Directory domain. |
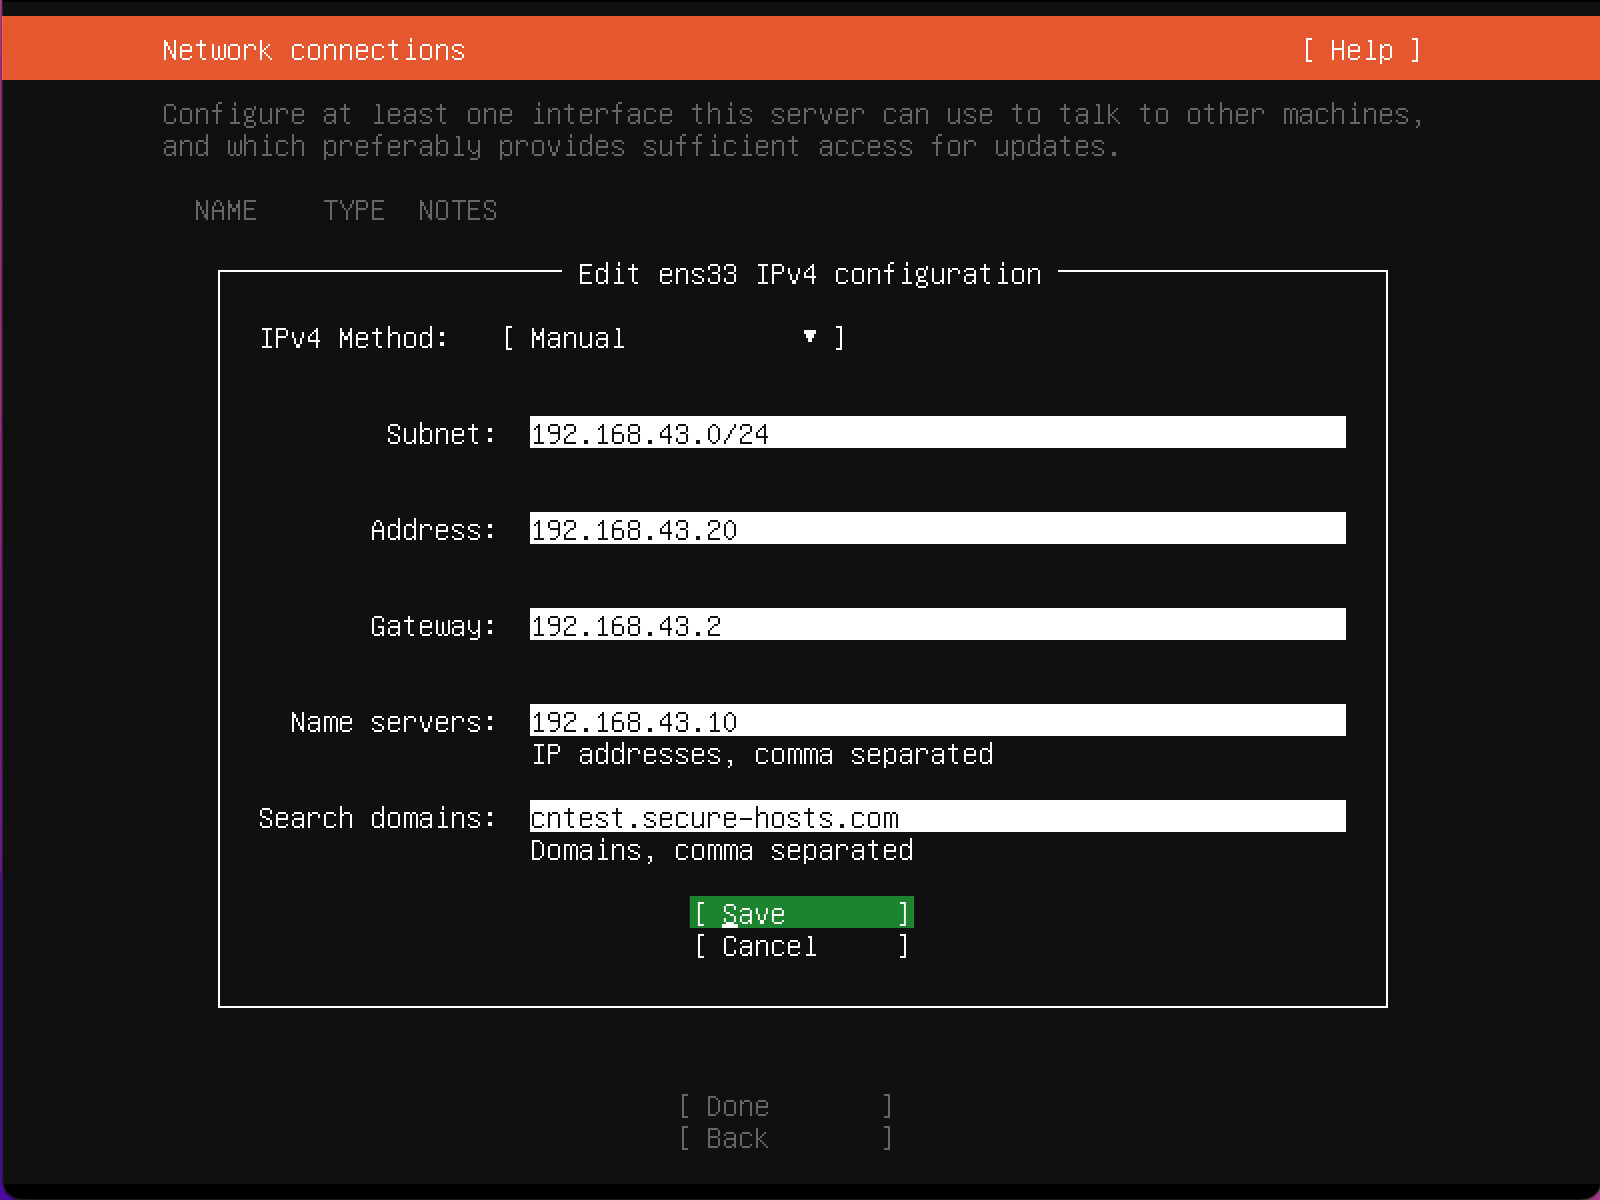
Once complete, press Save.
Confirm the configuration and note the NIC it's applied to. Additional interfaces and configuration can be set later. Select Done and press Enter.
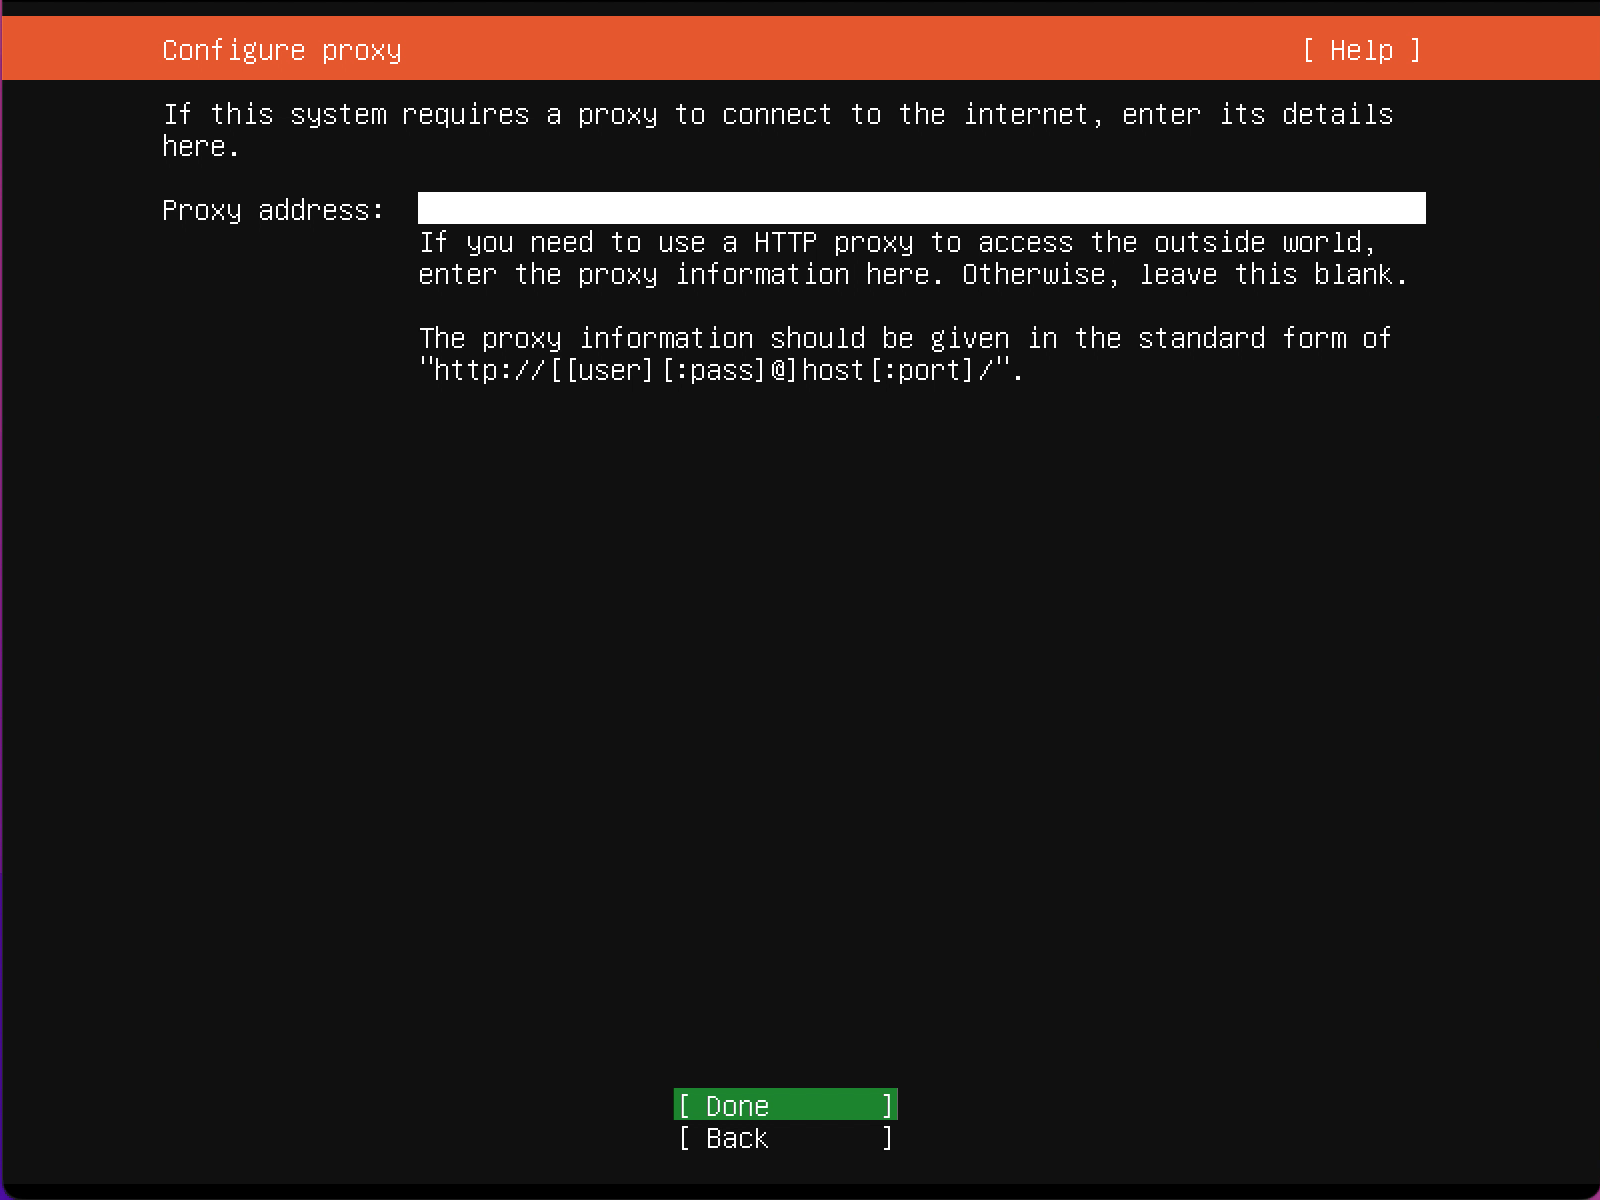
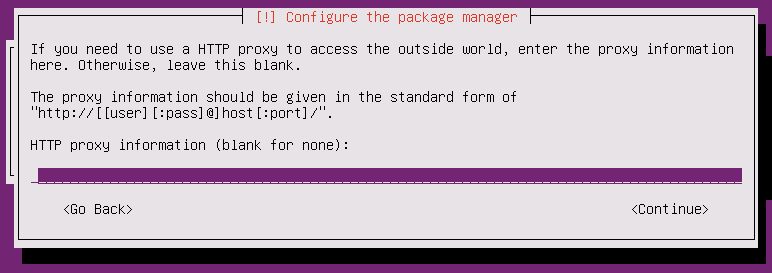
Configure and upstream proxy server if this is required to access the Internet.
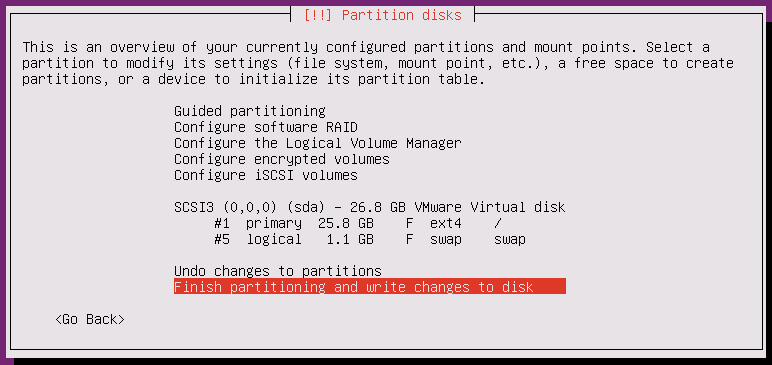
Storage configuration. In almost all cases you will want to use the entire disk and use the default partition configuration. Select Done and press Enter.
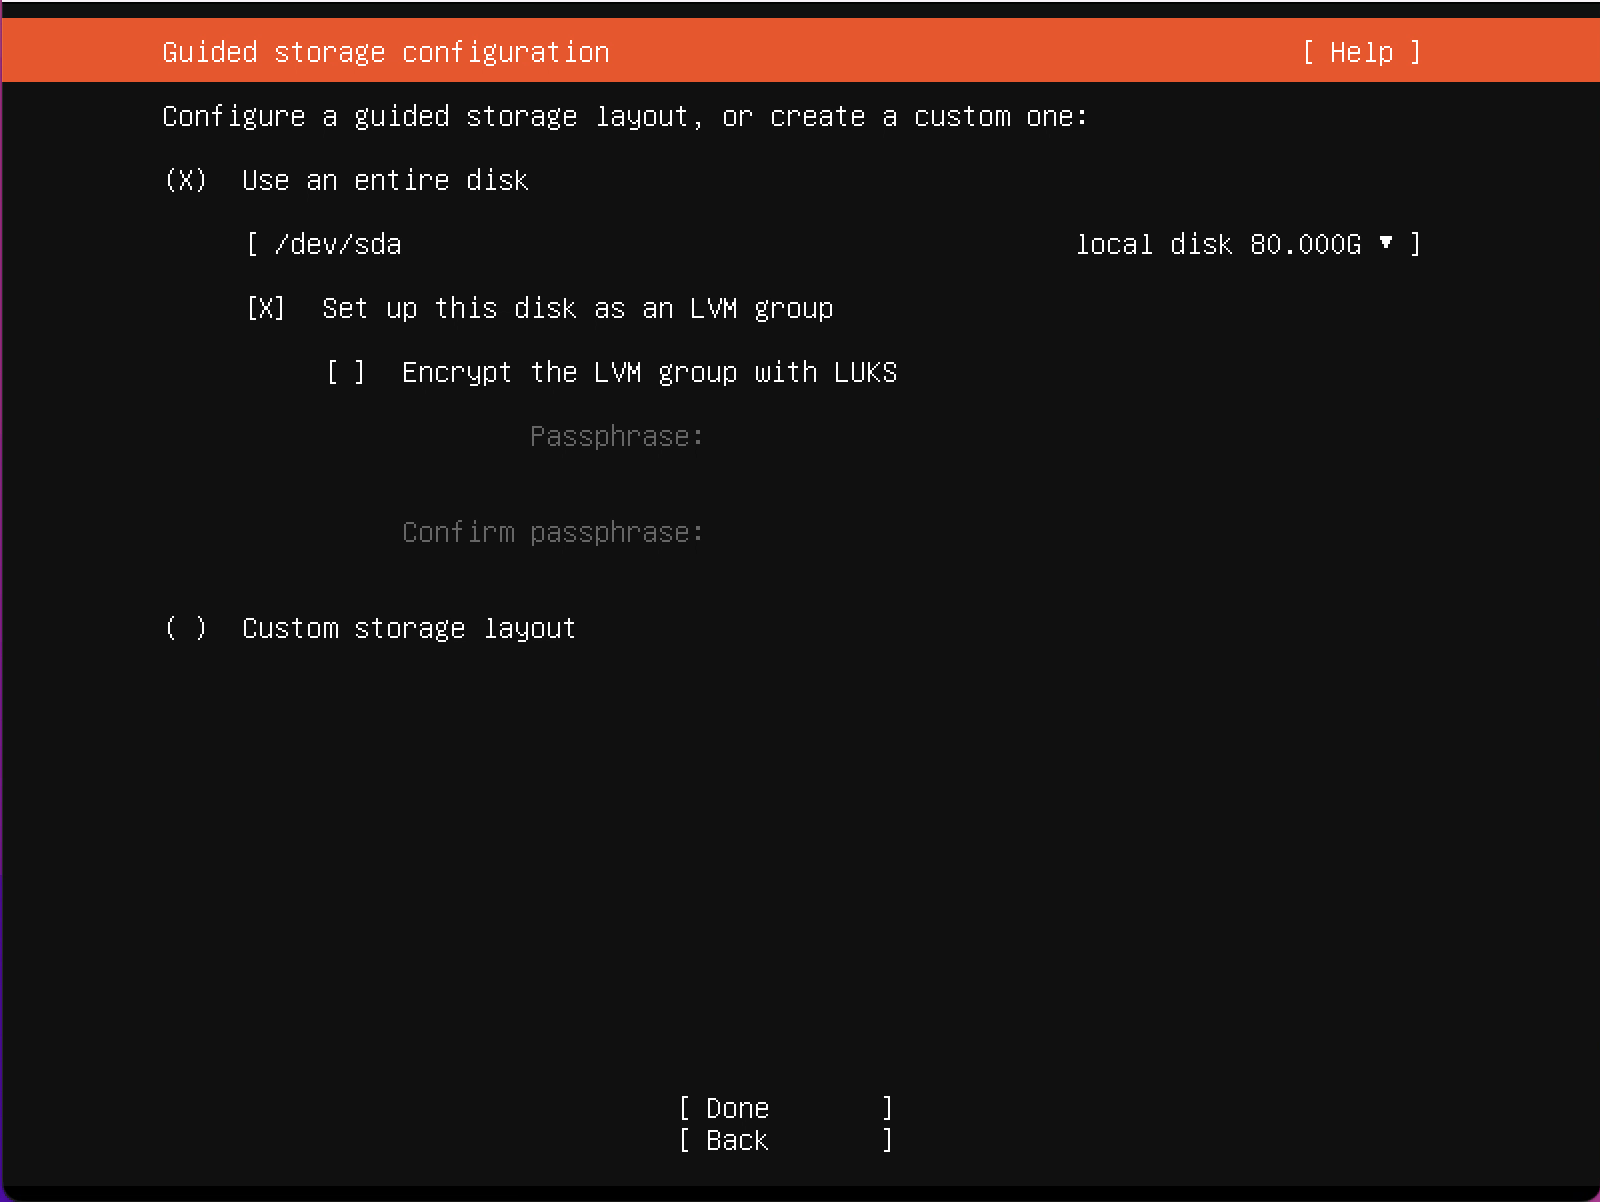
Review storage configuration and select Done and press Enter to complete.
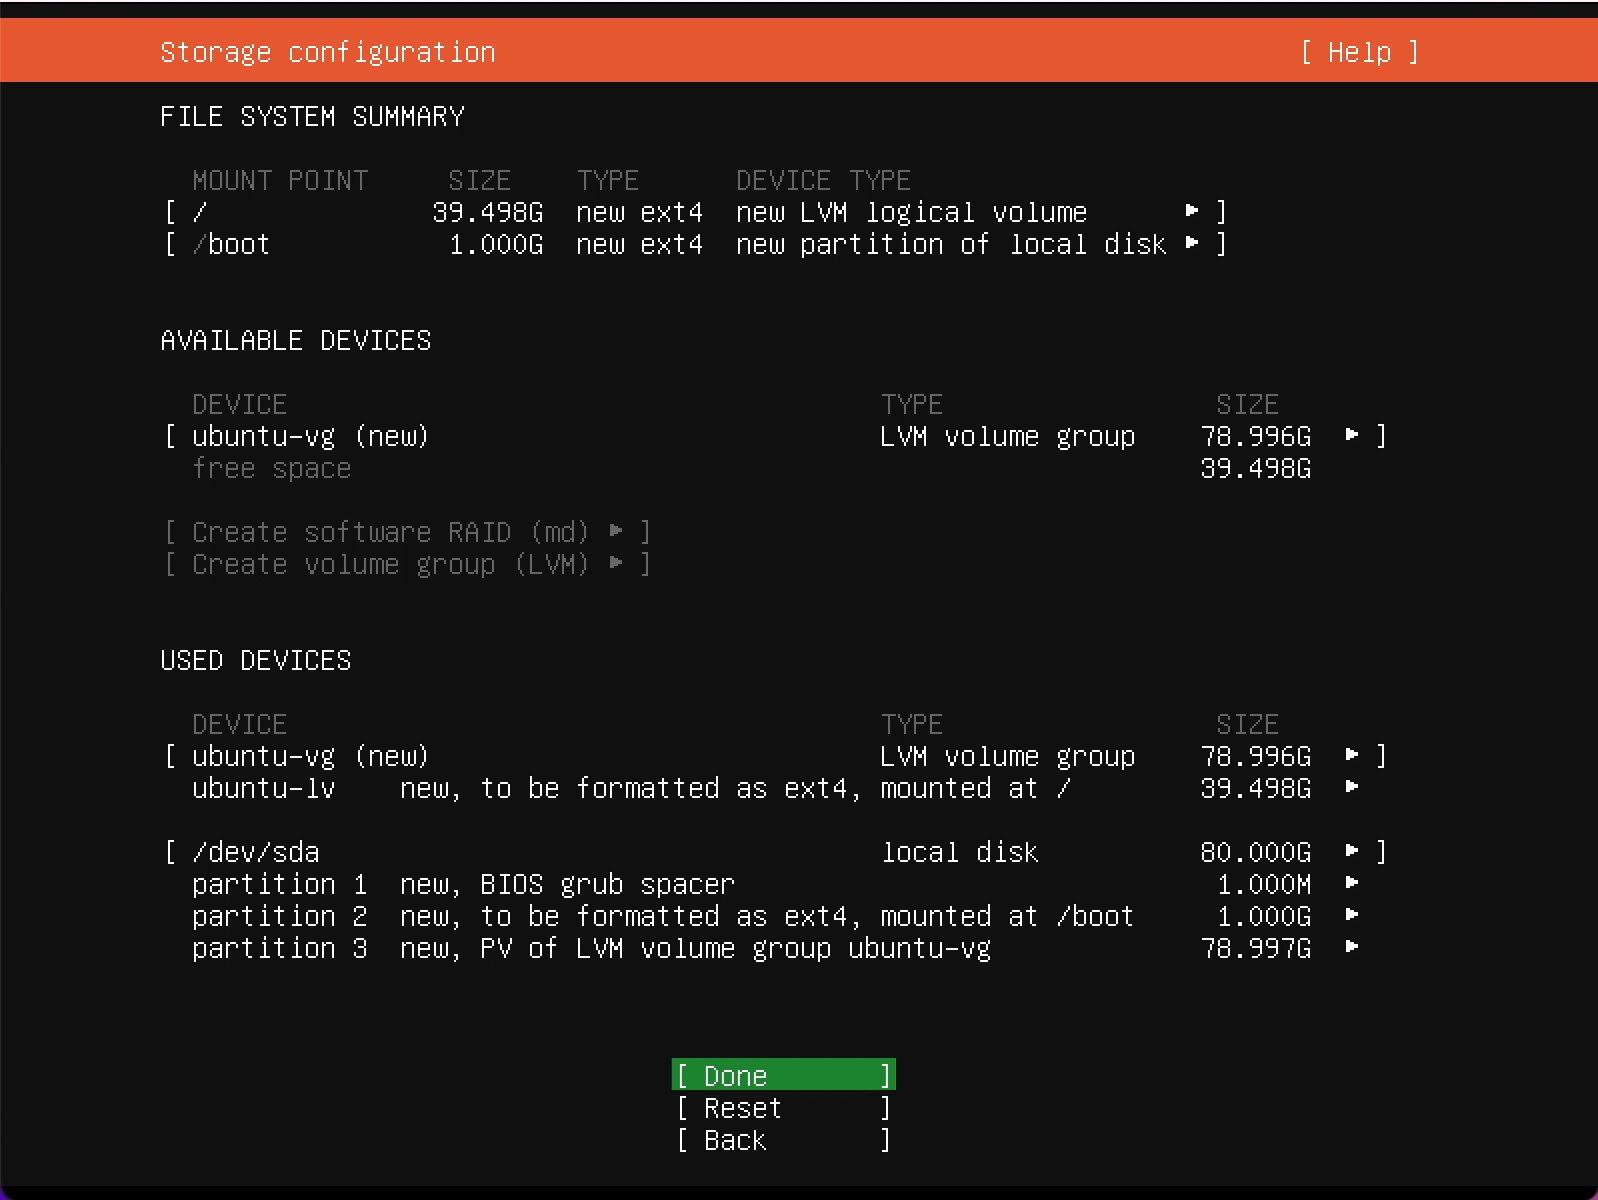
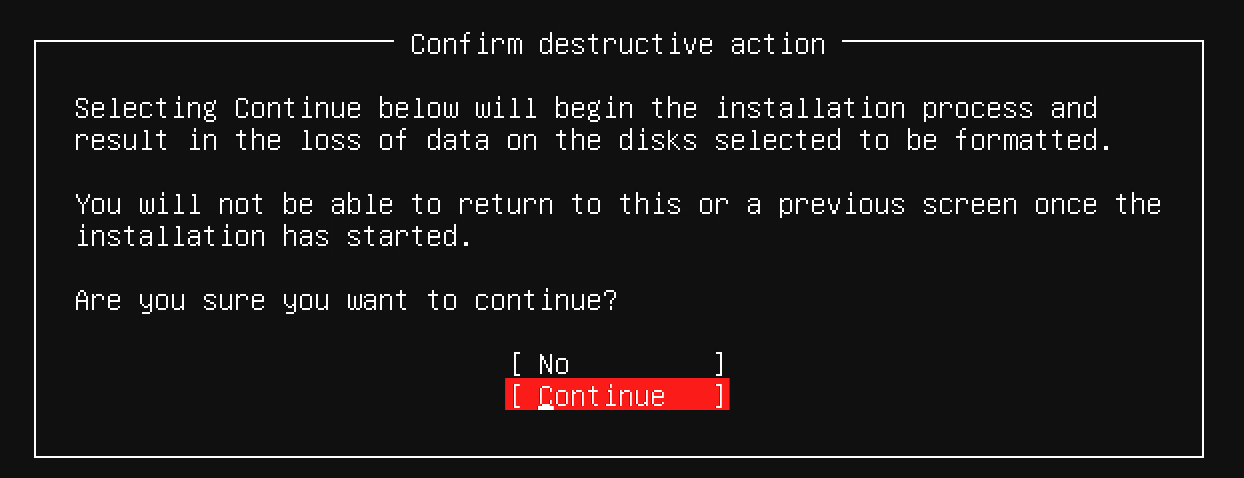
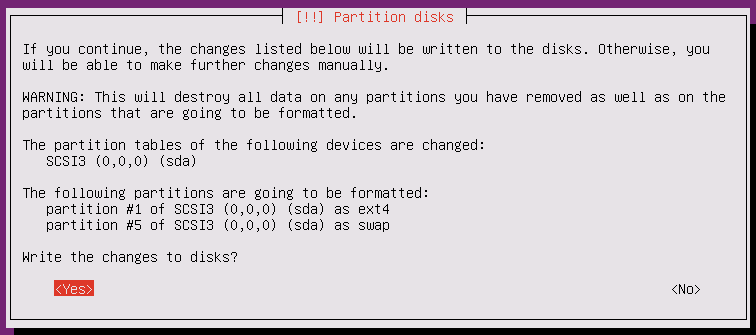
Any existing data on the disk will be lost, acknoledge the warning, select Continue and press Enter
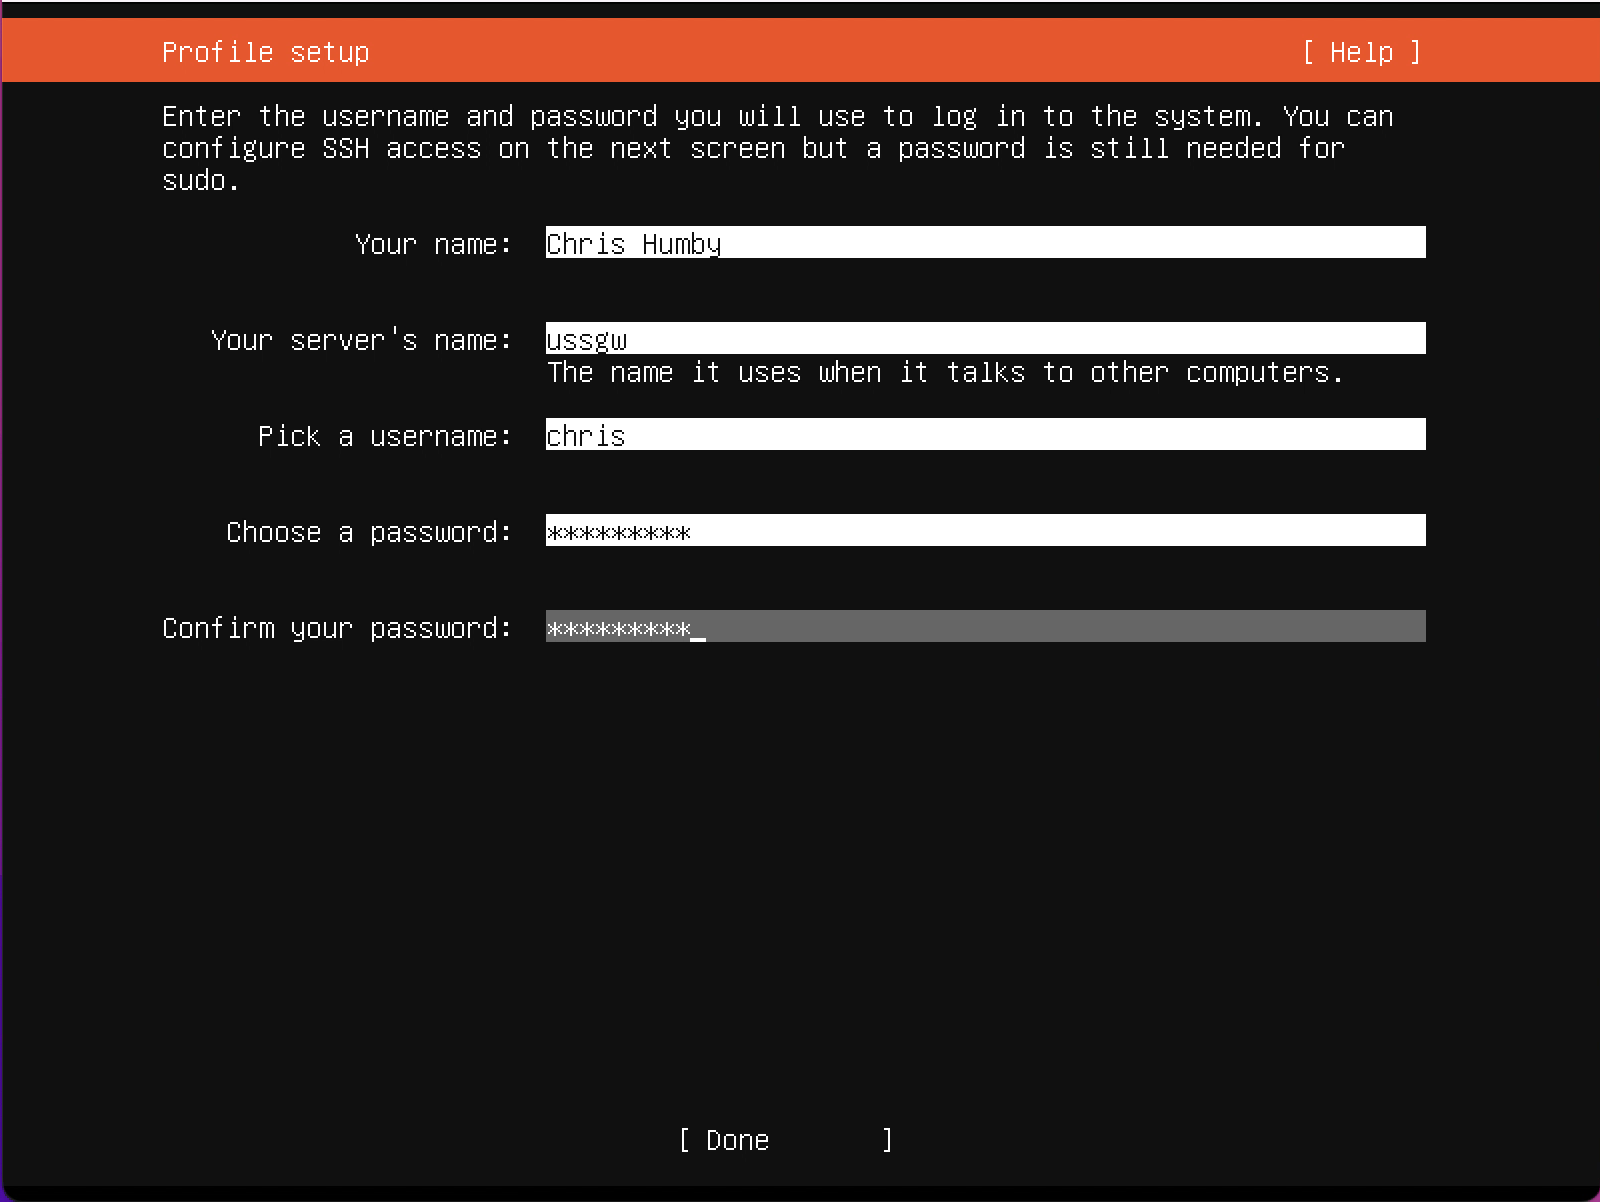
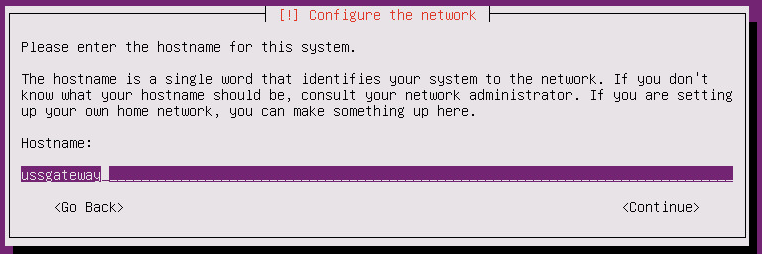
Create an administrator account with a strong password which you will use to log in via the console or SSH. Also set your gateway's network hostname. Select Done and press Enter
The installer will now format the storage, install the OS and software packages, and download and install any updates. This will take some time to complete and can be left unattended.
Once complete you will see a prompt to reboot. Select OK and press Enter.
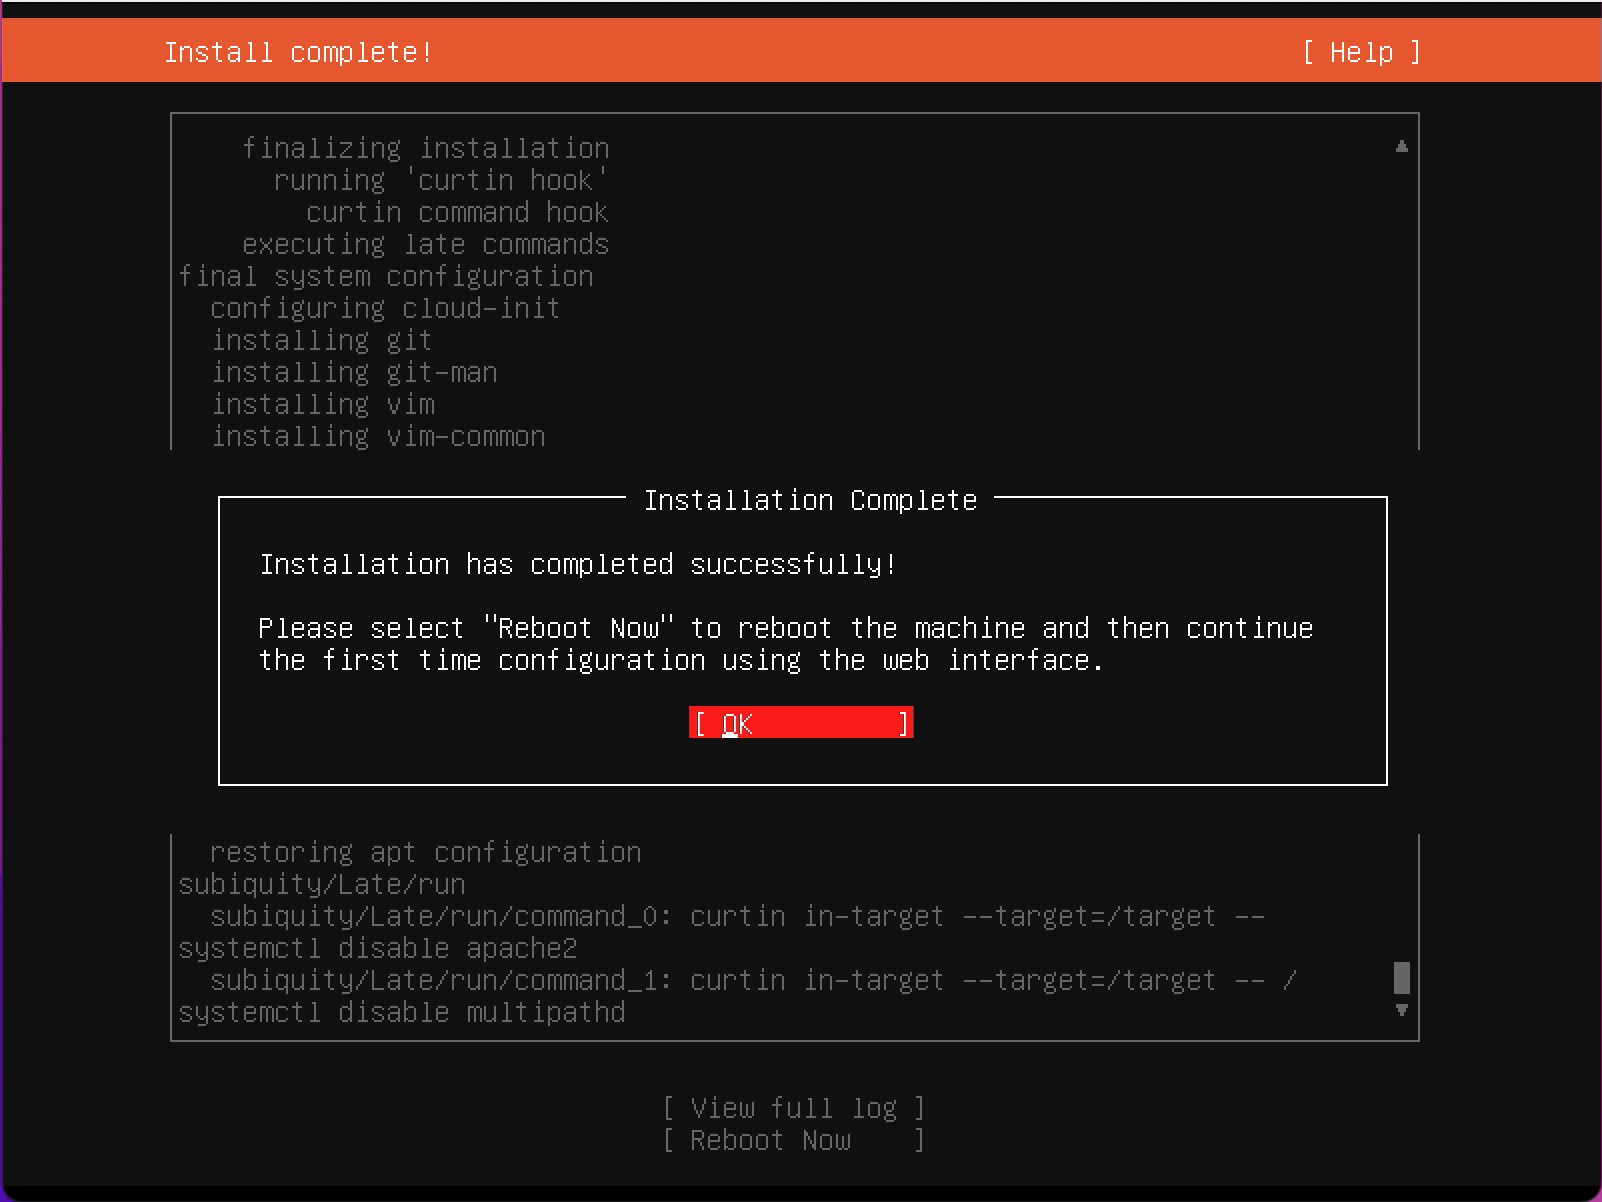
Again on the final screen, select Reboot Now and press Enter.
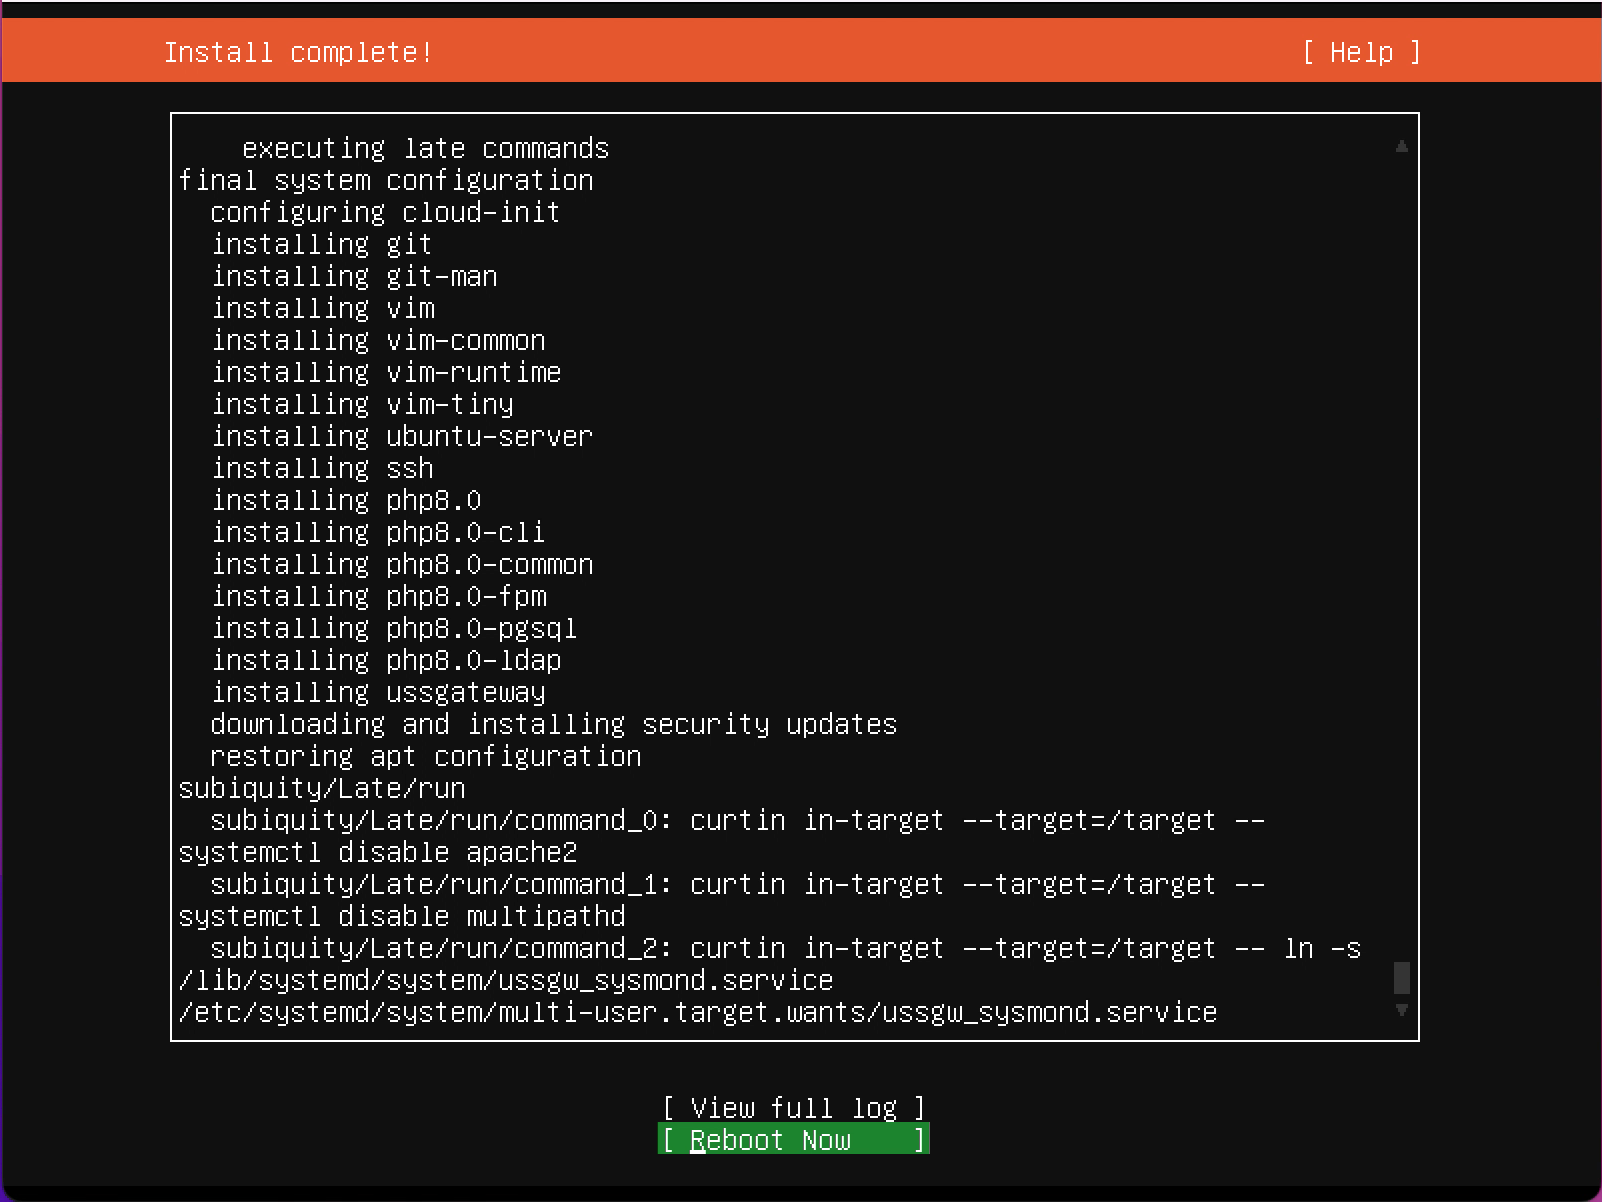
Installation is now complete. You will see the OS and services starting on reboot. Once boot has completed you can log-in via a web browser to complete first time configuration.
Installation Steps - Version 1.x
Once the server has booted from the installation CD you will be prompted to select the language to use. Select the appropriate option from the list and press Enter.
The USS Gateway splash screen will be displayed. Press Enter again to start the installation.
The console-based installer will appear.
Select the desired language and press Enter.
Select the geographic location where the USS Gateway server is located and press Enter.

Next you will be prompted to detect the keyboard layout. Press Enter to skip automatic detection.
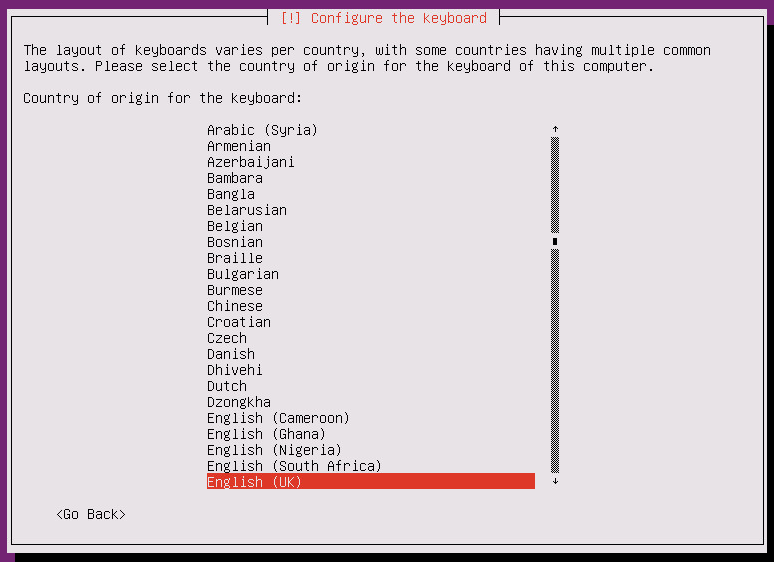
Now select the correct country for your keyboard from the list and press Enter.
Next select the best layout that corresponds to your keyboard and press Enter.
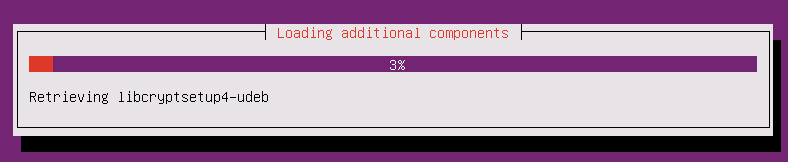
The installer will now copy files required for installation. This process can take up to a few minutes depending on the speed of the machine.
Once complete, you will be prompted to enter a static IP address for the USS Gateway server to use on your network. This should be a LAN address. Type the IP address in one of the supported formats and press Enter.
You will then be prompted to enter the subnet mask for the network. Enter the correct subnet mask and press Enter.
Next you will be prompted to enter in the default gateway. Enter the default gateway and press Enter.
Next you will be prompted to enter in at least one valid DNS server. You may enter up to three DNS servers separated by spaces. Press Enter.
Next you will be prompted to enter a hostname for the USS Gateway server. This will form part of the Fully Qualified Domain Name of the server if you join it to a Windows domain later on. The hostnames can be changed later if required.
Enter the hostname and press Enter.
Next you will be prompted to enter in the domain name for the USS Gateway. You can enter your Active Directory domain (e.g. domain.local) or if you do not use a domain simply enter uss.local and press Enter.

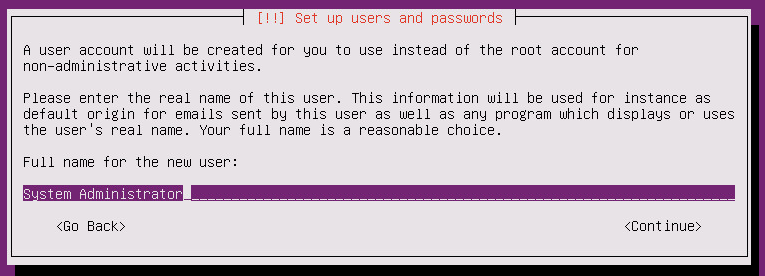
For security, you are required to create an operating system user account for the USS Gateway. This allows you to access the command line directly for system maintenance tasks (if required). Enter a suitable real name for the account, such as "System Administrator" and press Enter.
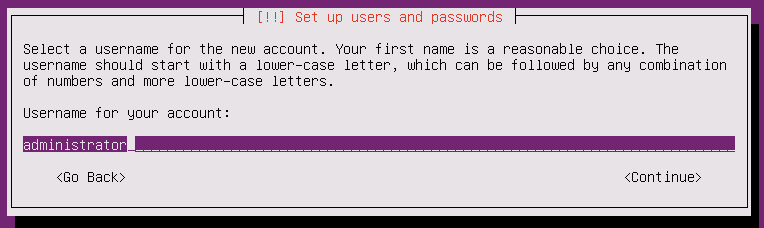
Next you will be prompted to create a username for this user.
Type in a username and press Enter.
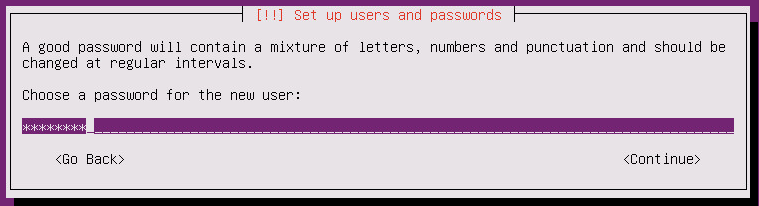
Next you will be prompted to enter a password for the username. A good password should contain a mixture of letters, numbers and punctuation.
Type in a password and press Enter.
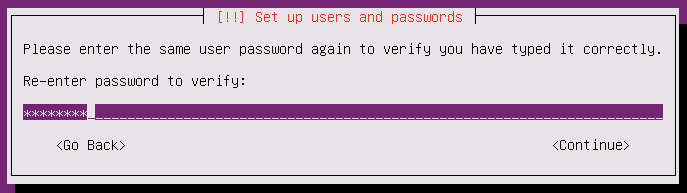
You will be prompted to re-enter the password. Re-enter the password and press Enter.
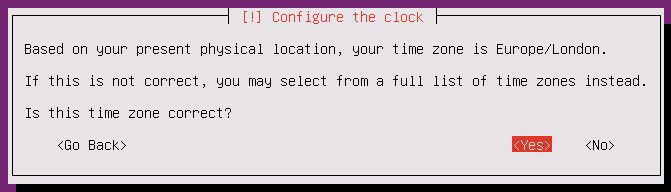
Next, the installer will attempt to guess the time zone. If the time zone is correct, press Enter. Otherwise use TAB to select NO and select the correct time zone.
The installer will now prompt to create partitions on the server hard disk.
Press Enter to proceed.
Confirm again that you agree to ERASE ALL DATA FROM THE HARD DISK. Press TAB to select YES and then press Enter.
The USS Gateway operating system will now be installed. This may take several minutes.

The installer requires Internet access to download files. Before attempting to download files, the installer will prompt to confirm if a web proxy server is required on your network. If your network requires a proxy, please enter it in the format shown (it is important to include the http://) or simply press Enter if no proxy is required.
The required files will be downloaded:
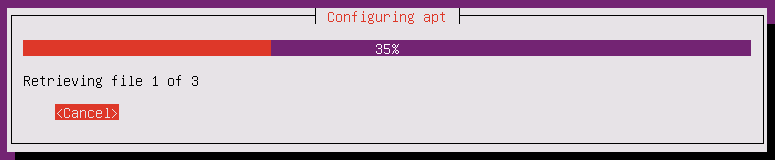
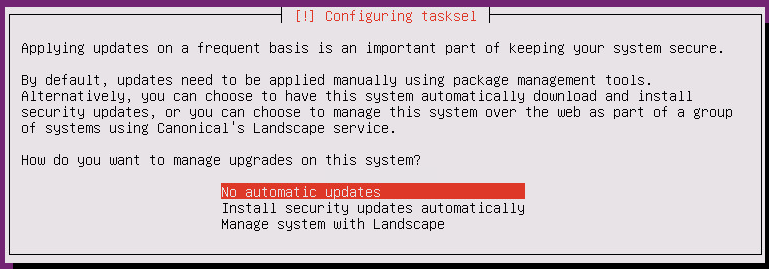
Next, the installer will prompt for managing updates. As the USS Gateway is often a production server, it usually makes sense to disable automatic updates, as they can restart services which could impact users of the USS Gateway system. Press Enter to select "No automatic updates".
The installer will finish configuring packages.

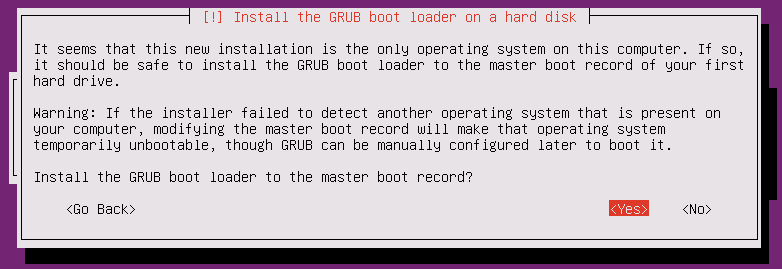
Finally, you will be prompted to install the boot loader. Press Enter to continue.
The installer will finalise the system.

The installation will then finish and you will be prompted to remove the installation CD from the drive. The server will then reboot. Press Enter to finish the installation.
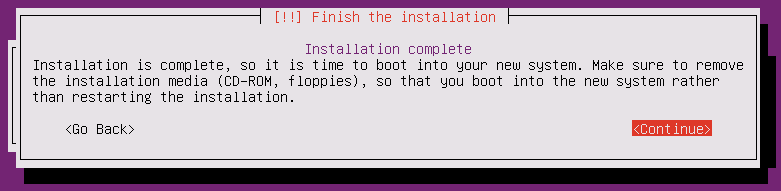
After the reboot, the console will show the command line log in prompt. You should now continue by following the post-installation Configuration Guide.
Perform System Upgrades
Log in to the command line using the username and password set during installation.
Type:
sudo su
<enter password again>
apt-get update && apt-get dist-upgrade
After the system update process has completed, you must reboot the gateway.
Type reboot
Installing on Hyper-V
Please review the post-installation Hyper-V notes before continuing. If you encounter problems with the network during installation please attach the Legacy Network Driver to the virtual machine and retry.
Troubleshooting
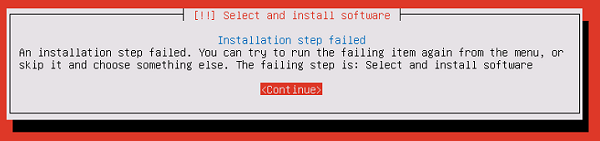
- The most common cause is the installer is not able to download the required files - usually due to DNS or gateway problems. Ensure the network details are correct and the virtual machine has access to the Internet. You should exit the installer and start again to change the network settings.
- If you have to use a proxy server ensure it has been entered correctly, starting with
http://and containing the port number and a username/password if required in the right format. - Ensure no other security appliance on the network is blocking the installer.