Deployment via GPO
- Create a transform file, following the same process as creating a custom MSI installer.
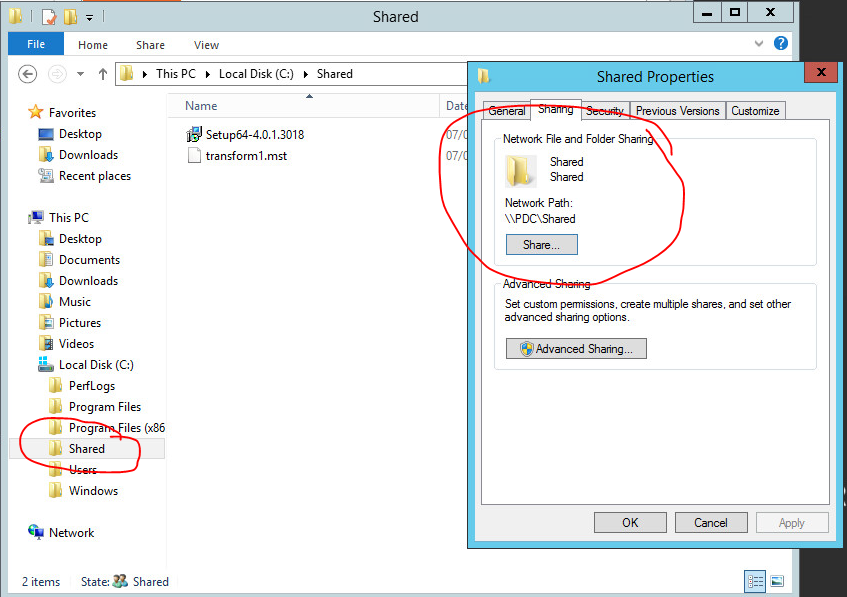
- Copy the transform file and the installer to an accessible directory on the domain controller.
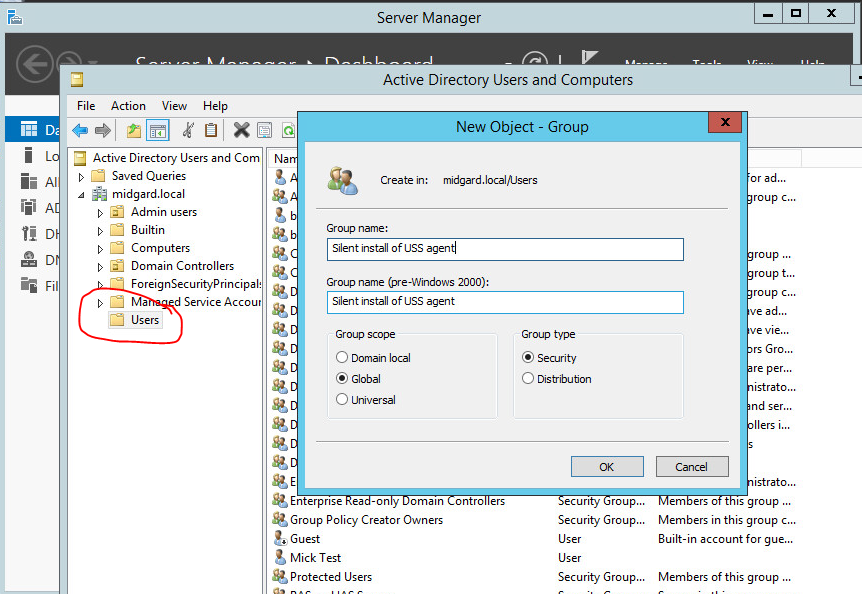
- From the Server Manager page, open Active Directory Users and Computers. Expand the tree and select the Users container. Create a new group in here, and give it a sensible name such as Silent install of USS agent.
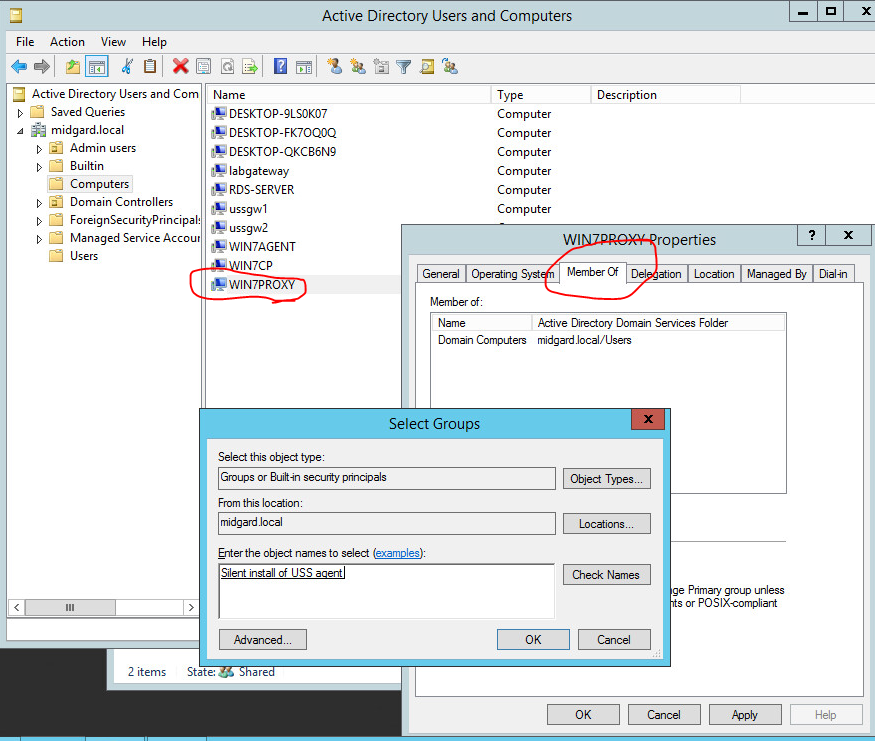
- Since we will be installing the agent only onto specific devices, we need to add the devices we need into the security group. Locate the devices you want to install in the active directory, and add them to the group you created.
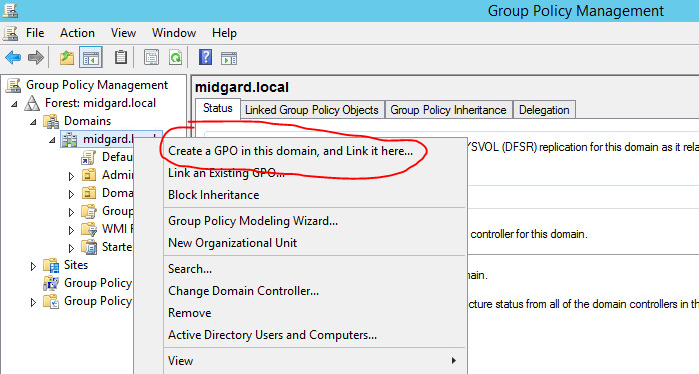
- Return to the Server Manager, and open Group Policy Management. Right-click on the domain, and select Create a GPO in this domain, and Link it here ... .
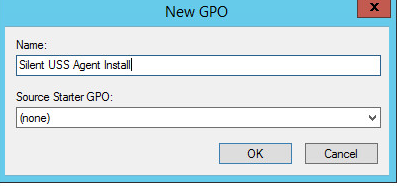
Give the new GPO a sensible name, and click OK.
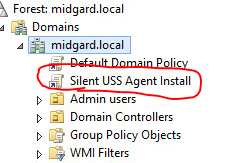
Your newly-created GPO will now appear in the group policy tree:
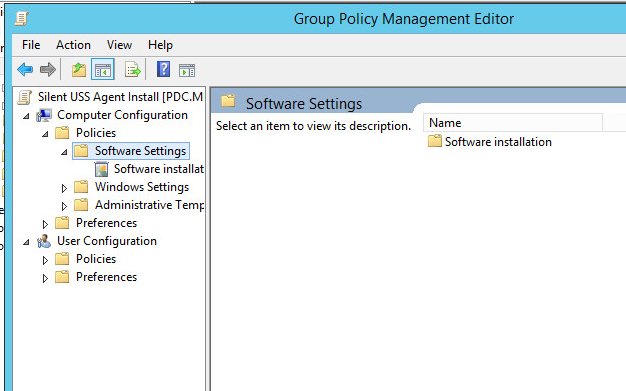
- Right-click on the new item, and select Edit. Expand Computer Configuration ⟶ Policies ⟶ Software Settings.
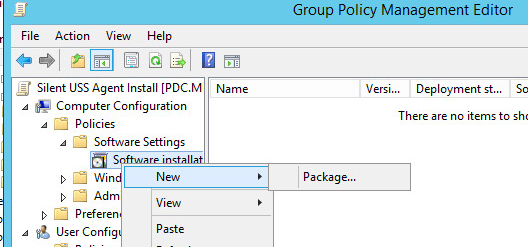
Right-click Software Installation and select New Package.
In the dialog box that follows, enter the network path to the package.

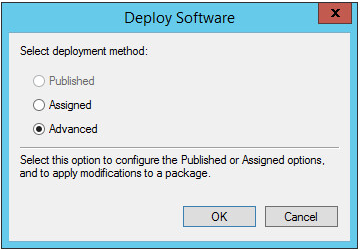
In the next dialog, select Advanced.
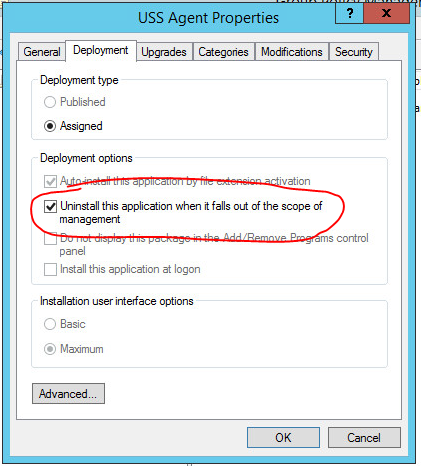
Switch to the Deployment tab, and ensure that Uninstall this application when it falls out of the scope of management is checked. This will allow the Cloud Link software to be uninstalled when the GPO is deleted.
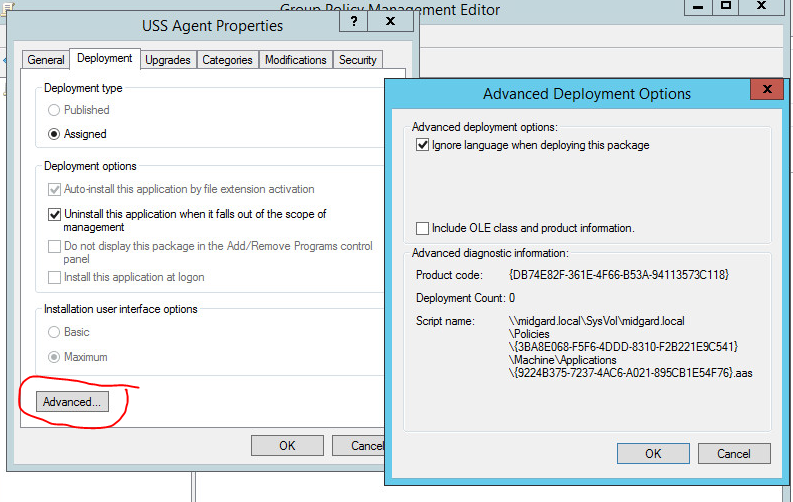
Click Advanced (on the Deployment tab), and ensure that Ignore language when deploying this package is checked. This will avoid any problems with non-enGB locales on remote computers.
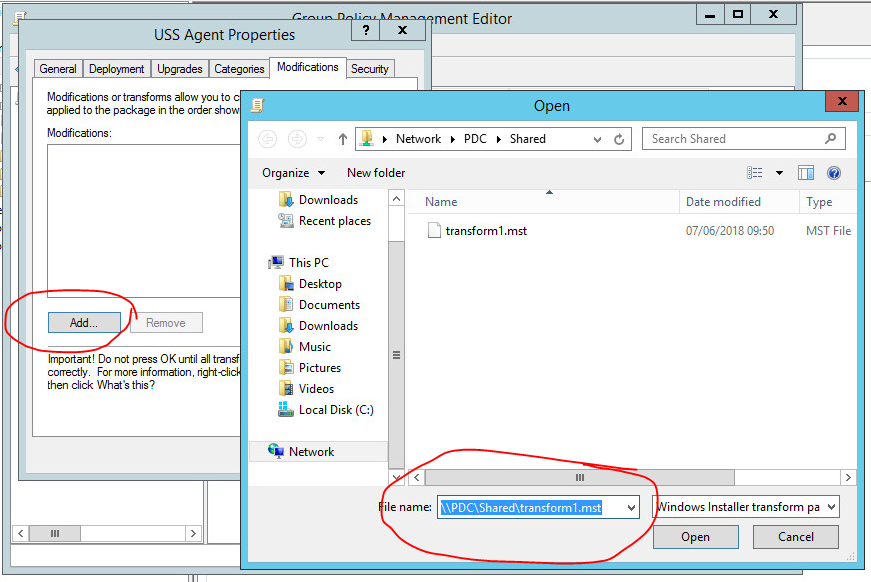
Switch to the Modifications tab, and click Add. Enter the UNC path to the transform file you created earlier using Orca.
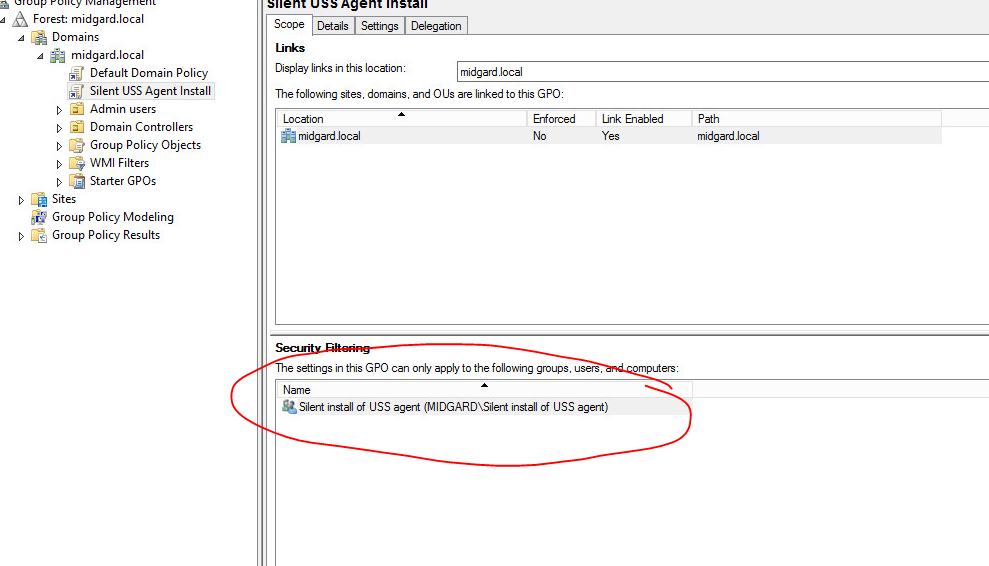
The group policy has now been defined. Close the group policy editor to go back to the Group Policy Management Editor. Click the new group policy, and remove anything that's already been added to the Security Filtering section. Replace it with the new group you created earlier.
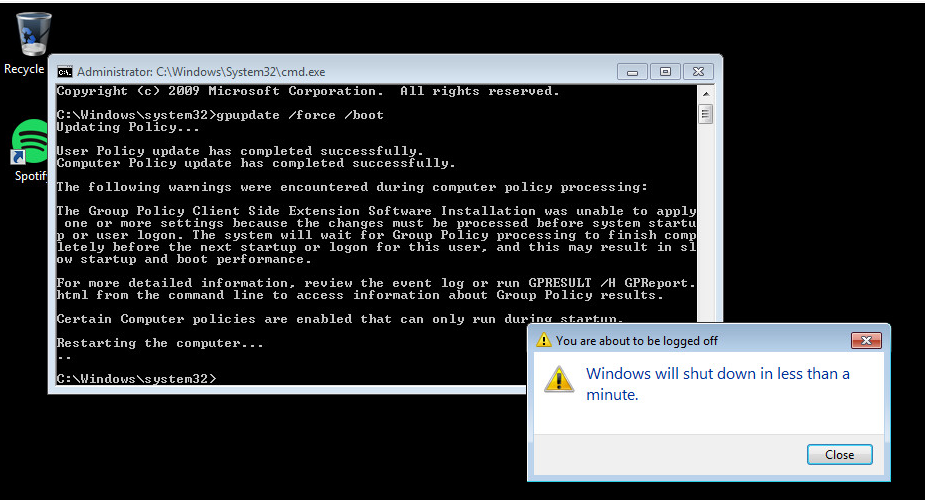
- Test that the new GPO works, by opening a command prompt with elevated permissions on one of the machines in the new group. At the prompt, enter
gpupdate /force /boot
The PC will reboot.
The USS agent is now deployed.
Troubleshooting
error 1274
Problem
The installation fails, and Group Policy Manager shows this error:
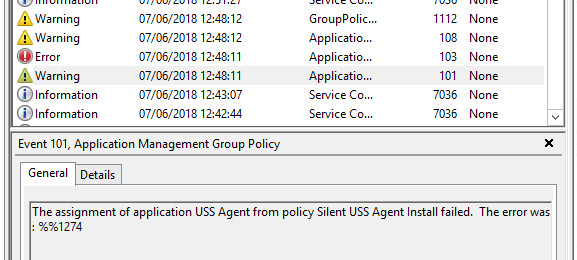
Solution
Right-click the group policy, and select Edit. This will open the group policy for editing. Expand Computer Configuration ⟶ Administrative Templates ⟶ System ⟶ Logon. Ensure that the option Always wait for the network at computer startup and logon is Enabled. This will force the computer to wait until the shared location is visible to the PC before running. Then, open an elevated command prompt and enter
gpupdate /force /boot