Deploying via Microsoft Intune
![]() Updated 1 year ago
by
admin
Updated 1 year ago
by
admin
Prerequisites:
- Familiarise yourself with Microsoft Intune Standalone - https://docs.microsoft.com/en-us/intune/apps/apps-win32-app-management
- Download the Microsoft Win32 Content Prep Tool - https://github.com/microsoft/Intune-Win32-App-Packaging-Tool/archive/v1.4.zip
- Download the USS Agent for Windows and Orca MSI Editor tool
- Use Orca to prepare an MST transform file based on the USS Agent MSI, to include the configuration options you want. See Deploying via Custom MSI for a guide on creating a transform file.
Deploying via Intune
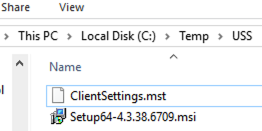
Create a new folder e.g. c:\temp\USS and place the MSI and MST files in the location.
The contents of the folder should look like this:
Run the Win32 Content Prep Tool that you downloaded earlier as an administrator. You will be prompted to answer a number of questions. Follow the example below, updating the answers to correspond to your chosen folder name and MSI filename:

On completion, the tool will create a .intunewin file e.g. Setup64-4.3.38.6709.intunewin

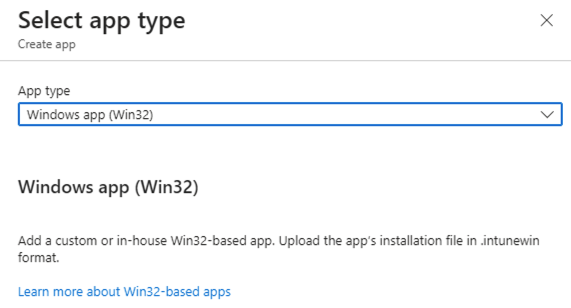
Next, within the Microsoft Endpoint portal (Intune): "Select" Apps, Navigate to By platform and "Select" Windows, Click the "Add" button then select the App Type Windows App (Win32).
Press the "Select" button, then on the "App Infomation" screen on the Select Files option Select the previously created .intunewin file, then press "OK"
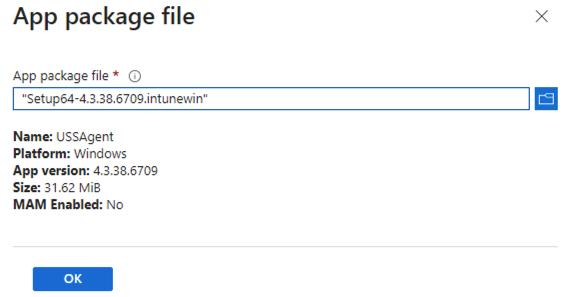
The App Information should appear as follows:
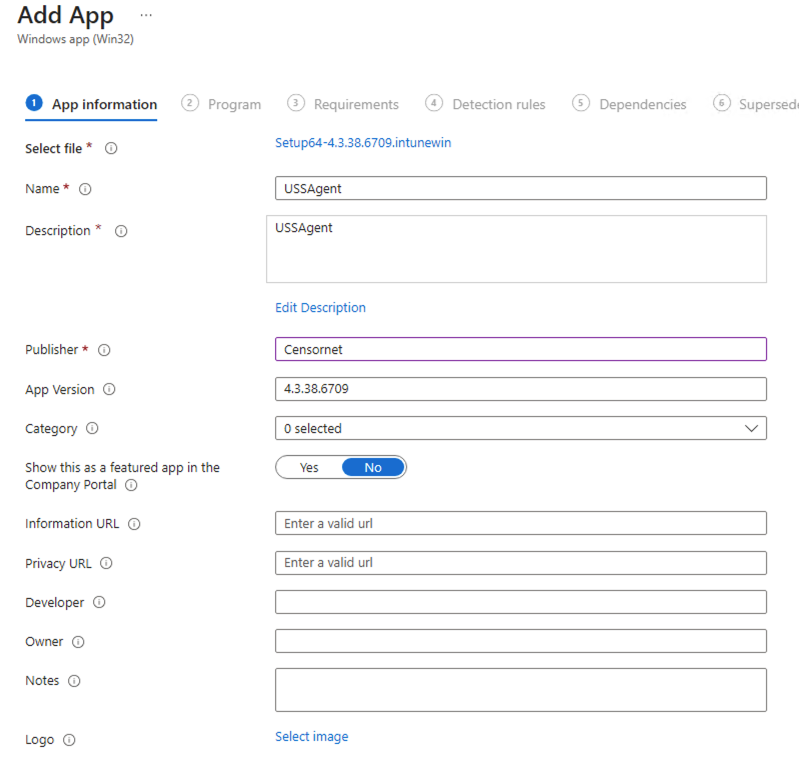
Ensure to at Censornet as the Publisher.
Select the "Next" button, Then the Program should be set as follows:
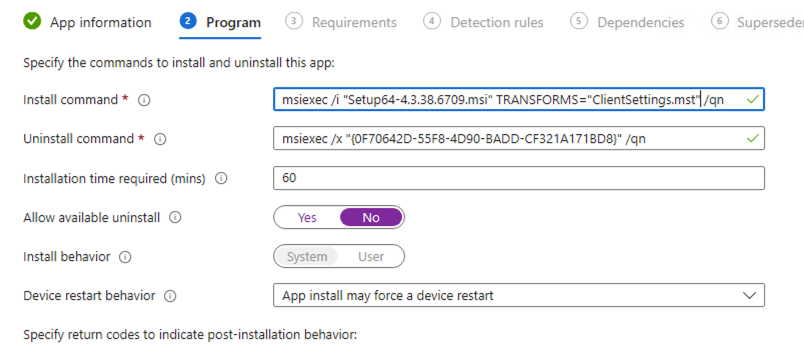
Ensure the Install command includes the MSI and MST commands, then select the "Next" button.
msiexec /i "Setup64-4.3.38.6709.msi" TRANSFORMS="ClientSettings.mst" /qn
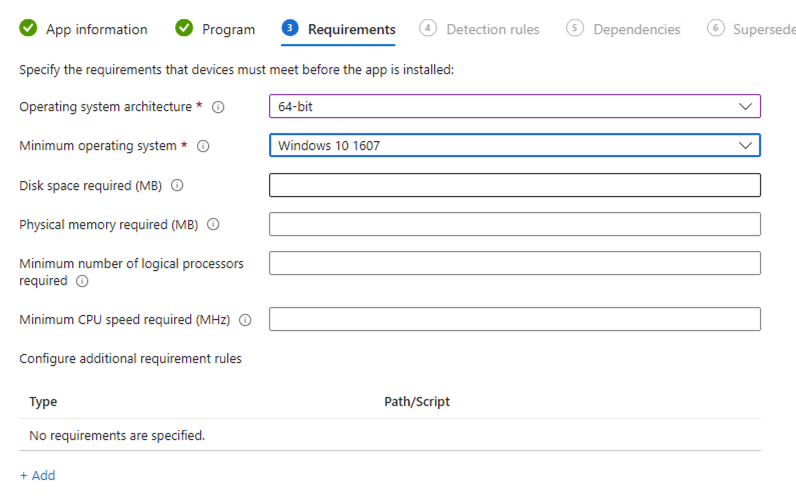
On the Requirements screen ensure the settings match the below then select the "Next" button.
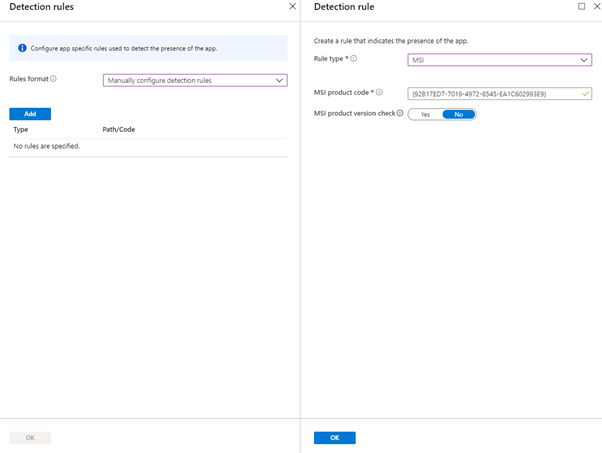
On the Detection Rules screen, select from the Rules format section.
Select the "Manually configure detection rules" option, then select "Add" then select under Rule type then select "MSI" then select the "Ok" button, then select the "Next" buttons until you are on the Assignments tab.
To deploy the agent via an AzureAD group select the "Add group" button under the Required, Group mode section, then select the required group, then press the "Select" button, then press the "Next" button.

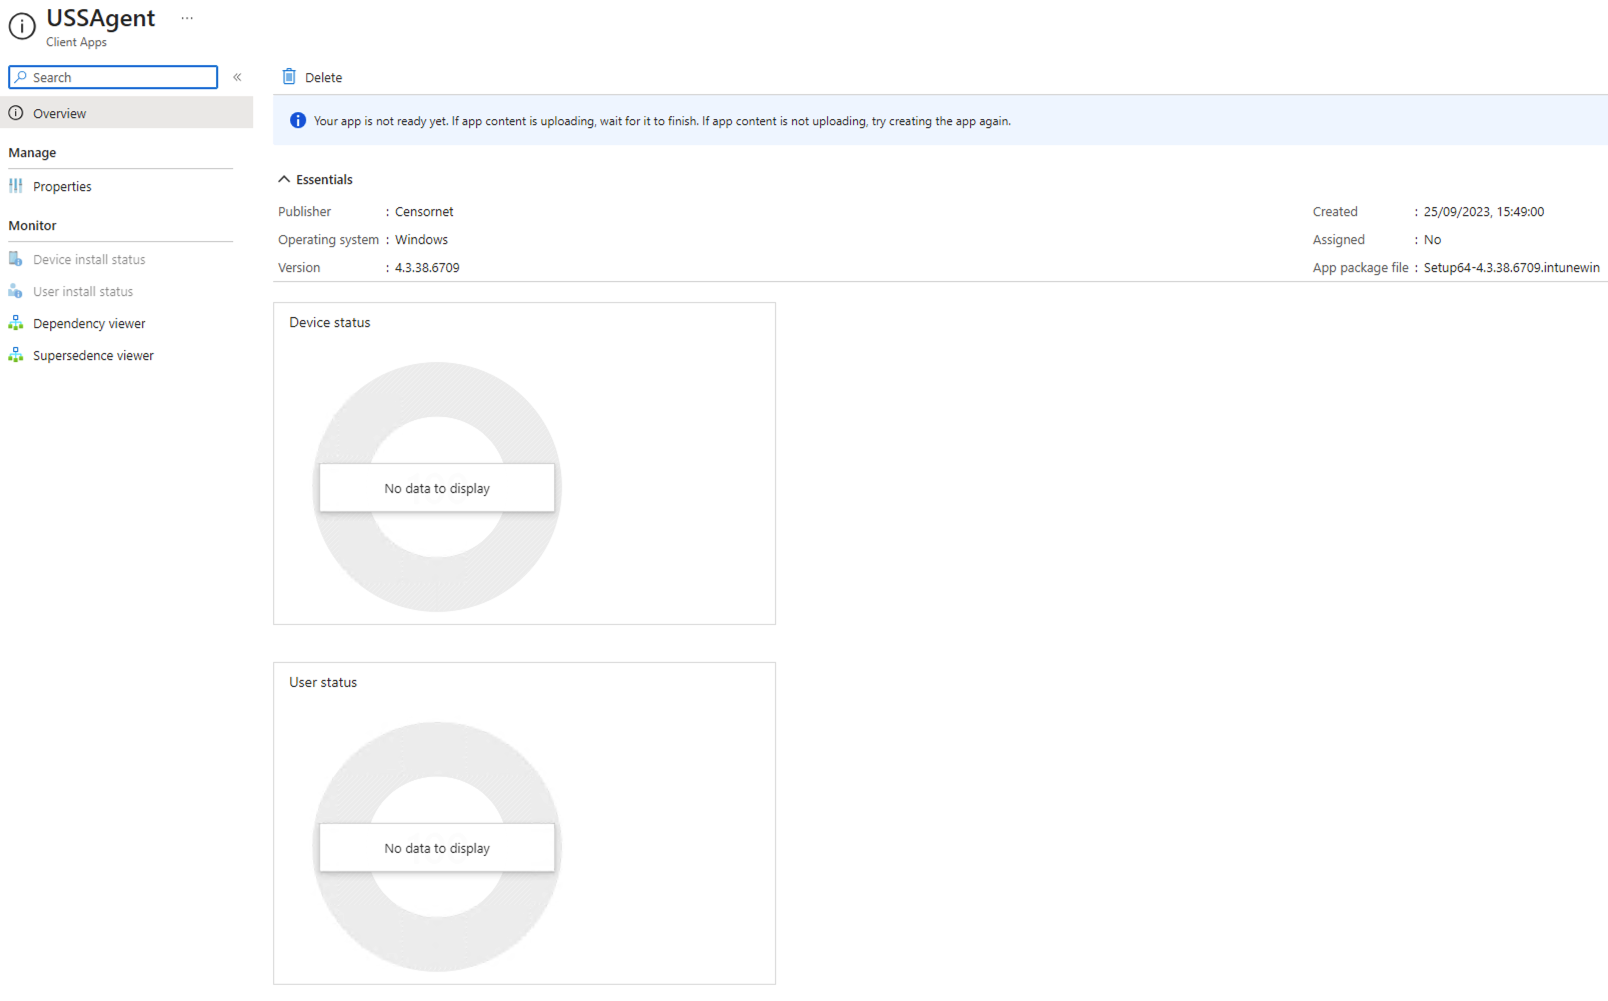
Review the summary page information then click the "Create" button, the below screen will show and the .intunewin file will be uploaded and ready to be deployed via the Microsoft Endpoint portal (Intune).