This section is for advanced users only. Please check with your service provider as to the level of support available for the options in this section.
The USS Gateway agent is essentially an Ubuntu Linux installation with various custom packages to deliver the features required. As such, advanced Linux administrators are able to install additional packages or implement advanced configuration options.
Custom squid proxy configuration
The USS Gateway server software uses a modified version of the open source Squid Proxy. If you are familiar with Squid you can take advantage of additional configuration options that are available.
The USS Gateway system supports two override files that can be used to load in additional squid configuration options. This file is upgrade-proof and should be used rather than editing the default configuration file directly, which is overwritten each time the ussgw_sysmond service runs (on boot or when changing UI options).
Log in to the USS Gateway command line and sudo su to become root.
Edit the file found in: /usr/local/uss-squid4/etc/squid.conf.pre-override and /usr/local/uss-squid4/etc/squid.conf.override and make the required changes. Use the pre-override file to insert overrides at the beginning of the squid.conf and the override file for inclusions at the end. The order of some Squid configurations is important - refer to the Squid documentation for further information.
Reload squid with: service uss-squid reconfigure
Custom firewall rule configuration
Some administrators may attempt to add firewall rules to the USS Gateway server, but notice after changing settings via the UI or rebooting the server the new firewall rules are lost. This is because the ussgw_sysmond system service rewrites the iptables firewall each time the service is started. However, it is possible to add custom rules into a special file which is executed by ussgw_sysmond after it has finished configuring the base firewall rules needed by USS Gateway.
By default the ussgw_sysmond service only flushes the PREROUTING chain. To view the default rules execute: iptables -t nat -L --line-numbers
Log in to the USS Gateway command line and sudo su to become root.
Create the file /etc/ussgw_custom_firewall and make it executable with chmod +x /etc/ussgw_custom_firewall
Add your iptables firewall rules to this file
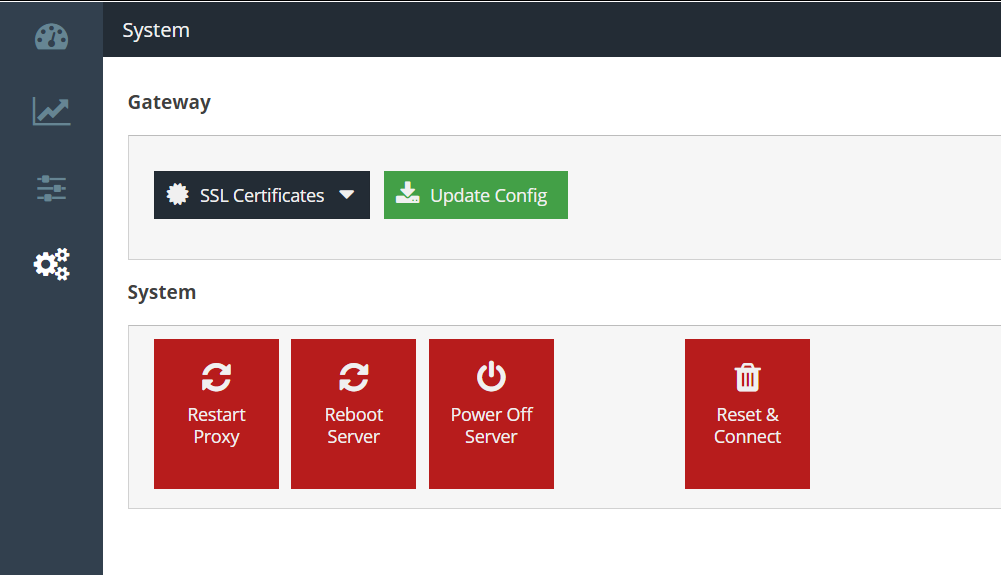
Test your script by stopping and starting the service. To restart the proxy service (note: this will interrupt web browsing for any connected users) navigate to System -> Restart Proxy in the Gateway user interface:Alternatively, you can reboot the proxy by typing reboot at the command line or using the Reboot Server button in the Gateway user interface.
The script must be idempotent so it does not create duplicate firewall rules each time the script is executed by ussgw_sysmond
The best practice would be to write the script as if the iptables are completely empty to begin with, then have flush or delete commands to delete all rules the script adds, followed by the commands to add said rules.
Custom Hosts file
Some administrators may find it useful to add custom entries to the standard /etc/hosts file. This file is typically overwritten by the USS Gateway server during configuration changes, so modifying it directly is not recommended. Instead, you should create an override file:
Log in to the USS Gateway command line and sudo su to become root.
Create the file /etc/hosts.override and enter your custom host file entries.
To confirm the changes reboot the proxy by typing reboot at the command line or using the Reboot Server button in the Gateway user interface.
Check the main /etc/hosts file which should now contain the custom entries
Changing the Captive/Guest Portal default timeout
The Captive/Guest Portal times out devices after 15 minutes of inactivity. This value can be changed to whatever value you'd prefer by following these steps:
Log in to the USS Gateway command line and sudo su to become root.
Edit the file: nano /usr/local/uss-squid4/libexec/ussgw_session_acl
Alter the line that contains define("SESSION_TIMEOUT_INTERVAL", "15 minutes");
Appropriate values may be 5 minutes, 1 hour, 30 minutes, 1 week, 1 month, etc.
Save the file and exit.
This will take effect for any new Captive/Guest portal sessions created after the script was changed.
Customising squid error pages
Whilst the Web Security product supports templates for block and warn final actions, there are some error pages that are generated by squid that use the default squid template design. It may be desirable to edit those templates.
The standard squid error pages are located in /usr/local/uss-squid4/share/errors/uss and are used by both squid4 and squid5.
To make your changes upgrade proof, copy the uss folder to a new location e.g: cp -R /usr/local/uss-squid4/share/errors/uss /etc/uss-custom-errors
The uss-squid4 path is used regardless of whether you have squid4 or squid5 in use.
Add the new path to the squid override configuration file. This will update the default location both squid4 and squid5 use in order to find the error pages
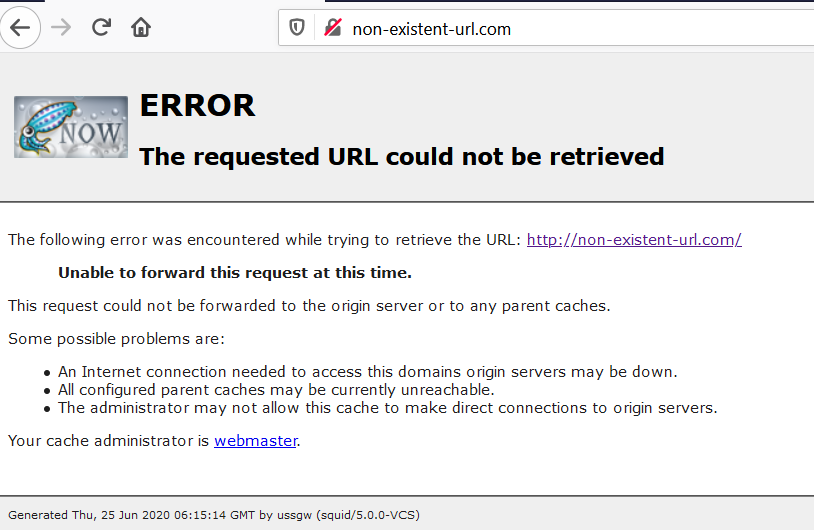
To identify which template file to edit, generate the error page via the proxy. For testing, you can enter a non-existent URL and this will trigger an internal template, e.g.
View the source of the page and search for the start of the <body> tag, e.g. <body. This has an id attribute which corresponds to the filename in the /etc/uss-custom-errors directory, e.g:
In this example, the template being used is /etc/uss-custom-errors/ERR_CANNOT_FORWARD. Edit the template file as desired.
Once changes have been made, restart squid4 or squid5 (depending on the version in use). To restart the proxy service (note: this will interrupt web browsing for any connected users) navigate to System -> Restart Proxy in the Gateway user interface:
Alternatively, you can reboot the proxy by typing reboot at the command line or using the Reboot Server button in the Gateway user interface.
Refresh the error page to see the changes.
If you make further changes but they do not appear automatically, restart squid to force the update.
Configure Squid to use X-Forwarded-For for Client IP
In some advanced configurations, such as when using load balancers, the real client IP is only available in the X-Forwarded-For header that squid receives. By default, squid will use the IP from the inbound connection, which in some cases will be a NAT IP. To change this behaviour and tell squid to use the X-Forwarded-For header:
This workaround only works if SSL Intercept is disabled
Install USS Gateway release 1.2.34 or later.
Create or edit the /usr/local/uss-squid4/etc/squid.conf.override file
Add the following configuration line: follow_x_forwarded_for allow all
Now restart the proxy service (note: this will interrupt web browsing for any connected users) by navigating to System -> Restart Proxy in the Gateway user interface:Alternatively, you can reboot the proxy by typing reboot at the command line or using the Reboot Server button in the Gateway user interface.
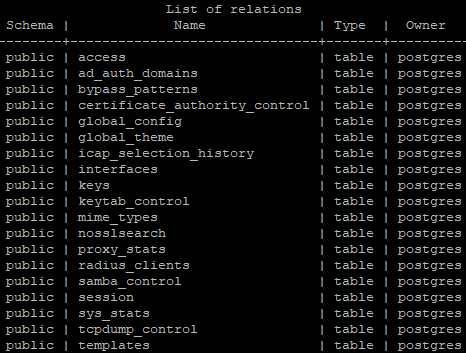
In some instances you might need to export a database table for analysis, troubleshooting or record keeping. Below is a lost of commands to use in order to export a table from the database into the /tmp/ directory. From there it can be extracted with WINSCP.
To export the table log into the console and run the following command replacing table_name with the name of the table:
sudo -u postgres psql -d cloudgw -c "copy (select * from table_name) to '/tmp/table_name.csv' with csv header;"