Deploying the Mac OS X agent using JAMF
![]() Updated 1 year ago
by
admin
Updated 1 year ago
by
admin
This article helps you to set-up a silent deployment and installation of the USS Agent for Mac OS X using Jamf Pro (external link) for a true Zero-Touch experience for remote user deployment.
Step 1 - Prepare the USS Agent Profile and Certificate
- Navigate to Products -> Web Security -> Agent Configuration and select your Mac OS X configuration profile
- In the SSL Key section click Regenerate
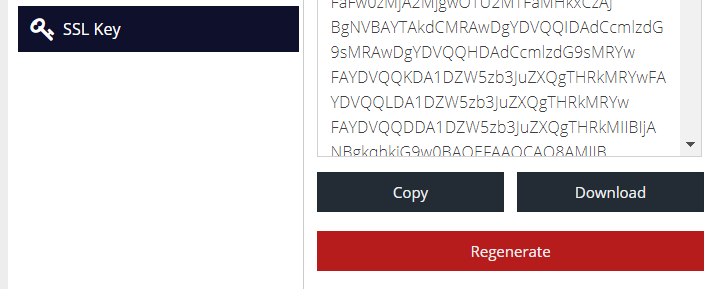
- Click Download and store the file on your computer
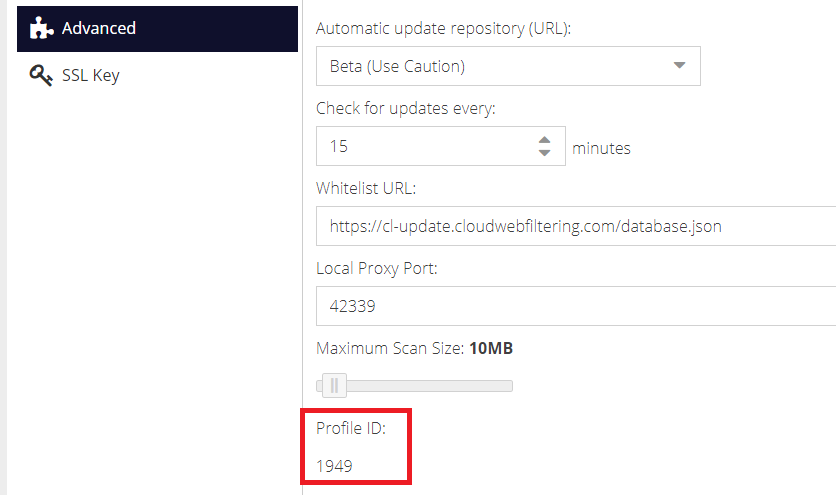
- In the Advanced section, take note of the Profile ID that is displayed. This will be required later in the article
Step 2 - Rename the Certificate
Change the downloaded certificate file extension from .pem to .cer in order for Jamf to recognise the certificate file.

Step 3 - Prepare Jamf to distribute the Certificate
This step involves using Jamf to distribute the agent certificate to all Mac OS X devices that will have the agent installed in the next step.
- In Jamf Pro create a new Configuration Profile and select the Certificate option.
- Enter a Profile Name and also enter a Certificate Name e.g. USSAgent Cert
- Select Upload and then press the Upload Certificate button. Browse for the
.cerfile that was created in Step 2.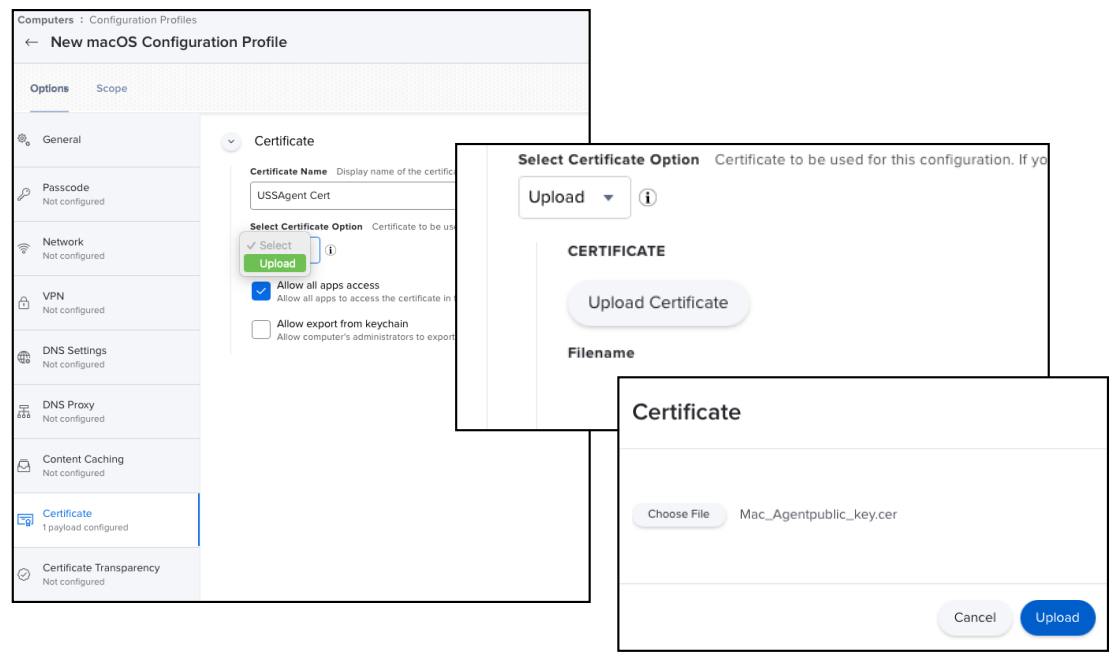
- In the Certificate options, tick the box Allow all apps access and untick the box Allow export from keychain. This way we ensure that the
USSagent.appwill be able to detect the presence of the certificate, and also prevents users from having the certificate removed/copied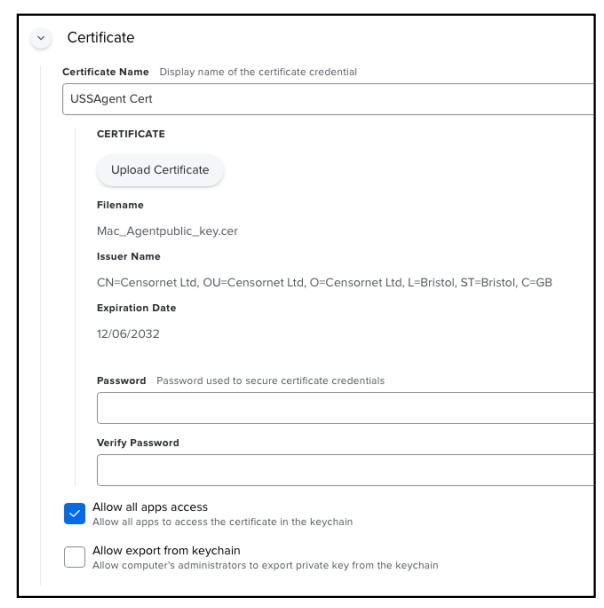
Step 4 - Package the USS Agent software
There are a few tools and methods to package software for distribution via Jamf, however this article will use the App Composer that is part of the Jamf Pro Suite.
- Create a new blank PKG file in Composer by creating a new snapshot
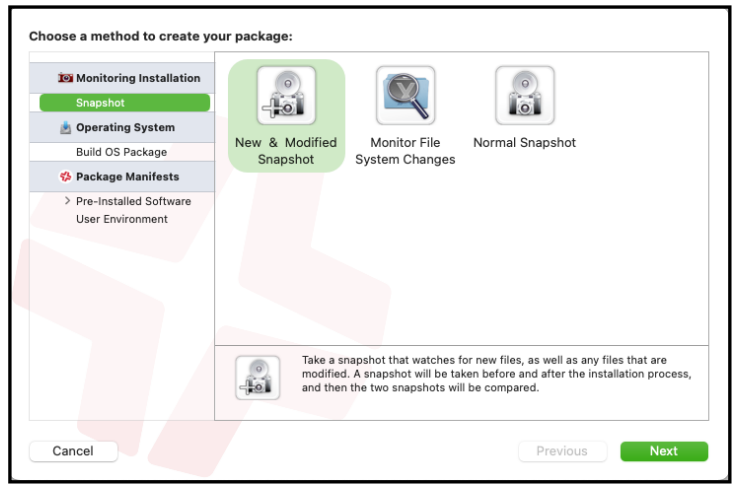
- Once created, delete all the files/folders that it may have to make sure it is completely blank/empty
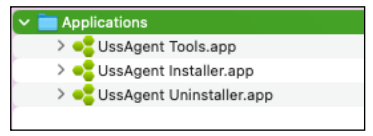
- Download and mount the .DMG disk image with the USS Agent installer, then drag all three files into the Applications folder on the Mac, and from there drag the files into the the pkg field. This will ensure that the USS Agent apps will be installed in the same location on the deployed Mac devices (Applications folder)
- Press the Build as PKG button and give it a name and save it to your desktop or preferred location
- Log into your Jamf Pro instance and under Settings -> Computer Management -> Package create a new Package and upload the PKG file you just created

Step 5 - Create the Policy and Distribute
Now that we have the PKG file in Jamf Pro, we need to create a Policy to distribute it. There are a few methods that can be chosen, such as a silent install or a Self-Service method.
This article will use a simple policy configuration, however please consult the Jamf Pro manual for more in-depth methods of distributing the policy.
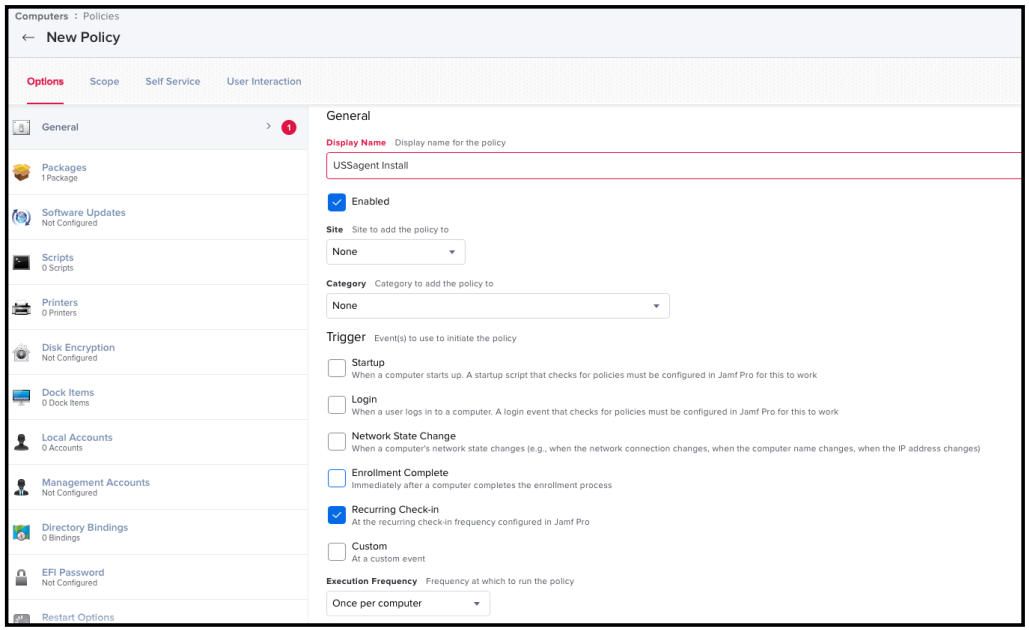
- Select Policies on the side and press New in the upper right corner.
- Enter a Display Name for the new policy
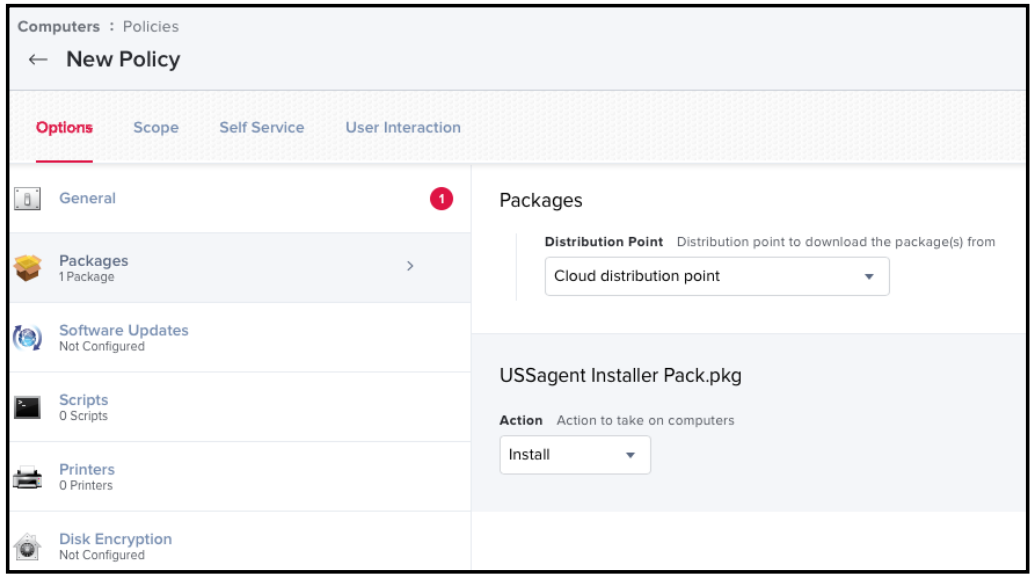
- Select Packages on the left-side and add the package that contains the USS agent Installer, Tools and Uninstaller as described in Step 4 above
- In the section Files and Processes on the same Policy, add the command line that will execute the installation of the USS Agent after it has been deployed into the Applications folder. Enter the Execute Command as follows:
sudo /Applications/UssAgent\ Installer.app/Contents/MacOS/UssAgent\ Installer -q -u <USERNAME -p <PASSWORD> -c <PROFILE ID>

- Finally, set the Scope of the Policy and Configuartion Profile to the Mac OS X devices that you need to install the USS Agent on
For more information on fine tuning the Policy, Configuration Profile and how to set the scope, please consult the Jamf Pro documentation.