Devices & Groups
 Updated 13 minutes ago
by
admin
Updated 13 minutes ago
by
admin
The Devices page lets you map IP addresses and MAC addresses to device names and organise them into Device Groups. You can then use devices and device groups as conditions in the Rule Builder, for example to apply different rules to a guest network.
Viewing device groups
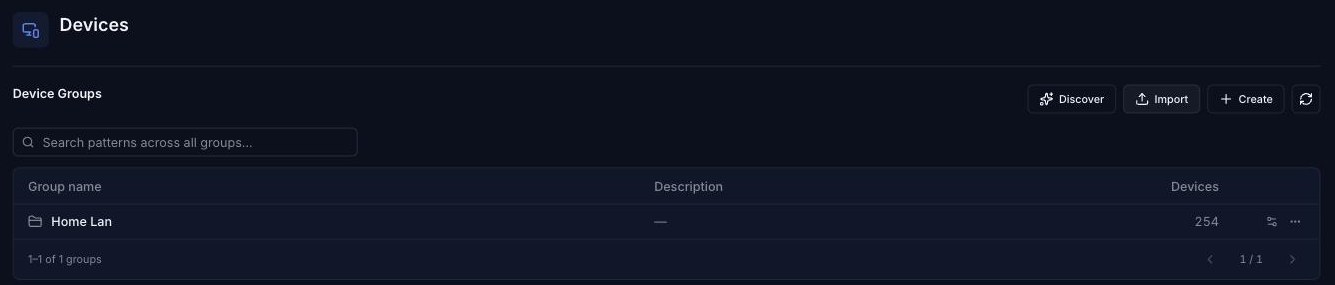
In the console, click Devices in the left-hand menu (under Settings). The page lists your device groups and how many devices each contains. Use the search box to search for a device pattern across all groups. Use Discover and Import to add devices in bulk (see below).
Creating a device group
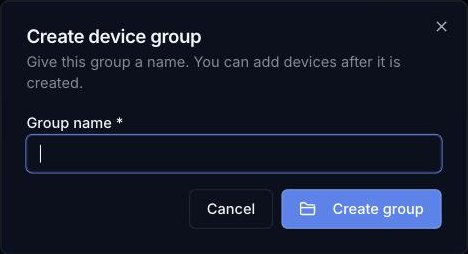
- Click Create.
- Enter a Group name.
- Click Create group. You can add devices once the group has been created.
Viewing and managing devices in a group
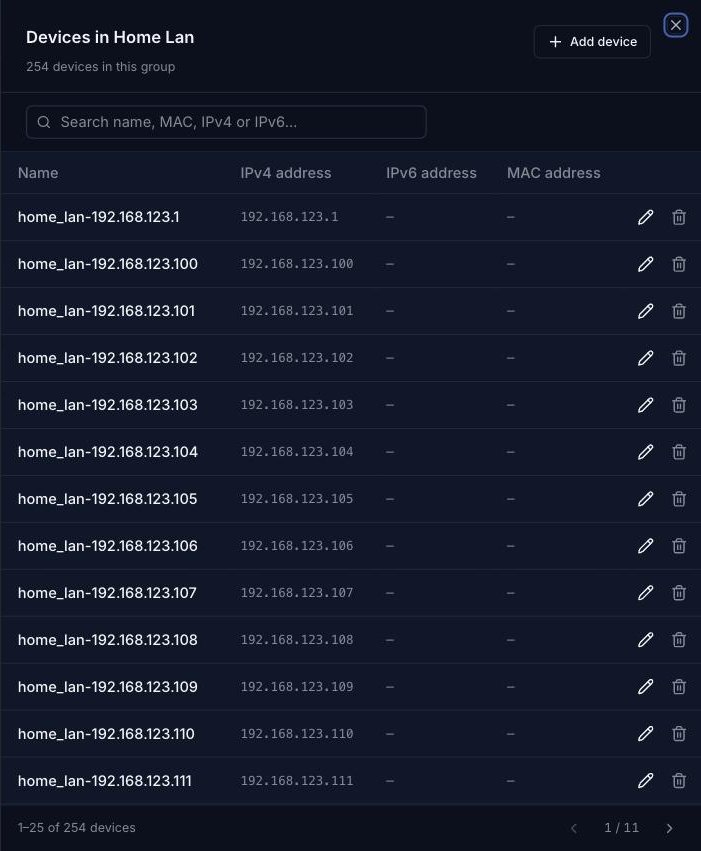
Click the group name, or the sliders icon at the end of its row, to open the list of devices in that group. Each device shows its Name, IPv4 address, IPv6 address and MAC address. Use the search box to find a device by name, MAC, IPv4 or IPv6, click the pencil icon to edit a device or the bin icon to delete it.
Adding a device
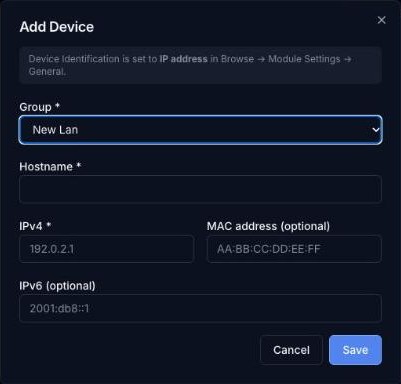
- Open the group and click Add device.
- Choose the Group.
- Enter the device's Hostname and IPv4 address. Optionally enter its MAC address and IPv6 address.
- Click Save.
Renaming a device group
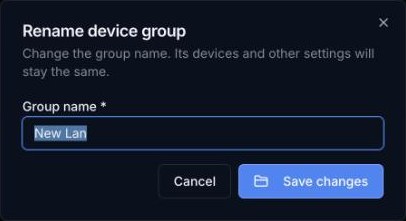
Click the ⋯ button at the end of the group's row and choose Rename. Enter the new Group name and click Save changes. The group's devices and settings stay the same.

Deleting a device group
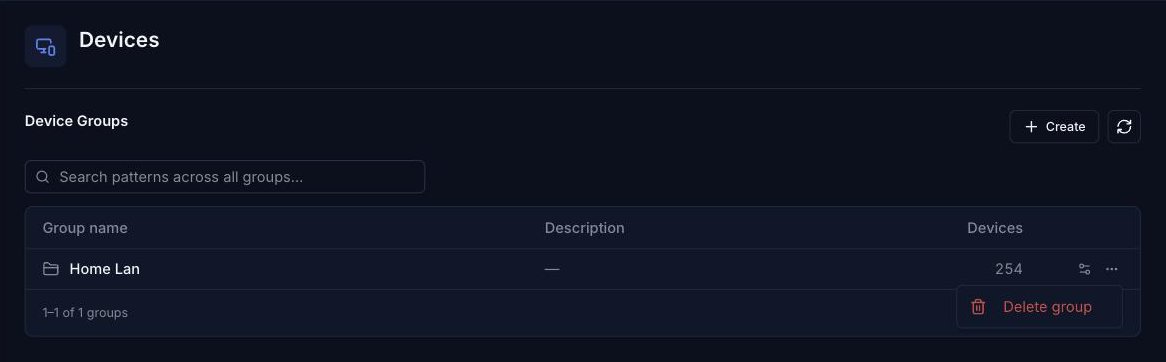
Click the ⋯ button at the end of the group's row and choose Delete group.
Using devices in rules
Devices and device groups can be used as conditions in the Rule Builder. Add the Device or Device Group tile to a rule's Conditions column.
Discovering devices from Web Activity
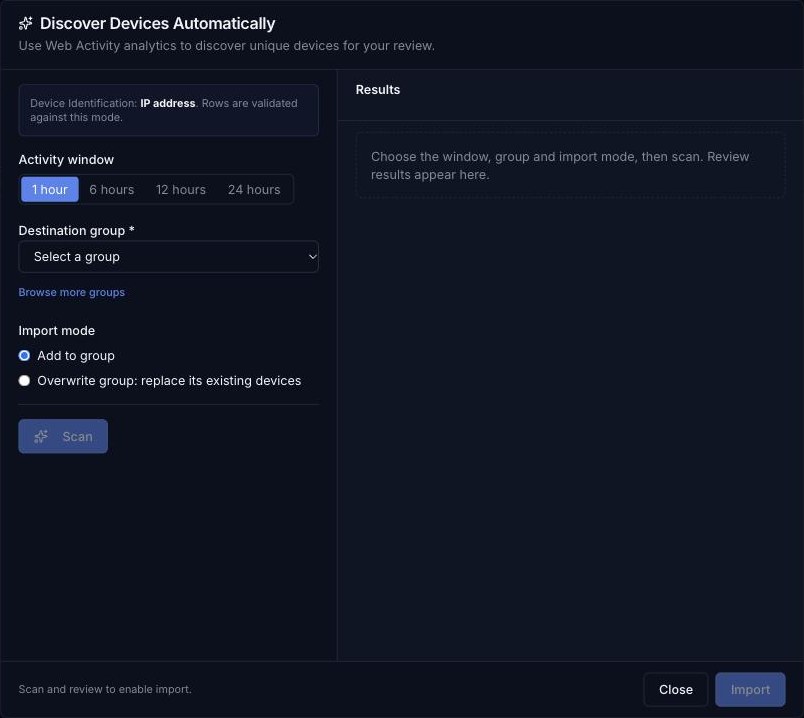
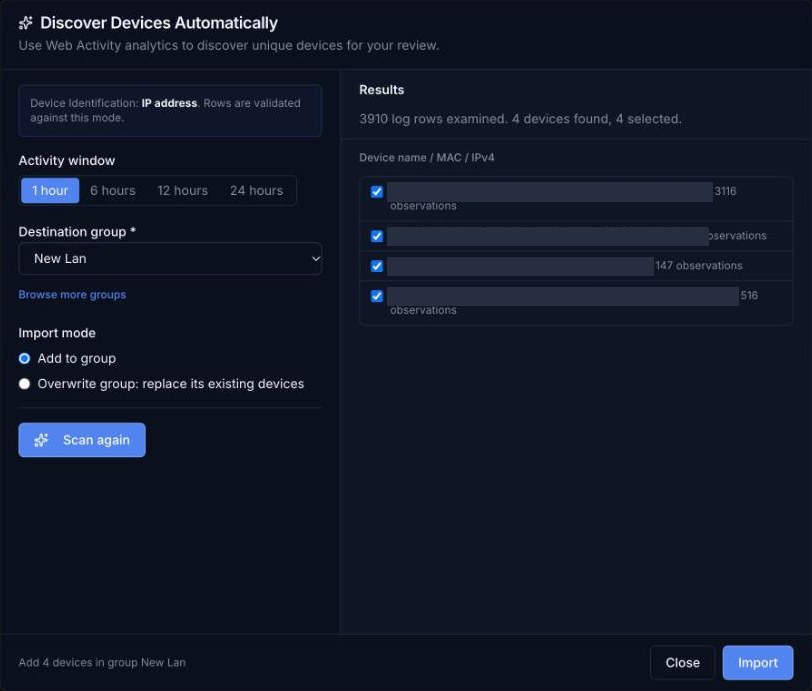
Discover finds unique devices in your recent Web Activity so you can review them and add them to a group.
- Click Discover.
- Choose the Activity window to search: 1 hour, 6 hours, 12 hours or 24 hours.
- Choose the Destination group. Click Browse more groups if it isn't in the list.
- Choose the Import mode: Add to group, or Overwrite group to replace the group's existing devices.
- Click Scan. A progress bar shows how many log rows have been examined. Click Cancel scan to stop it.
- When the scan finishes, Results lists each device found with its name, MAC and IPv4 address, and how many times it was seen (observations). All devices are selected. Untick any you don't want to import.
- Check the summary at the bottom (for example Add 4 devices in group New Lan) and click Import. Click Scan again to refresh the results first, or Close to leave without importing.
Importing devices
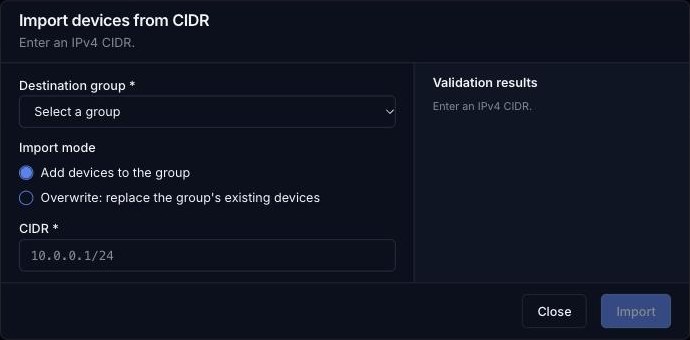
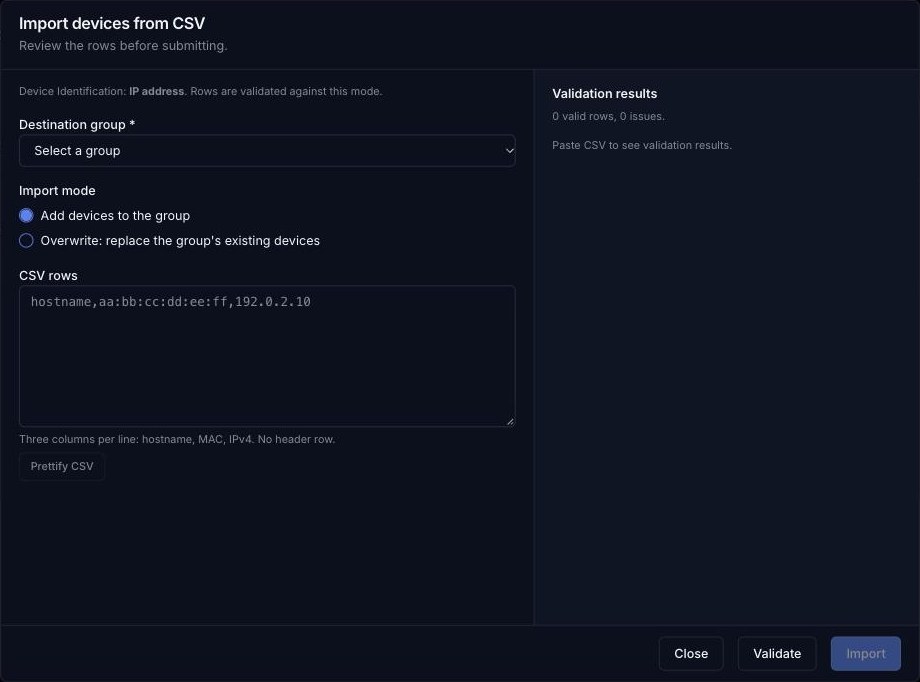
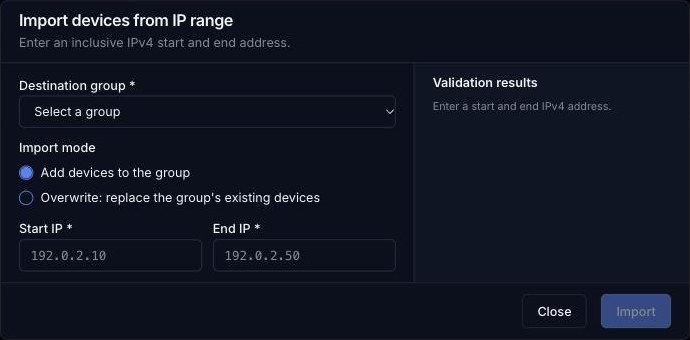
Click Import and choose CSV, IP Range or CIDR. In each case, choose the Destination group and the Import mode (Add devices to the group or Overwrite to replace the group's existing devices). The Validation results panel shows what will be imported before you click Import.

CSV
Paste your devices into CSV rows, one device per line with three columns: hostname,MAC,IPv4 (for example hostname,aa:bb:cc:dd:ee:ff,192.0.2.10). Don't include a header row. Click Prettify CSV to tidy the rows, then click Validate to check them. The results show how many rows are valid and any issues. Click Import.
IP Range
Enter a Start IP and End IP (IPv4, inclusive), for example 192.0.2.10 to 192.0.2.50, then click Import.
CIDR
Enter an IPv4 CIDR, for example 10.0.0.1/24, then click Import.